
I love bunting but it can be time consuming and a little challenging for beginners. So… here’s my quick and easy bunting tutorial, shown in a Liberty Tana Lawn Cotton. Watch this on YouTube: Make Quick & Easy Bunting.
With single layer pennants (triangles) you should be able to knock this up in 30 minutes, perfect to make in time for that summer barbecue or birthday party.

Let’s start by looking at the materials you will need:
– Fabric (cotton, lightweight upholstery) I am using Liberty Tana Lawn Cotton
I am working with 9 pennants on a bias binding length of 2.5 metres. You will need approximately 1/2 a metre of fabric for 9 pennants, however you will need to divide this up if you are using a variety of different coloured fabrics.
– Bias Binding (2.5 metres x 1″ (2.5cm))
If you wish to work with more pennants you may require a longer length of bias binding. Alternatively position the pennants closer together, I have included a gap of 3/4″ (2cm) between each pennant.
– Thread
– Template: Bunting Pattern
The template size is 7 1/2″ (19cm) in width and 8 1/2″ (21cm) in length (from top to point). I recommend cutting this out in card to make the process easier.
– Scissors
– Pinking Shears
– Chalk, Pencil, Removable Fabric Pen
– Pins
– Ruler, Tape Measure
TIP: If you don’t have a pair of pinking shears you can follow this tutorial by using a fabric that won’t fray, cutting it out on the drawn line of the template.
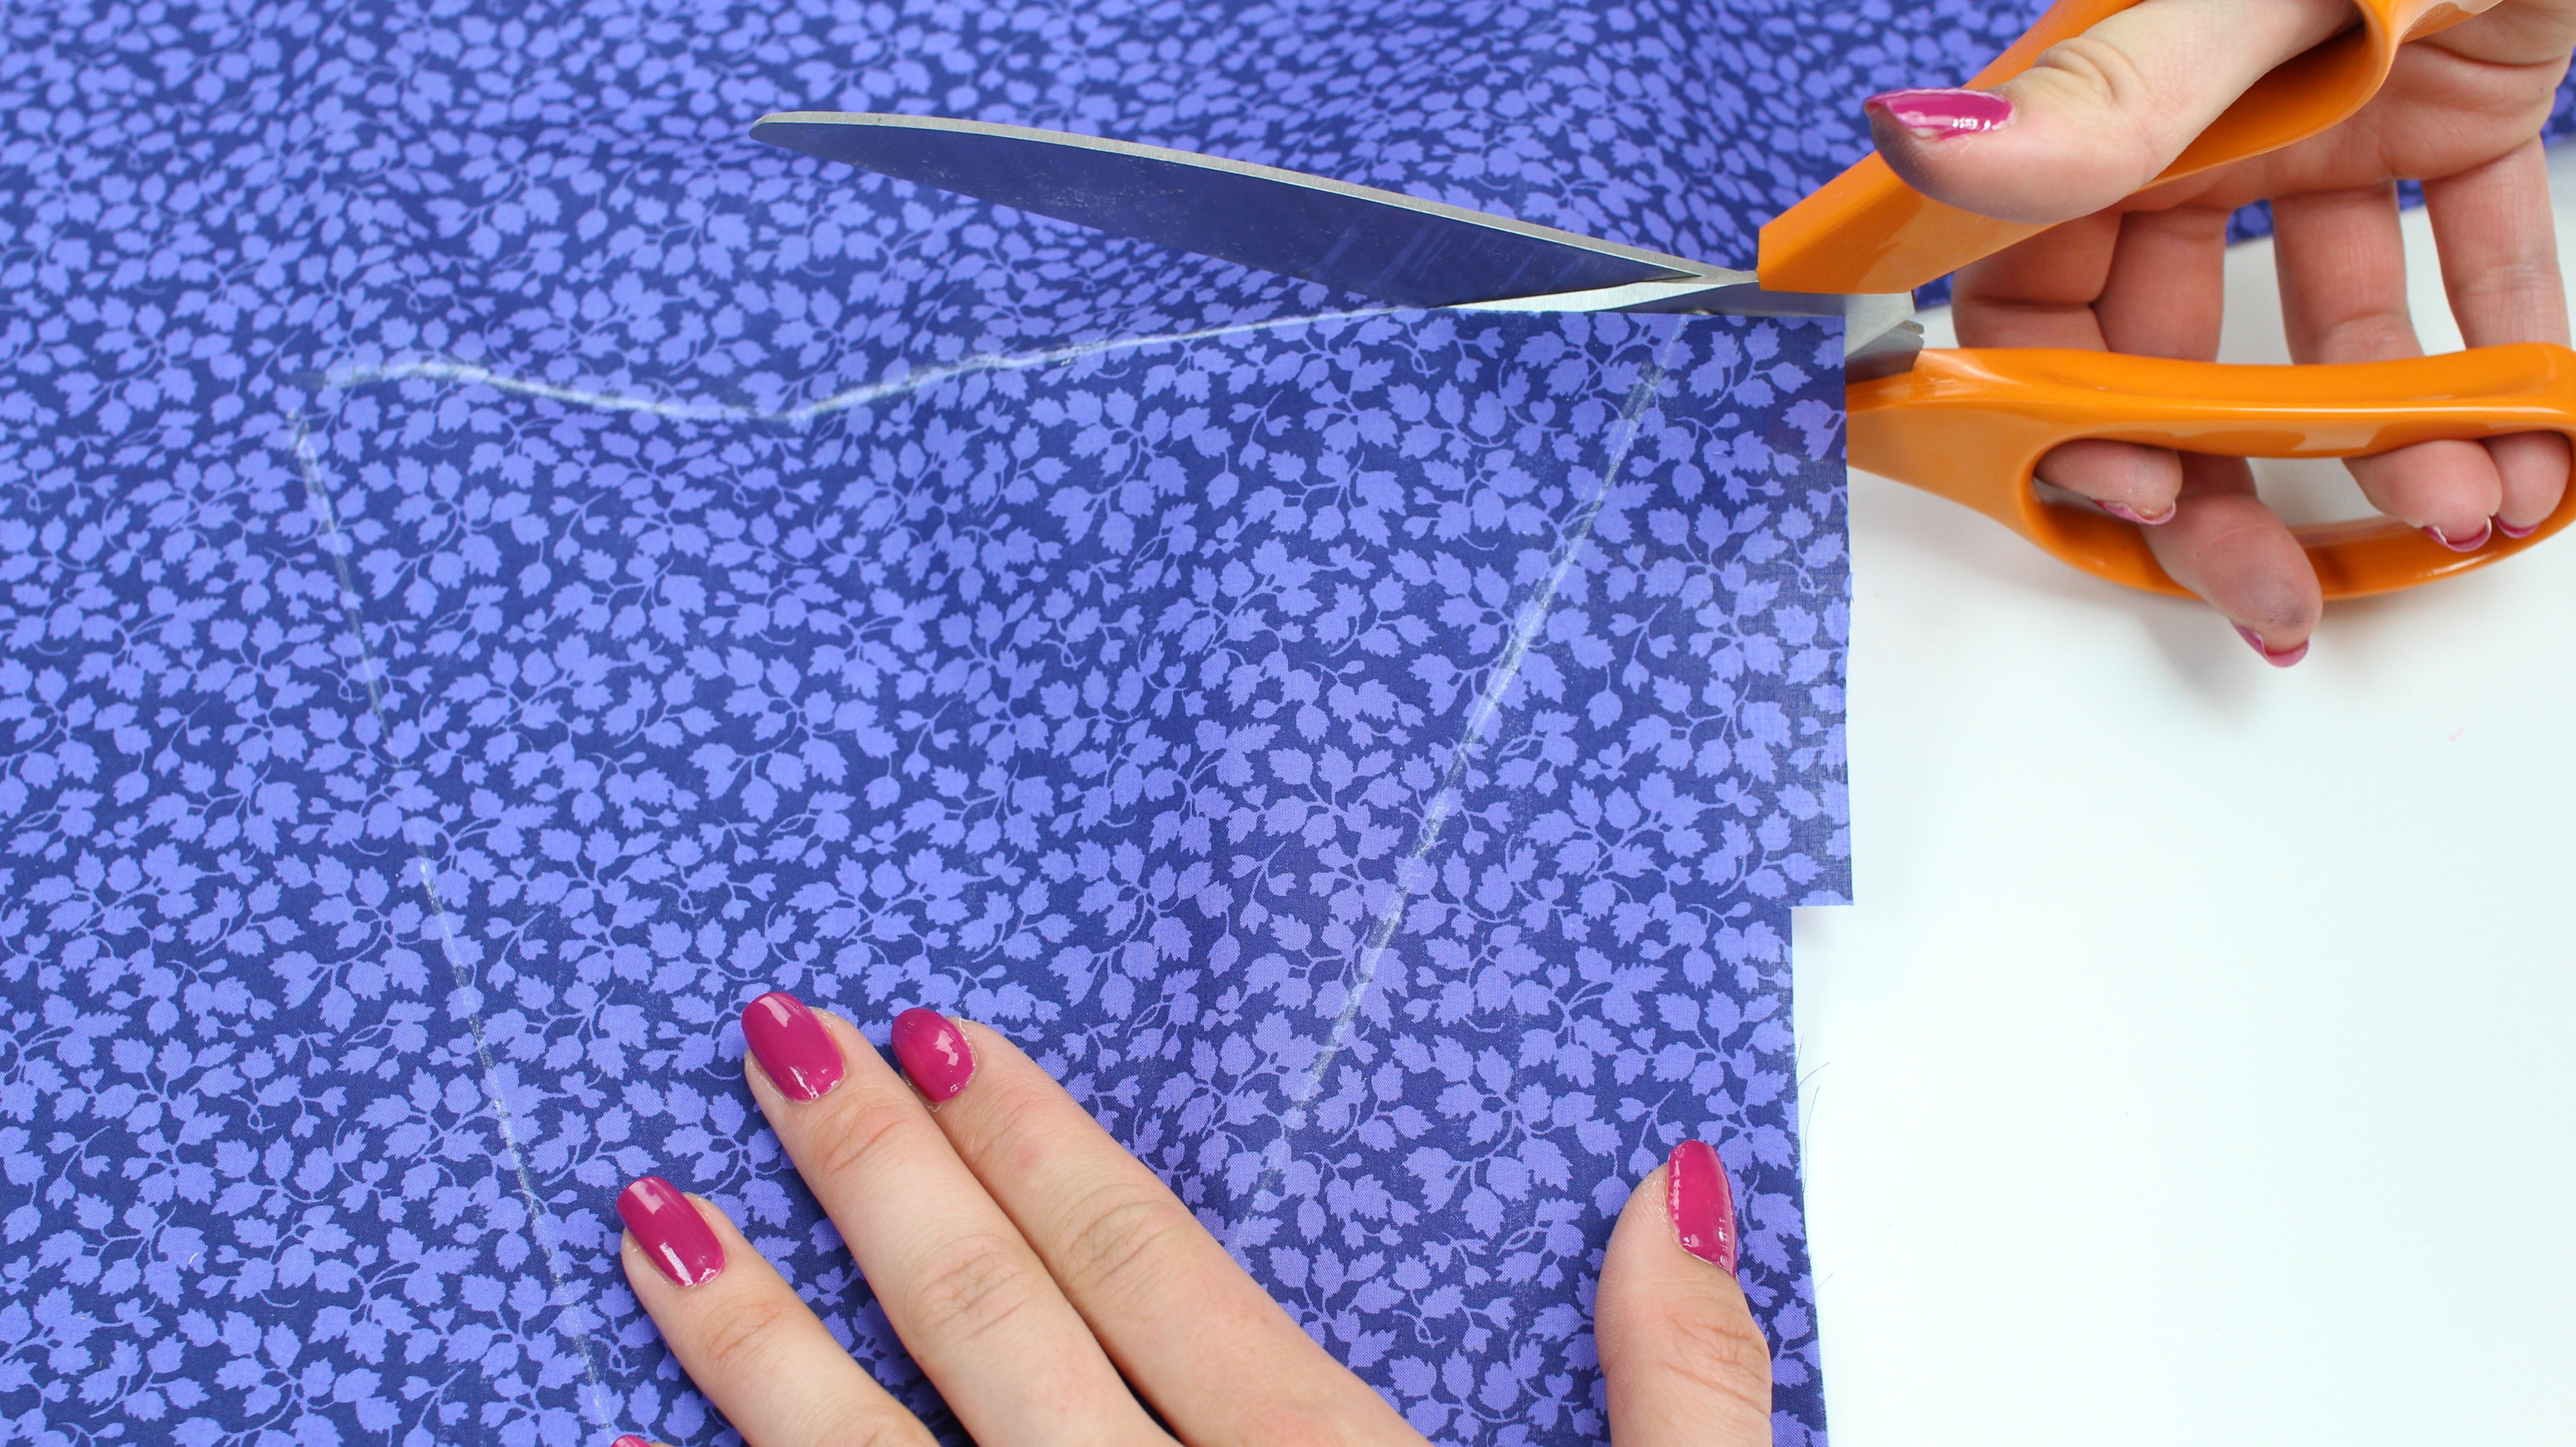
Start by placing the template onto your fabric with the WRONG side of your fabric facing UP. Draw around the template with chalk, a removable fabric pen or a pencil.
You will need to draw around the template for each pennant (triangle) you require.

Cut out the pennant (triangle). It will be easier to cut around the shape with normal scissors first, before using the pinking shears. Cut 1/2″ (1cm) away from the drawn line. It is ok to cut directly along the TOP drawn edge of the pennant (triangle), as we won’t be using the pinking shears on this edge.
Use the pinking shears to cut out the triangle (you DO NOT need to use the pinking shears on the top flat edge of the triangle). Start at the top and cut down to the point, turning at the point to cut up the other side. Be sure to make the zigzag pattern continuous, by lining up the previously cut zigzags with the serration on the blades before making the next cut. Match the top edge of the triangle (serration) on the pinking shears with the drawn line.
Cut out and use the pinking shears around all of the pennants.


Decide on the order of pennants, this is completely up to you and will depend on your colour choice and the number of different colours or fabrics you are using. Lay out the pennants and make a decision. This is the hard bit…
Now it’s time to attach the bias binding. Firstly find the centre of the bias binding, fold the binding in half lengthwise and mark the central fold with a pin, or a removable fabric marker. You must also find the centre of the bunting, lay out the pennants in the correct order to find the centre, this can be between two pennants or the centre of one pennant, depending on the number of pennants you are working with.
We are working with an odd number (9) pennants and therefore our centre is the centre of the middle pennant, mark this with a pin or removable pen. If you are working with an even number the centre will be between 2 different pennants.

Match up the centre of the bias binding to the central pennant. Position the pennant RIGHT side facing UP, onto the WRONG side of the binding, the top edge of the pennant should sit in the middle of the binding. Wrap the binding so that it covers the edge of the triangle on both sides (half of the binding will be seen from the front, half from the back). Position pins approximately 1/8″ (3mm) away from the edge of the binding. The pins should pin through the bias binding the same distance from the edge on the other side, this will produce a professional finish.


Decide on the distance between the pennants, I am working with 3/4″ (2cm) in this example. However this is completely up to you and your bunting design. Measure from the top corner of the pennant in the binding to the top corner of the next pennant. Be sure to be consistent with the measuring to make sure that the bunting is spaced evenly.
Continue pinning all of the pennants into the bias, work from either side of the central point.

Once you arrive at the last pennant, fold the bias binding in half and continue pinning 1/8″ (3mm) away from the edge. The left over bias binding will be used to hang the bunting. Be sure that both sides of the binding meet together, or that the front is very slightly longer than the back. Most importantly you DO NOT want to see the back of the binding from the front.
Create a neat end to the bias binding by folding in approximately 1/2″ (1cm) of the raw edge, and then folding the bias binding in half as completed for the rest of the bunting. Be sure to tuck in any of the raw edges at the end to create a neat finish.


Finally it will be time to sew the pennants into the bias binding. Sew 1/8″ (3mm) away from the edge of the bias binding, in the same location as the pins. If your pins are in the correct position (the same distance from the edge on both the back and front of the binding) your stitching should be neat and very similar on both sides.

I am using a mark on the foot of my sewing machine to line up the edge of the binding and sew 1/8″ (3mm) away consistently. Have a look at your sewing machine foot to use a consistent mark for sewing. If you haven’t got a foot that makes this easy, try moving the needle on your sewing machine and lining the edge of the binding against something else. As long as your consistent it will look good.
Start sewing at the end of the binding, where you folded in the raw edge to create a neat finish. It can be tricky starting, as the sewing machine will find it hard to start sewing such a small amount of material. If you have a walking foot for your sewing machine this will help.
Once the stitching has been complete, trim threads so that your bunting is ready to hang and enjoy. Have fun working with different variations of colour and patterns, creating bunting for as many events as you have time for.
I would love to see how you get on; get in touch on Facebook and Instagram.