
Learn how to make hanging hearts that you can fill with lavender, or other scents. Display in your home or use to scent clothes draws and closets.
Watch the corresponding YouTube tutorial for more details: DIY Lavender Filled Hanging Hearts.
What materials do you need?
– Fabric (light weight upholstery, cotton, linen, ticking, velvet)
– Ribbon (we used double sided satin ribbon; Width: 1/4″ (5mm), Length: 6″ (15cm))
– Polyester Stuffing
– Lavender (optional)
– Thread
– Template (download from website: Heart Pattern)
What equipment do you require?
– Sewing Machine
– Scissors
– Pins
– Needle
– Removable Pen, Chalk, Pencil
– Ruler, Tape Measure
Start by downloading the heart shaped template, or drawing your own shape onto card or paper (there are NO seam allowances on the pattern).

Position your chosen fabric WRONG side facing up. Using chalk or a removable pen draw around the heart template. If you are working with a patterned fabric, be sure to place the template straight on the fabric (line up the grainline on the template with the pattern on the fabric). If you are working with a bold print, consider the area of the pattern that you wish to see on the finished heart; this is up to you.
If you are working with my template, mark the notches onto the fabric. We will NOT sew between the notches, you must leave room to turn the heart around (to the RIGHT side) after sewing.

The pattern does not come with seam allowances, you will need to add these. Draw seam allowances of 1/4″ (5mm) around the shape. 
Cut out the fabric on the outside line.

Complete for 2 pieces of fabric; you will need 2 pieces of fabric for each heart you wish to make. When creating the second side of the heart if you are working with a patterned fabric think about your pattern placement, do you want the second side to look the same as the first or different?

Position the cut out hearts RIGHT sides together. Start by pinning the point at the bottom of the heart together. Pin along the outline of the template.

Check when pinning that the pins come through on the drawn line on both layers of fabric, this will help with accurate sewing.

Prepare a piece of ribbon that will allow you to hang the heart when finished. I chose a piece of double sided satin ribbon that was 1/4″ (5mm) wide. Cut a length of ribbon that measures 6″ (15cm).
 Fold the ribbon in half.

The ribbon must sit BETWEEN the two layers of fabric. The raw edges of the ribbon should line up with the raw edges of the fabric. This will put the folded edge of the ribbon into the middle of the fabric. This can be confusing but remember that once sewn we will turn the heart around (to the RIGHT side) and the folded edge (of the ribbon) will be on the outside.
Should you require a bit of extra help, please check out the corresponding YouTube video: DIY Lavender Filled Hanging Hearts.


Continue pinning the two pieces of fabric together, along the drawn line. Pin the ribbon in position securely.

Sew around the heart on the drawn line using a 1.5mm stitch length for reinforcement. Stop and start at the notches, fasten the stitch using a backstitch. Be sure to leave a gap between the two notches, this will be required to turn the heart around.

Once the sewing is complete. Trim the seam allowance to 1/8″-1/4" (3-5mm).
Do NOT trim the area between the two notches, this must be left alone so that it does not fray.
I recommend that you do NOT trim the ribbon; the seam allowances of the fabric can be trimmed either side. This will prevent the ribbon from fraying and falling out of the seam at a later stage.


Cut off the point at the bottom of the heart, this will produce a better finish when you turn the fabric around.

Turn the heart around to the RIGHT side. Poke out all of the corners using a point turner or cocktail stick to create a nice heart shape.
If you have been working with a removable pen, now is the time to remove the pen.


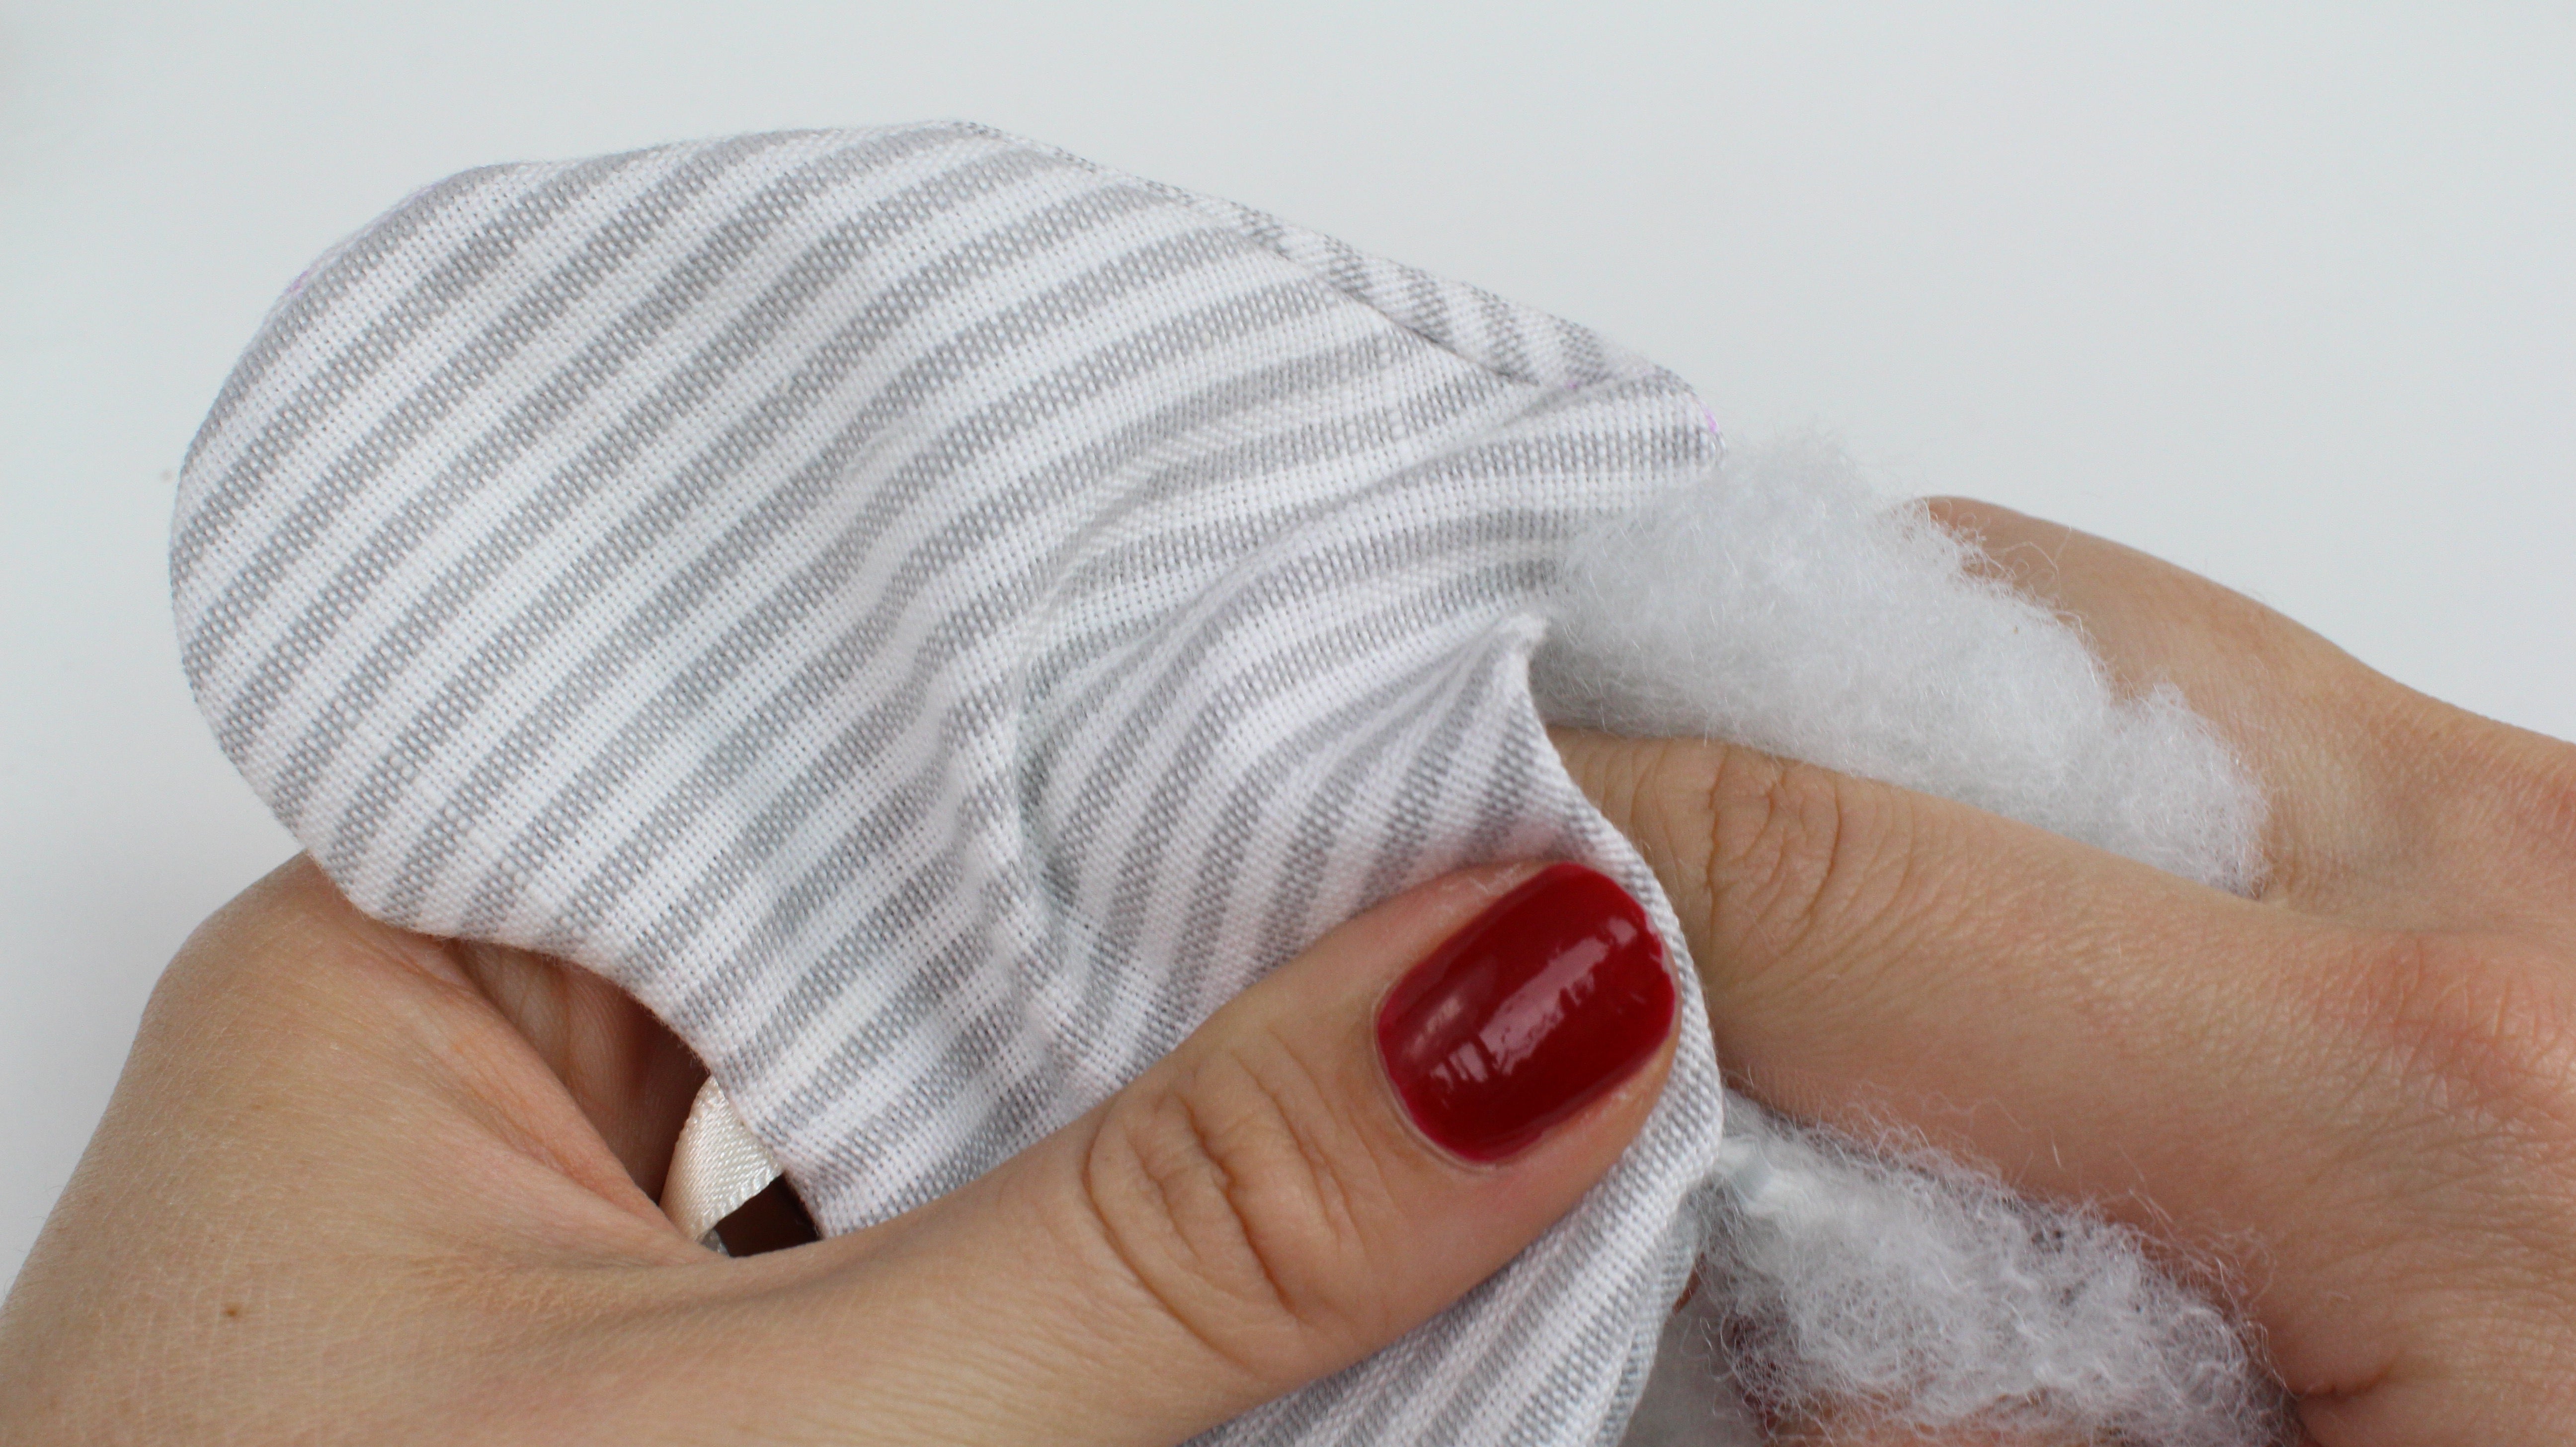
Using polyester toy stuffing stuff the heart. Be sure to compact the stuffing into all of the curves and points to create an even finish. If you wish to add lavender to the heart I recommend adding this gradually with the stuffing; you do not need much to produce a nice scent.

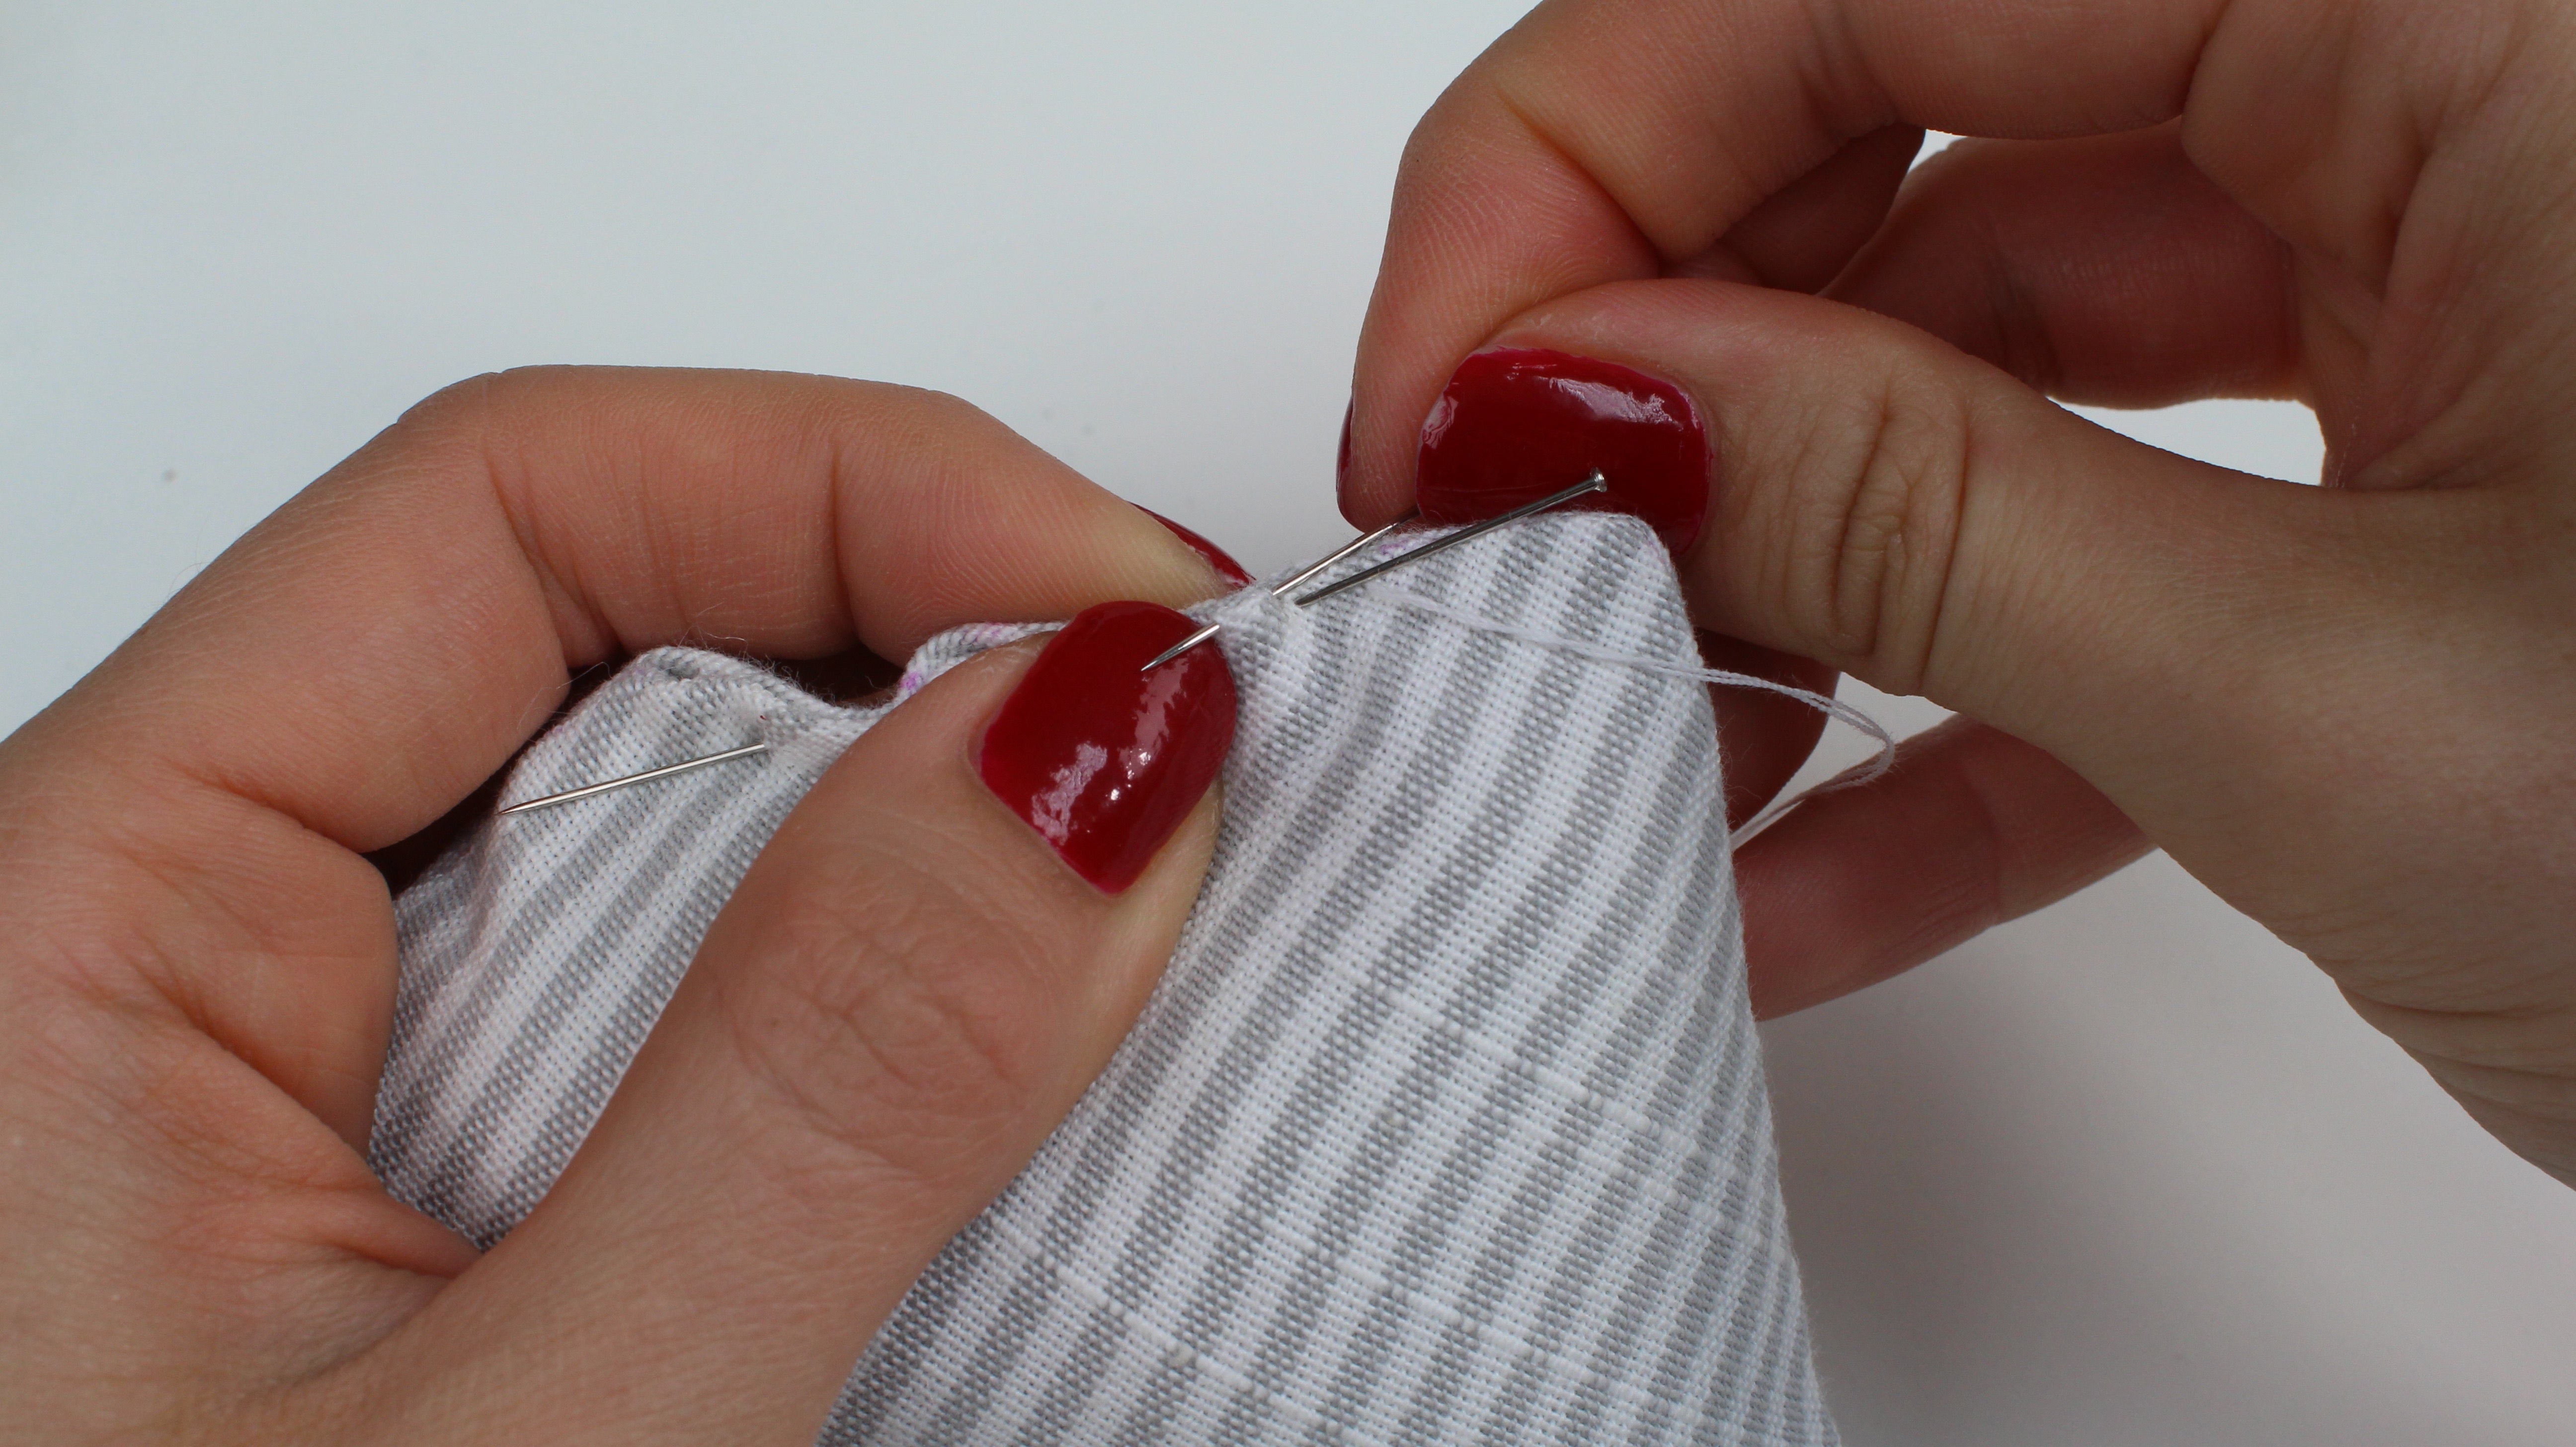
Once you are happy with the shape of the heart turn under the seam allowances at the opening and pin the edge closed. Complete a slipstitch, ladder stitch to fasten the hole.

Congratulations hopefully you have been able to follow the tutorial and create some beautiful hanging hearts that you can use to decorate your home.
I would love to see how you get on; get in touch with on Facebook and Instagram.