
What is a rolled hem?
The rolled hem is a teeny tiny hemming technique that finishes all of the seam allowances inside the hem. It is suitable for use on light to medium weight fabrics and is wonderful on sheer fabrics due to the size and neat finish of the hem. Use on silks and sheers; the rolled hem is often used in lingerie garments or occasion wear.
Unfortunately it does not work as well on heavier fabrics as the hem can become bulky.
It is possible to purchase a specific rolled hem foot for your sewing machine, however I personally find the rolled foot can be troublesome to use, especially for beginners (compared to this method). With this technique I promise you will achieve professional results, plus you don’t need to spend on another sewing machine foot!
Watch the corresponding YouTube tutorial: Sewing a Rolled Hem / Pin Hem.
How to sew a rolled hem?
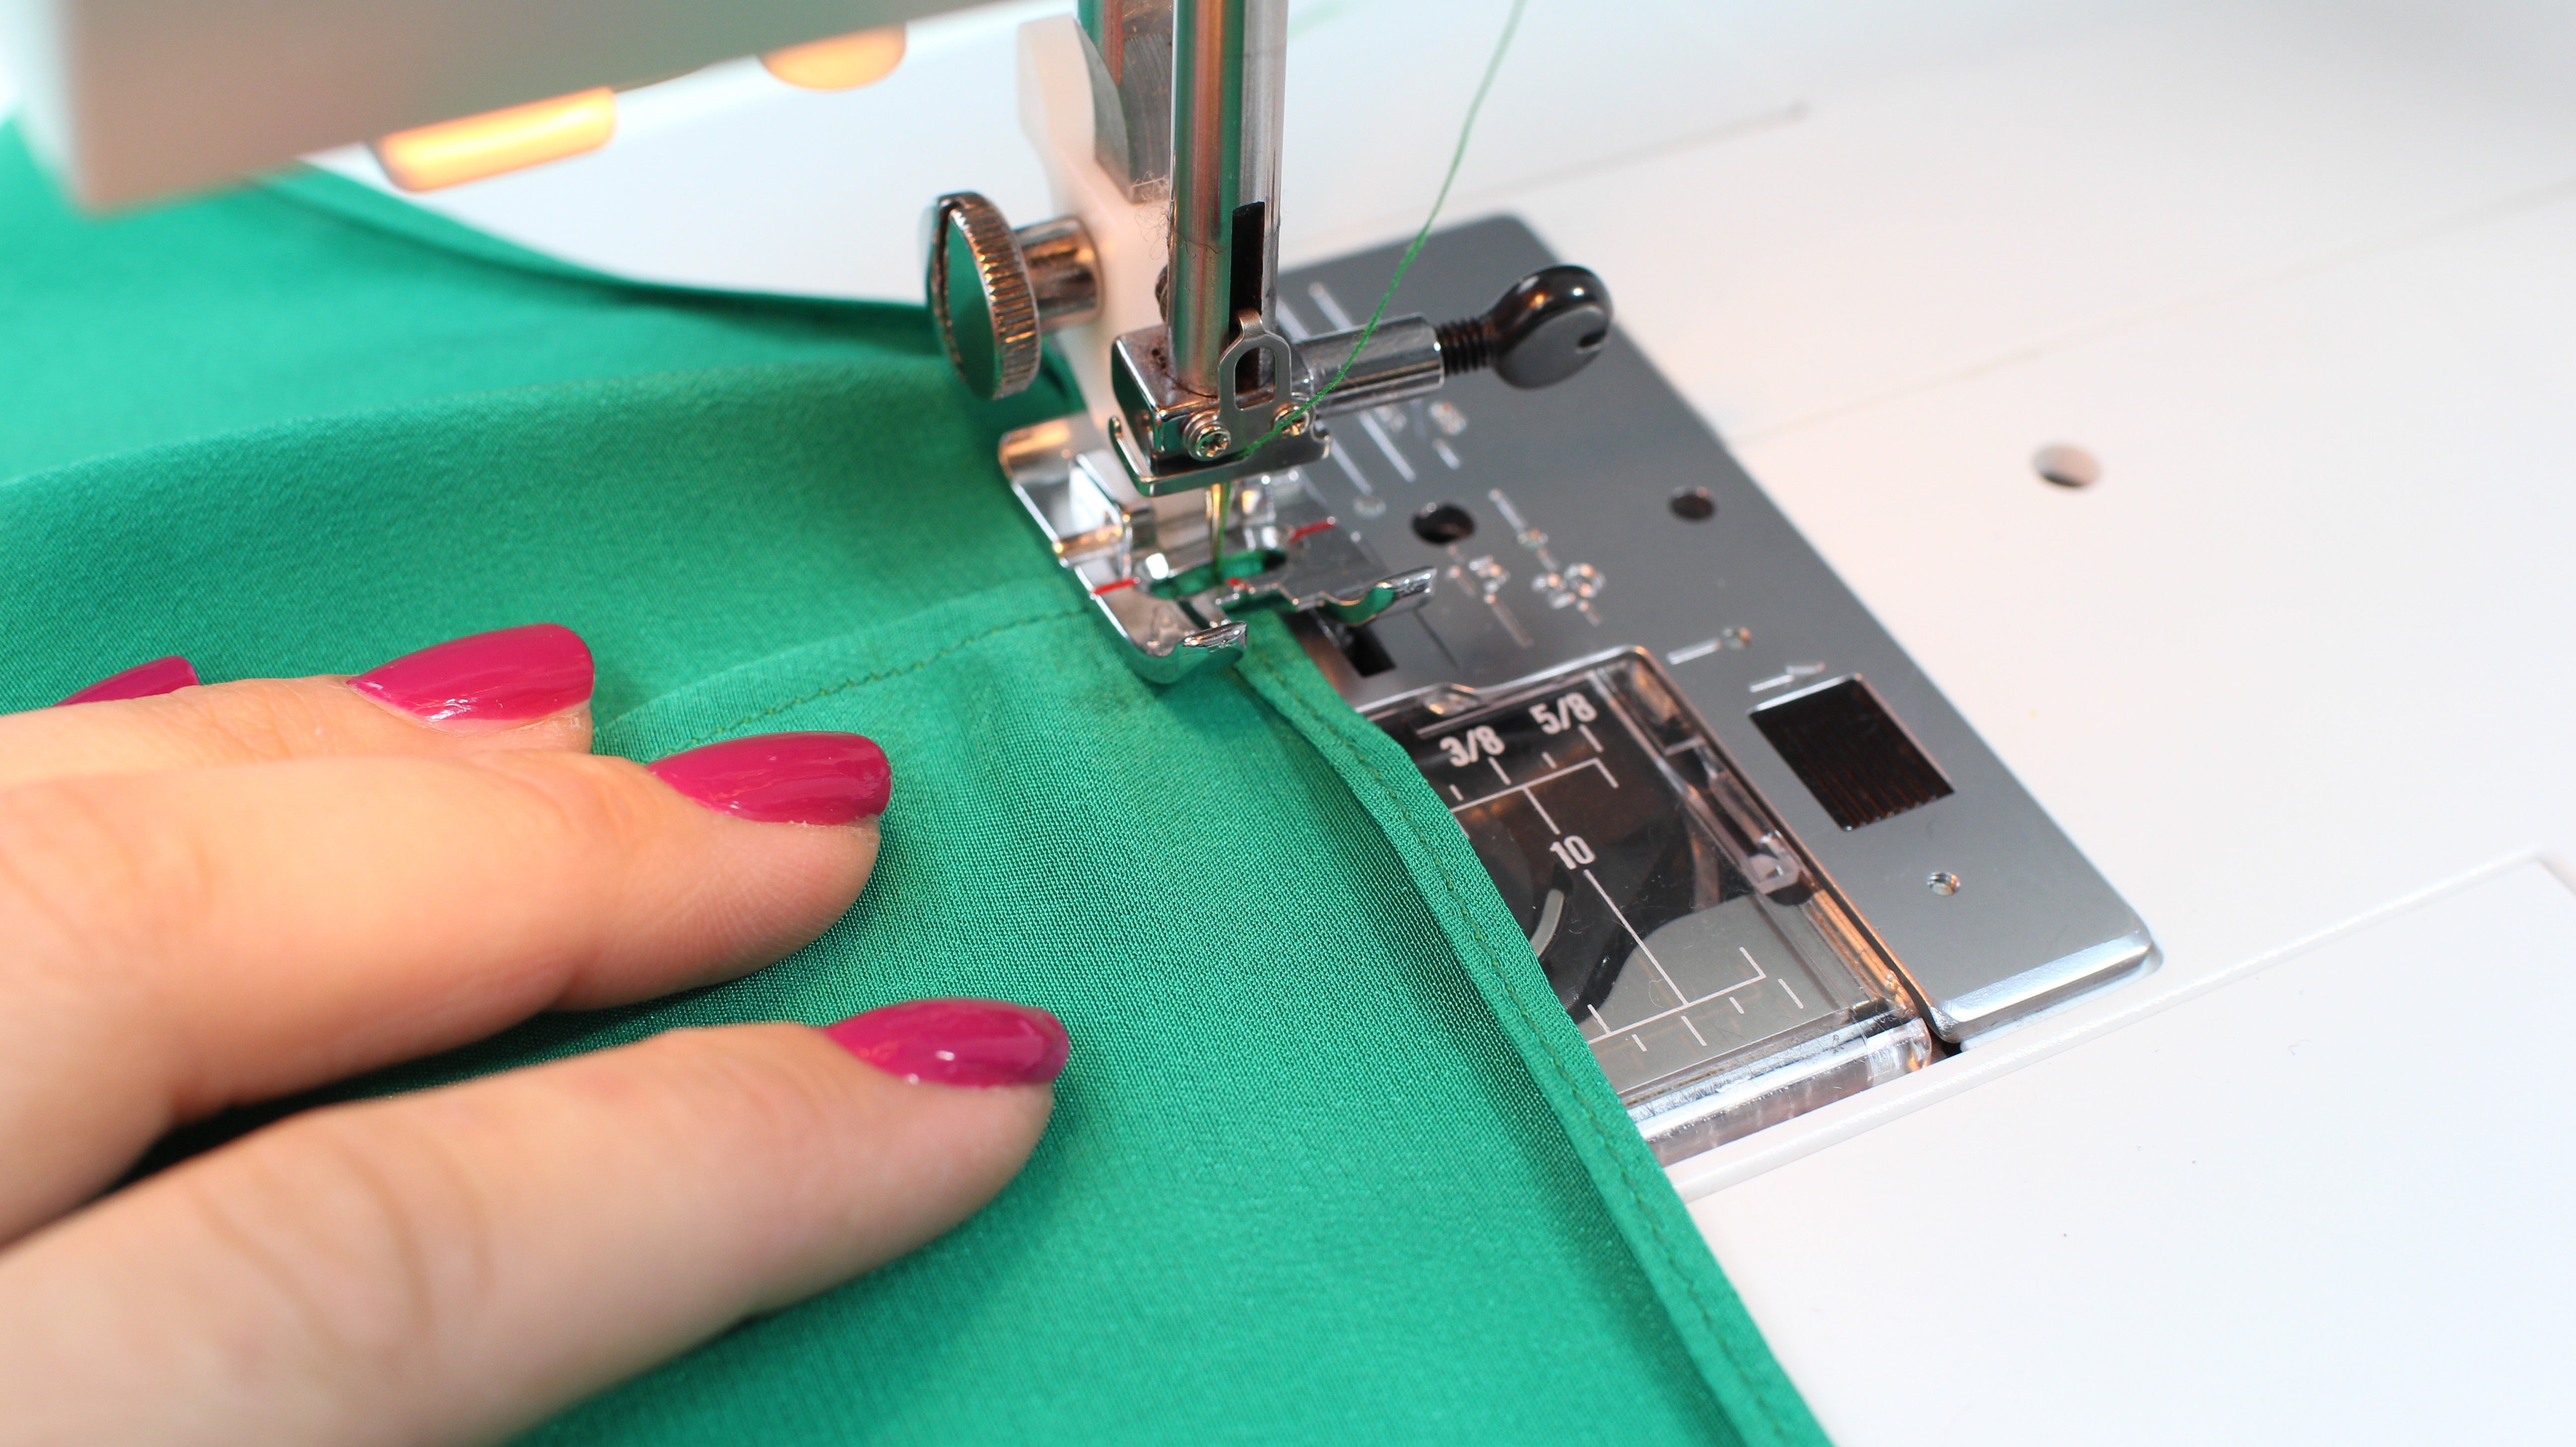
Start by sewing a seam along the hem of the garment. You will need a sew a seam 1/4″ (5mm) away from the desired finished hem length. If you are working with a hem allowance of 5/8″ (1.5cm) this will be 3/8″ (1cm) away from the edge of the fabric.
Sew the seam using a standard stitch length and backstitch at the start and end. If you are working with silk or a similar fabric you may wish to tie off your threads and use a smaller stitch length. Test your fabric prior to use.
*This first row of stitching can be optional if you are working with a stable fabric, and/or competent at sewing. Skip to the second row of stitching, fold the fabric or press in place.

With the WRONG side of the fabric facing up, press the stitching flat to meld the stitches into the fabric.
Then press the hem allowance to the WRONG side of the garment to show the previous line of stitching and approximately 1/8″ (3mm) of fabric.


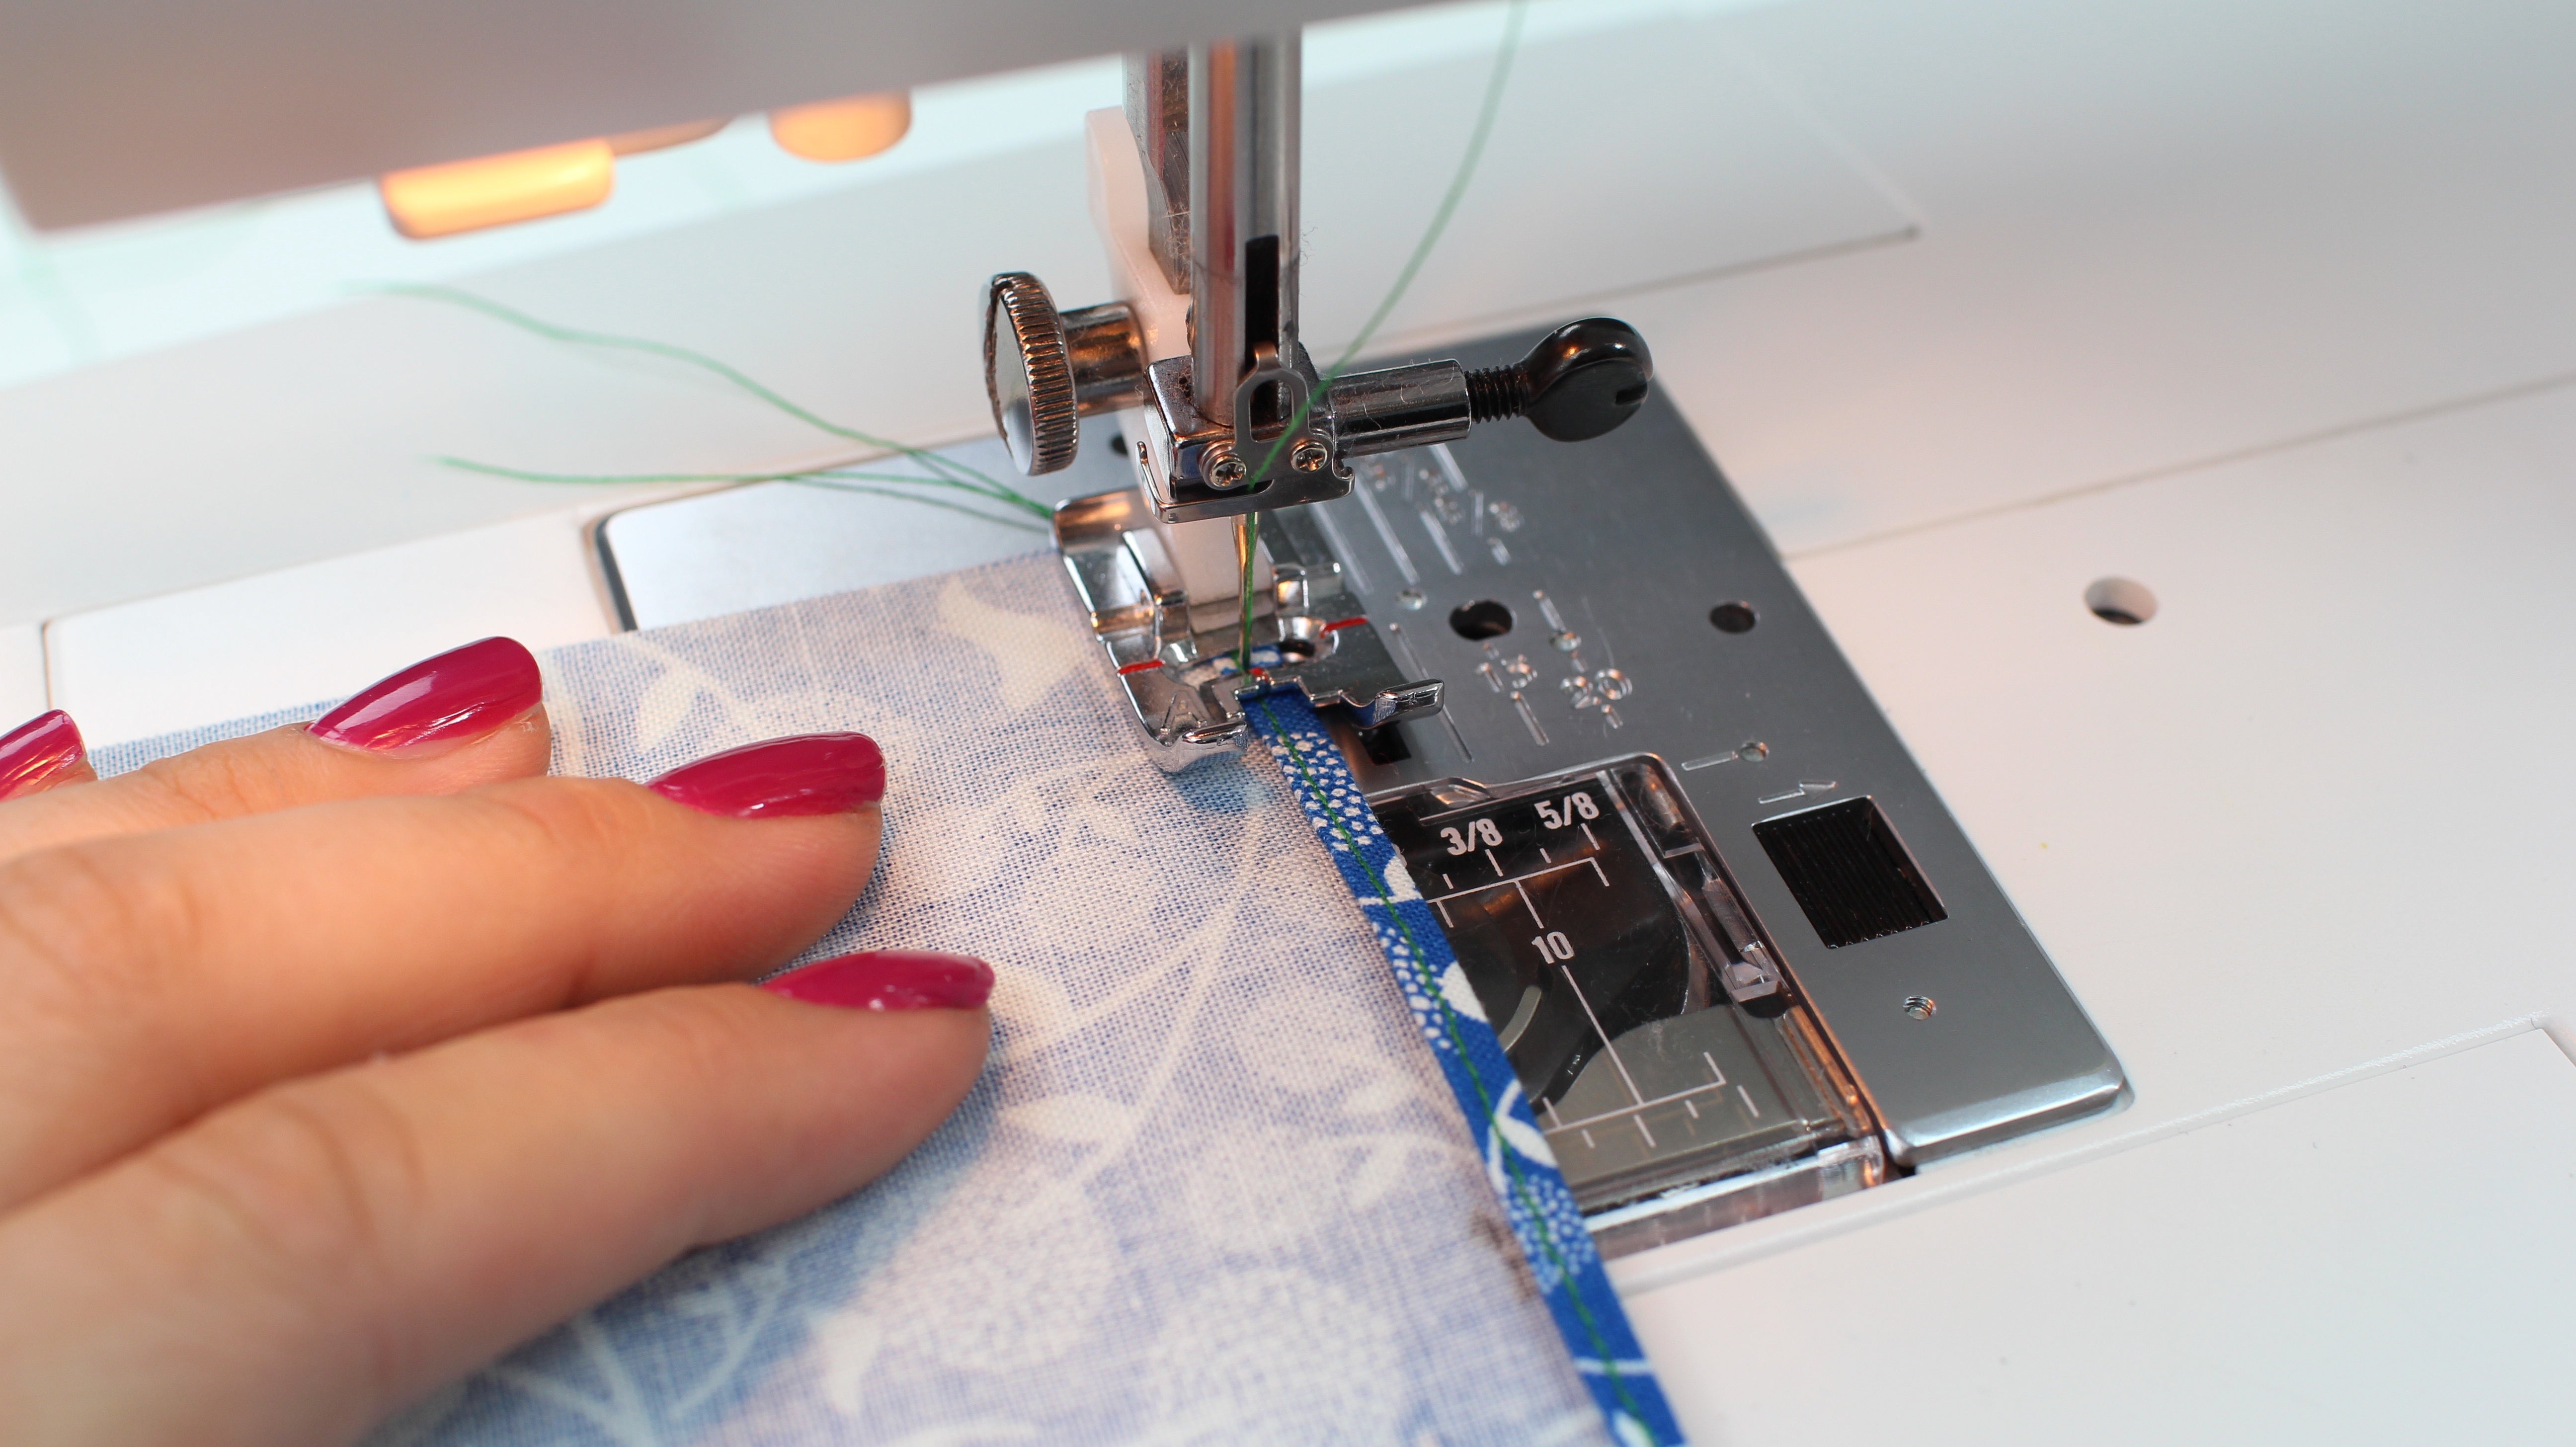
Using the sewing machine, sew on top of the previous stitching line. Perfect for practising accuracy whilst sewing!


Press flat to meld the stitches into the fabric.
 Trim off the remaining seam (hem) allowance. Trim as close to the stitching as possible, this will be about 1/8″ (2mm) away.

Turn the small hem towards the WRONG side, to hide the raw edge of the fabric. Press in position.

Sew directly on top of the stitching line, again!
Although there will be 2 stitching lines on the back of the garment, the rolled hem will hide all of the fraying edges of the seam allowance and leave one line of stitching on the FRONT of the garment.
Congratulations on sewing your very first rolled hem, although the numerous rows of sewing can be time consuming (especially if you're working with a large hem), I promise the finished result will be neat and professional.
I would love to see what you’ve been making with this tutorial. Feel free to share your work on Facebook and Instagram.