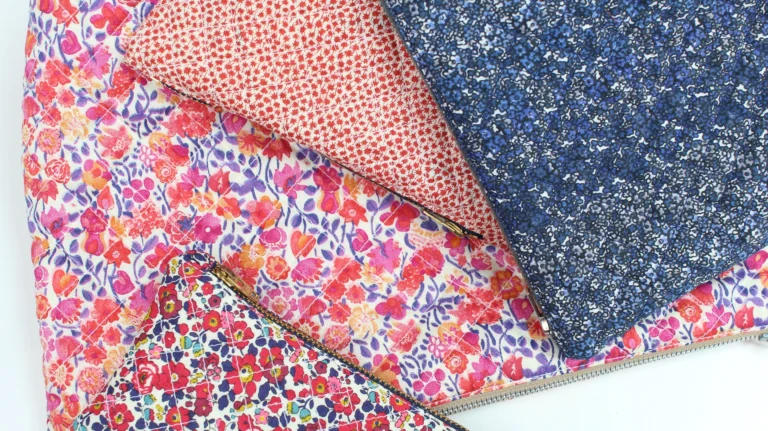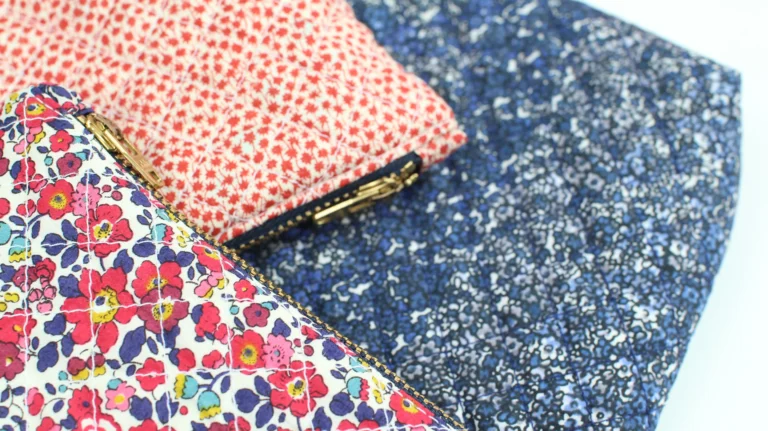
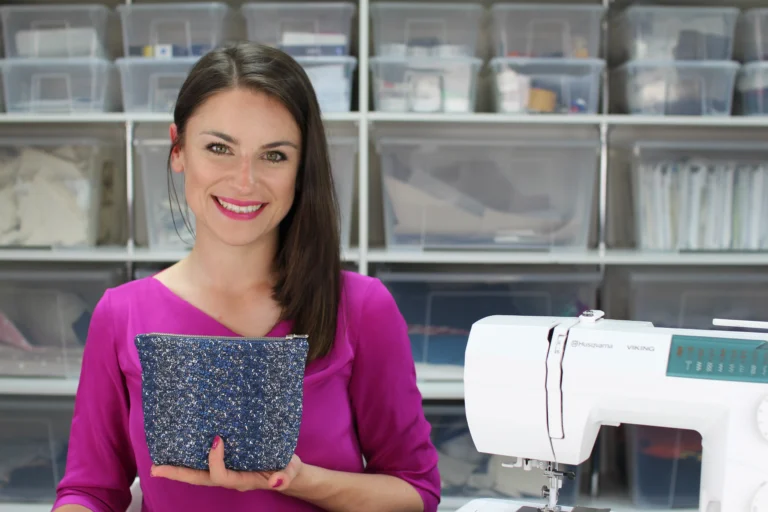
Learn how to make a quilted wash bag with this step-by-step sewing tutorial. Choose from three sizes – small, medium or large – and learn how to quilt the fabric, insert a zip with neat fabric tabs, add a lining and create boxed corners.
Follow the written tutorial below or watch the full step-by-step video tutorial on YouTube.
Watch the full step-by-step video tutorial on YouTube: How To: Quilted Wash Bag Tutorial.
Want to make a custom size?
See the blog post: Quilting Wash Bag Sizing.
*affiliate links below
Small Size
Pattern Size: 7 1/4″ width, 4 1/4″ height (17.6cm width, 10.5cm height)
Zip Length: 5″ (13cm)
Zipper Tab: 1 1/2” x 1 1/2” (4cm x 4cm)
No Box Corners
Quilting: 1/2″ (1cm) squares
Finished Size (approximately): 6 1/4″ width, 3 1/4″ height (15cm width, 8cm height)
Medium Size
Pattern Size: 8 1/4” width, 7 1/4” height (20.1cm width, 18cm height)
Zip Length: 6″ (15.5cm)
Zipper Tab: 1 1/2” x 1 1/2” (4cm x 4cm)
Box Corners: 3/4″ (2cm)
Quilting: 1/2″ (1cm) squares
Finished Size (approximately): 7 1/4” width, 6 1/4” height (18cm width, 16cm height)
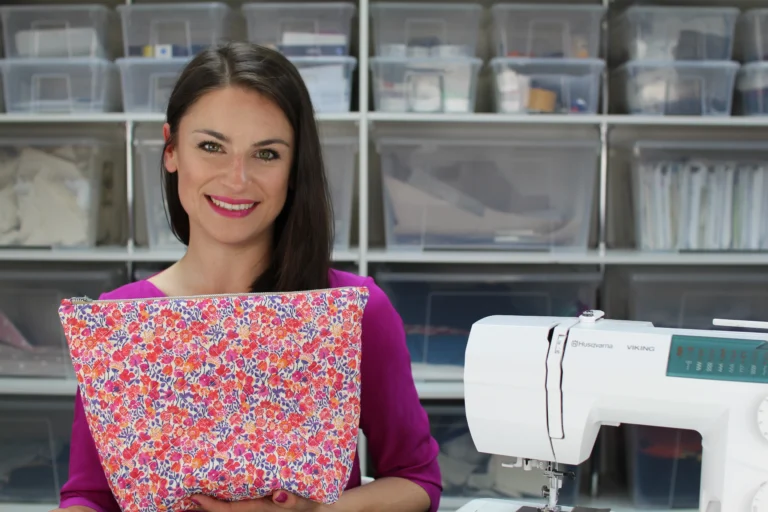
Large Size
Pattern Size: 14 1/4″ width, 12 1/2″ height (35.1cm width, 32cm height)
Zip Length: 12″ (30.5cm)
Zipper Tab: 1 1/2” x 1 1/2” (4cm x 4cm)
Box Corners: 2″ (5cm)
Quilting: 3/4″ (2cm) squares
Finished Size (approximately): 13 1/4″ width, 11 1/2″ height (33cm width, 29cm height)
(Please note, I am not using exact conversions for imperial to metric measurements.)
Seam allowances are included: 1/2″ (1cm) seam allowances throughout for simplicity.
Zipper Size & Shortening
When measuring the zip length, measure only the zip teeth, from the zip pull to the stopper.
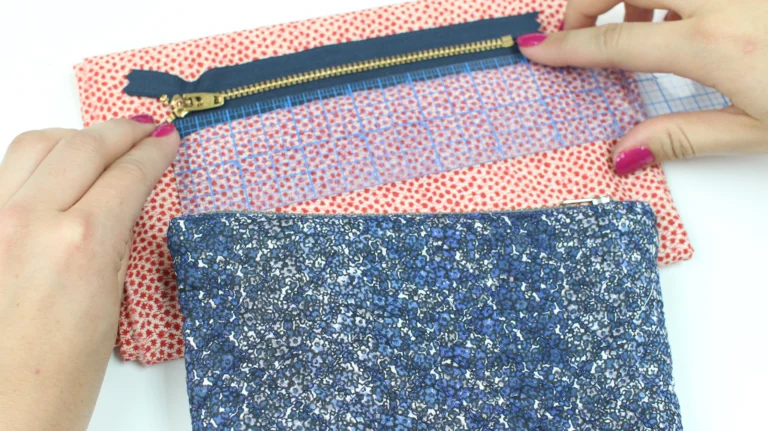
If shortening a zip, a plastic zip is easier, metal zips will need to have the teeth removed from the top. For a plastic zip measure the required zip length and add 1/2″ (1cm) at the bottom of the zip, to allow for the zipper tabs; cut the zip to size.
Exterior fabric (1/2 metre)
Lining fabric (1/2 metre)
Zip (see sizing above)
Wadding (1/2 metre, optional)
Thread
Sewing machine
Chalk, removable pen or pencil – shop
Scissors – shop
Ruler and tape measure – shop
Pins
Iron
Decide on the bag size (sizes above).
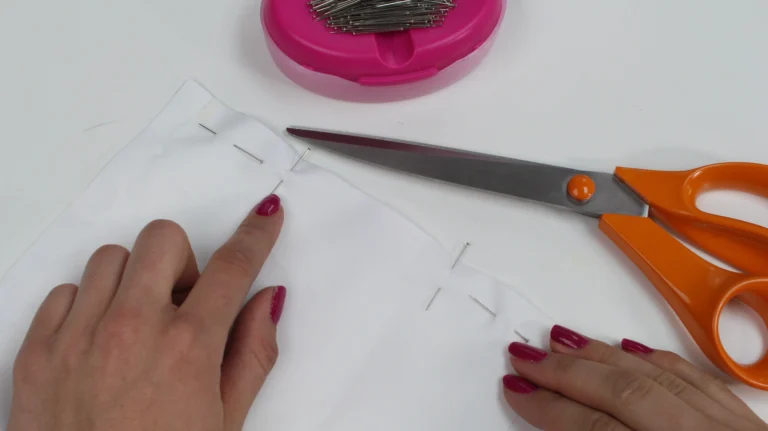
Using chalk or a removable pen, draw the pattern measurements onto the wrong side of the fabric. Cut out:
2 rectangles in exterior fabric
2 rectangles in lining fabric
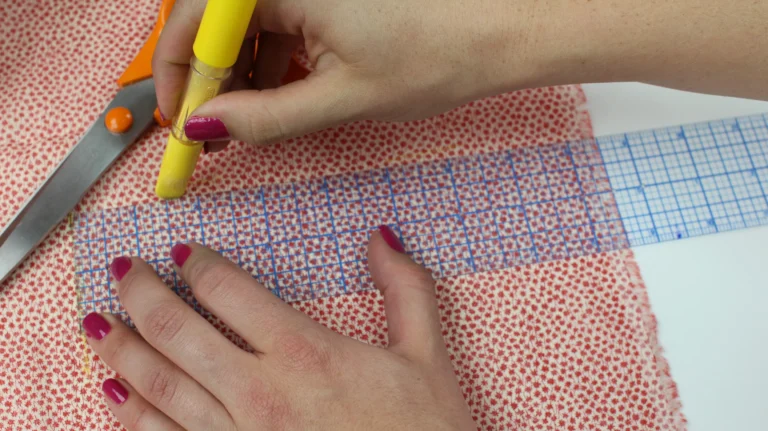
Cut 2 zipper tabs, each measuring 1 1/2″ × 1 1/2″ (4 × 4cm).
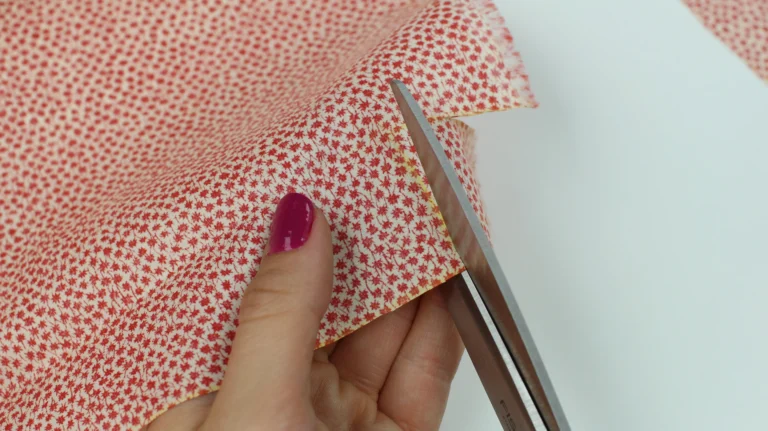
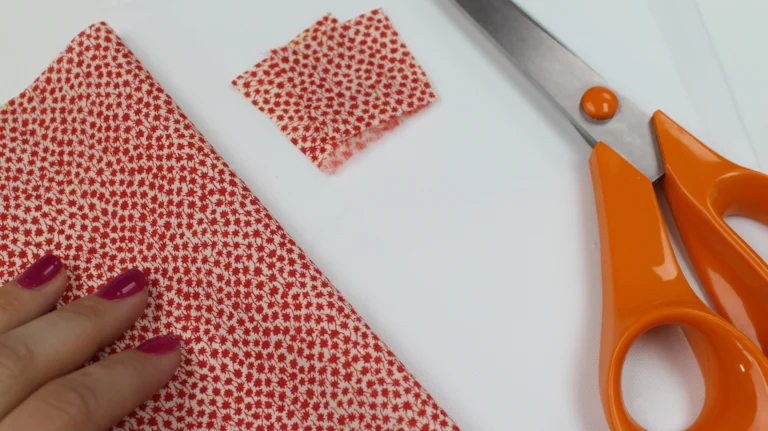
Press opposite edges of each zipper tab towards the wrong size by 1/4″ (5mm).
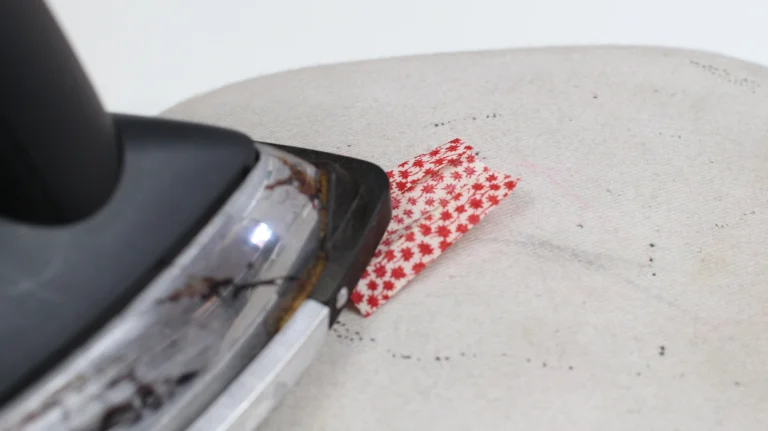
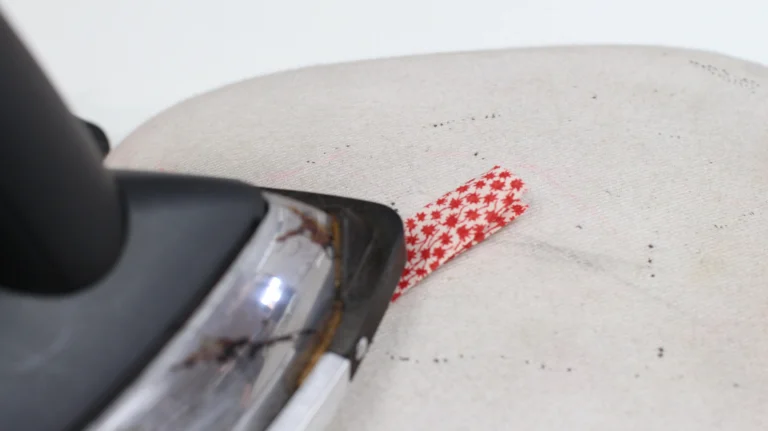
Fold the zipper tab in half again, with the wrong sides facing, and press. Each tab should measure approximately 1/2″ × 1 1/2″ (1 × 4cm).
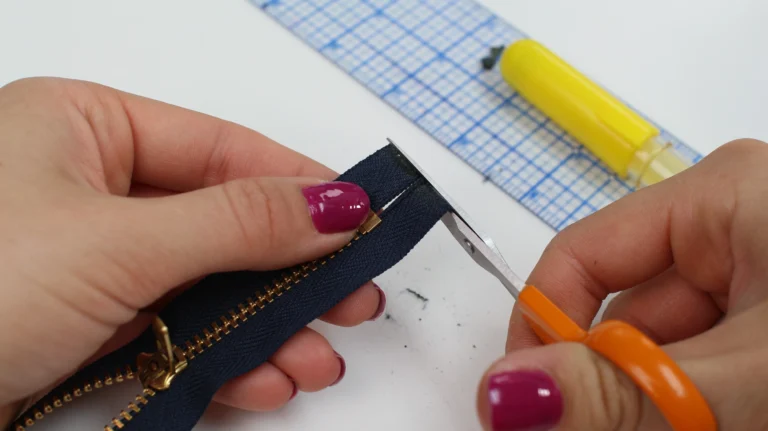
Measure 1/2″ (1cm) from the zip pull and zip stopper; trim excess zipper tape so that the zip matches the width of the tab.
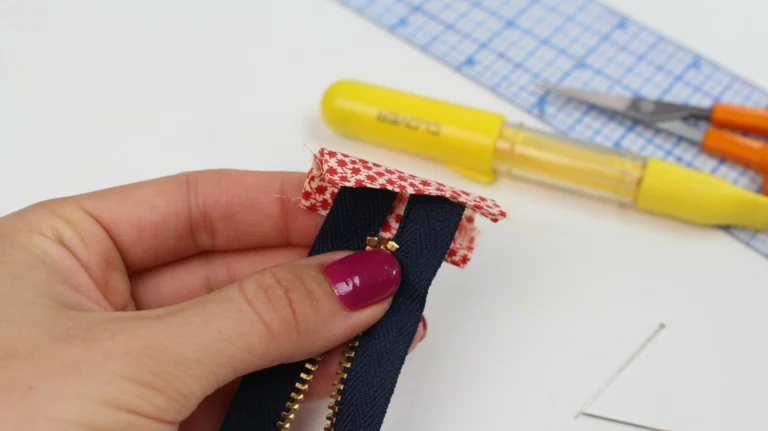
Wrap each tab around the end of the zip tape (the tape is sandwiched between the fabric).
Pin 1/8″ (3mm) from the folded edge of the zip tab, making sure not to pin through the zip teeth.
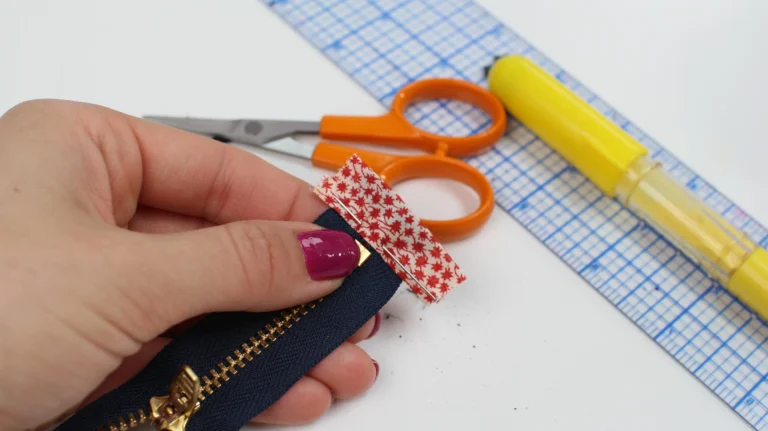
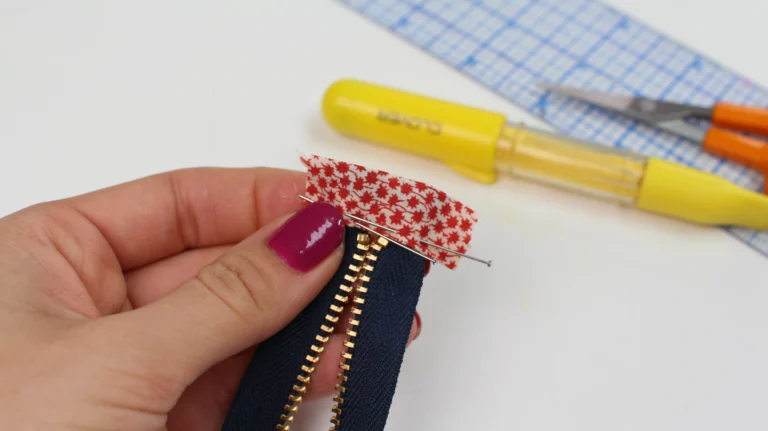
Using a zipper foot, stitch 1/8″ (3mm) from the folded edge.
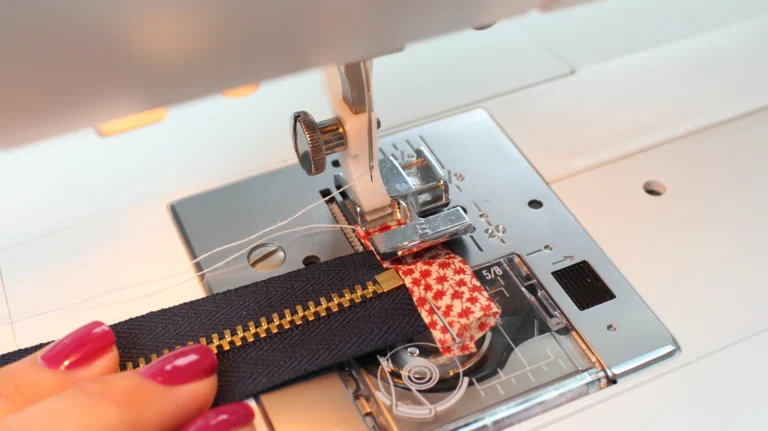
If sewing over plastic zip teeth, use the hand wheel for control.
Quilting is optional, but adds structure and durability.
I used a lightweight 100% cotton wadding. Thicker wadding will create a firmer bag.
Mark quilting lines on the right side of the exterior fabric:
Small & medium bags: 1/2″ (1cm) apart
Large bag: 3/4″ (2cm) apart
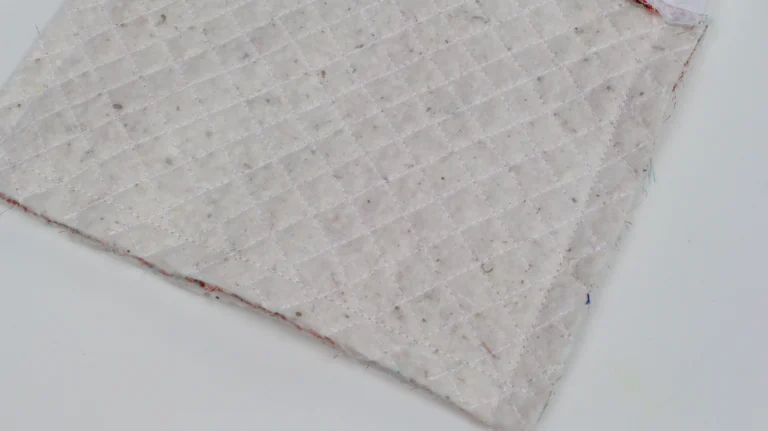
Draw a diagonal line, then parallel lines in both directions to form squares or diamonds.
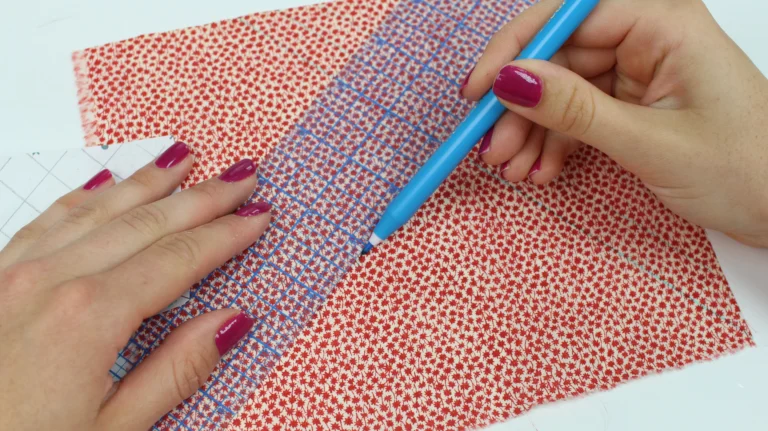
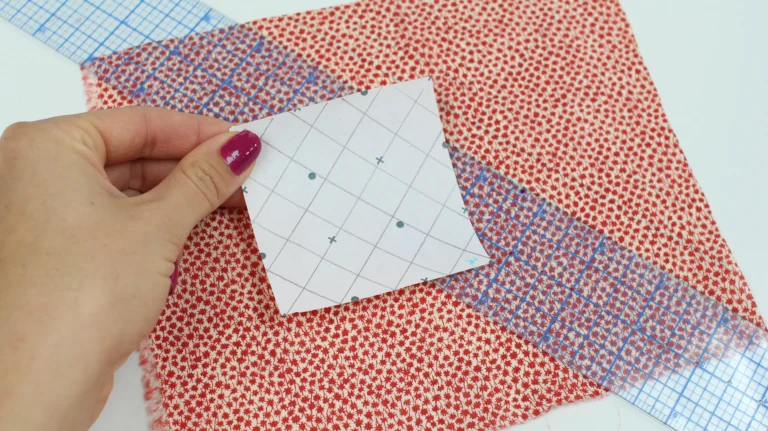
Layer the exterior fabric (right side up) on top of the wadding, pin lightly, and stitch along all marked lines. Backstitch at the start and end of each row.
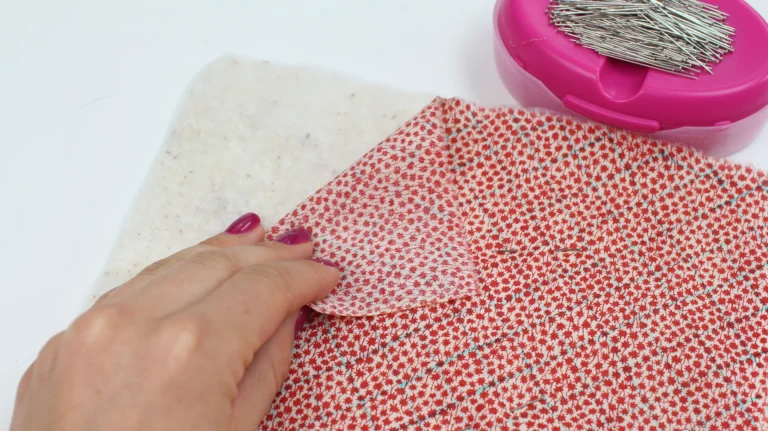
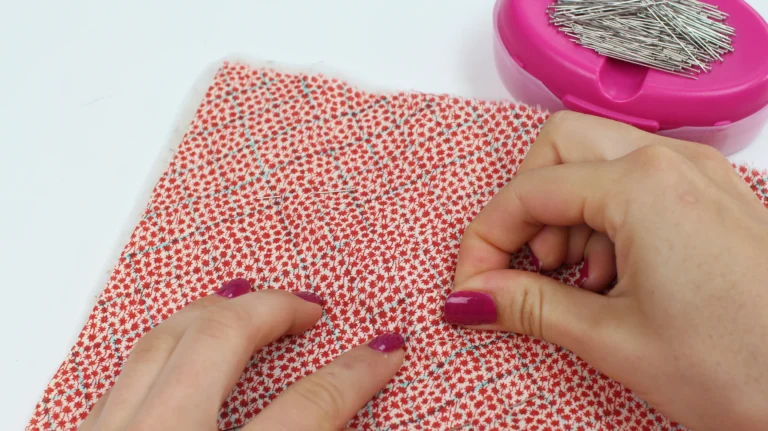
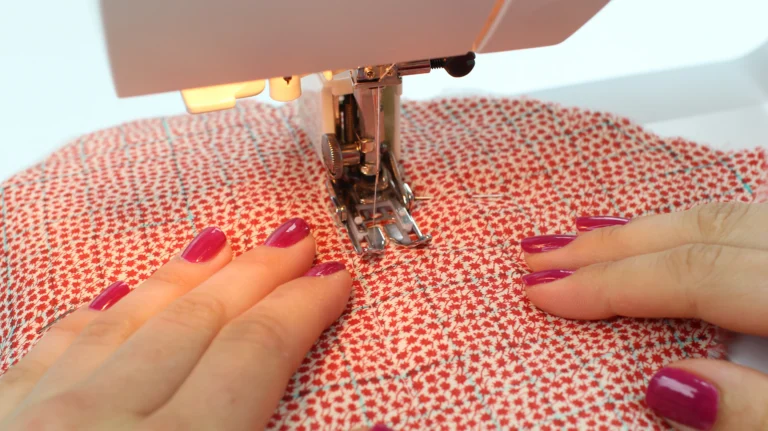
Lay the lining right side up and mark 5/8″ (1.3cm) in from each side along the top edge.
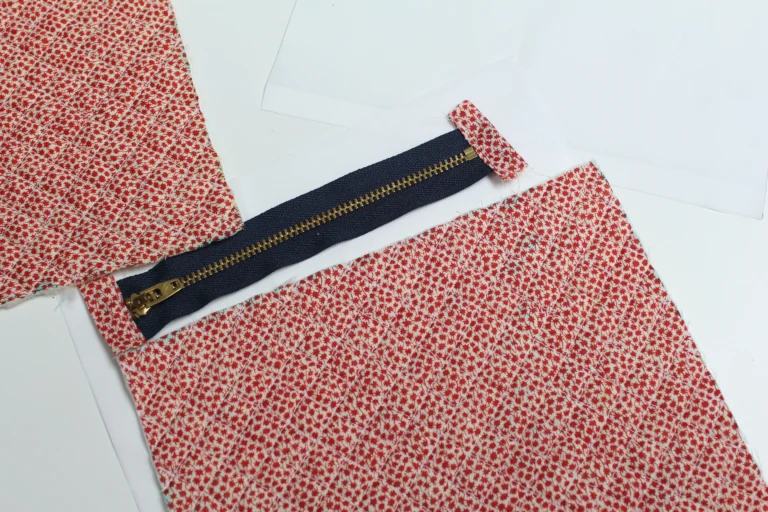
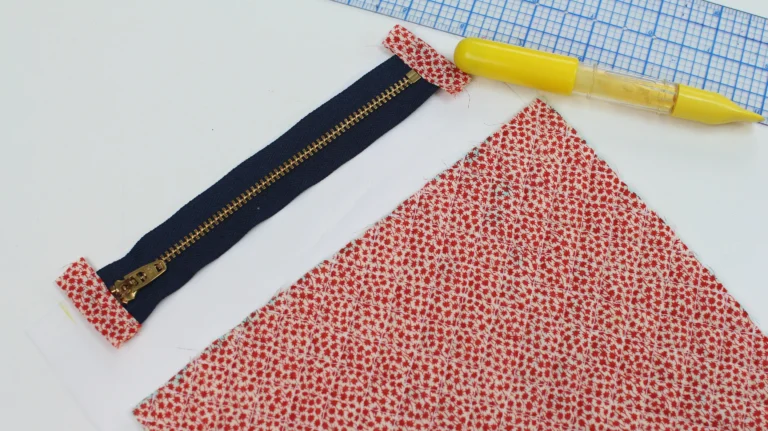
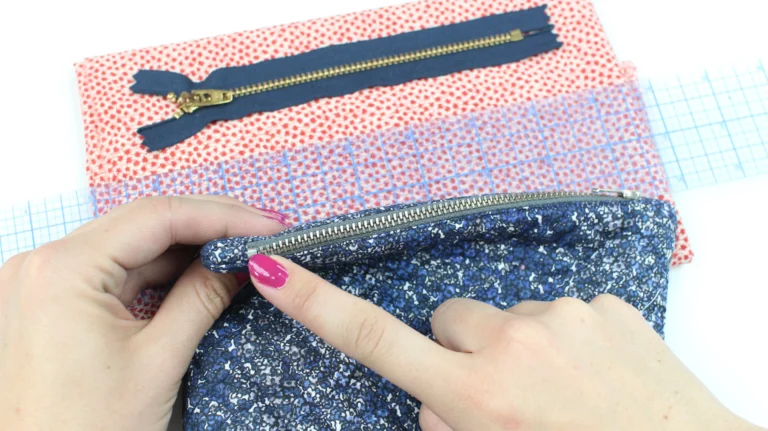
Place the zip teeth facing up, positioned between the markings. Lay the exterior fabric right side down on top, sandwiching the zip.
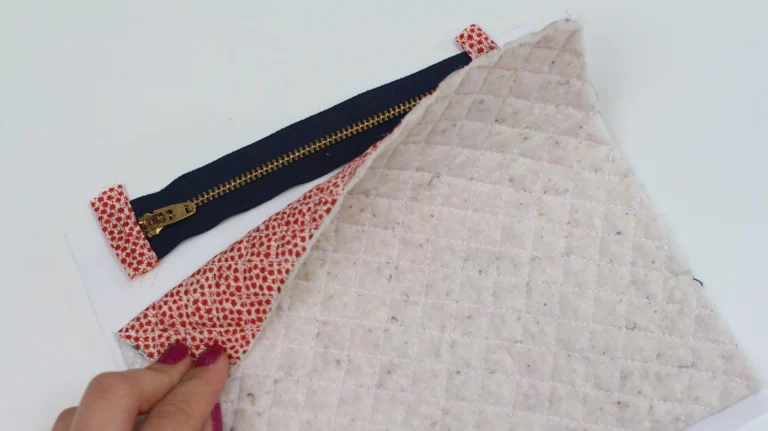
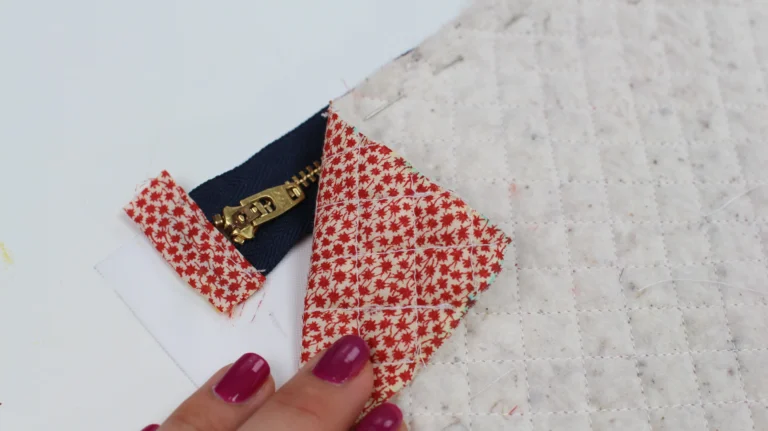
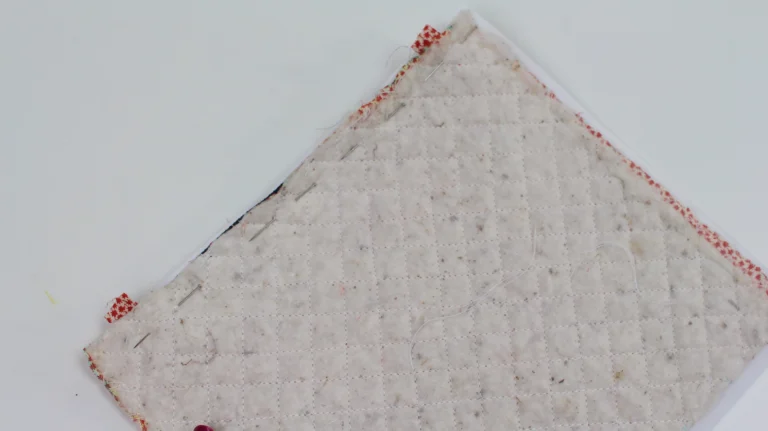
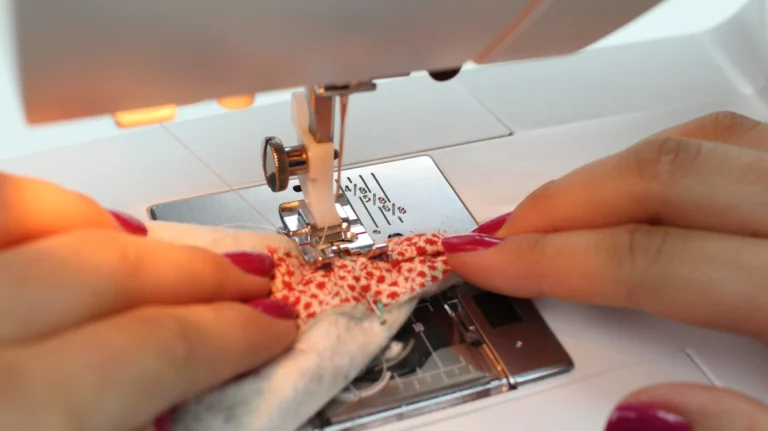
Pin and sew using a zipper foot, stitching close to the zipper teeth.
Stop with the needle down, move the zip pull when needed, then continue.
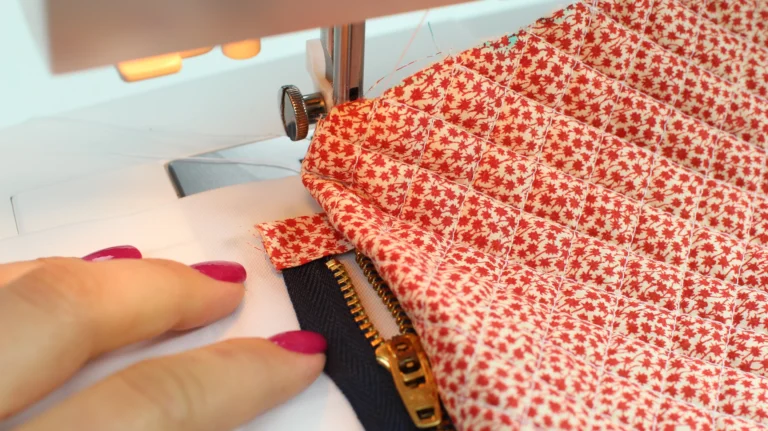
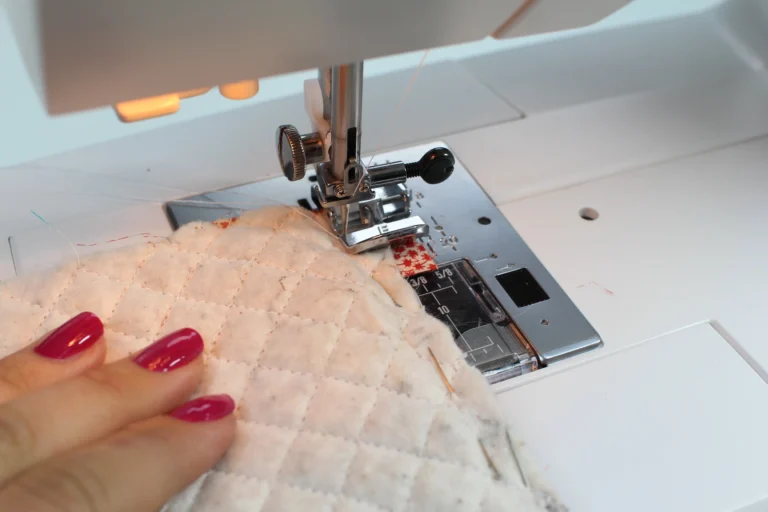
Fold both layers away from the zip and topstitch 1/8″ (3mm) from the edge of the material.
It can be a good idea to place some pins into the material and lining to hold the two layers back from the zipper. This can help to ensure an even stitch on both sides of the work.
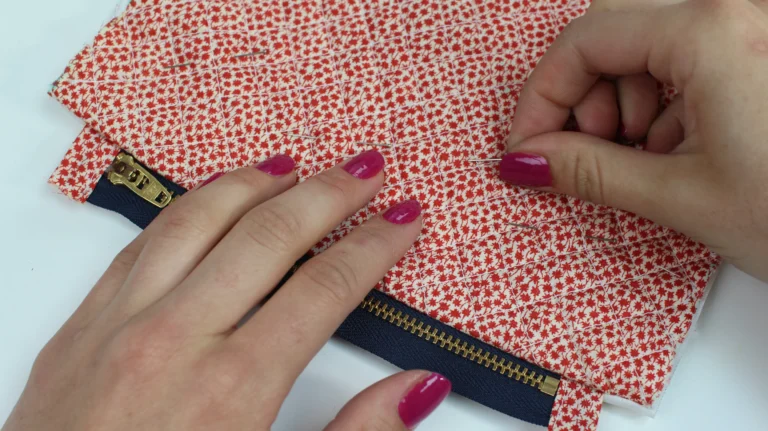
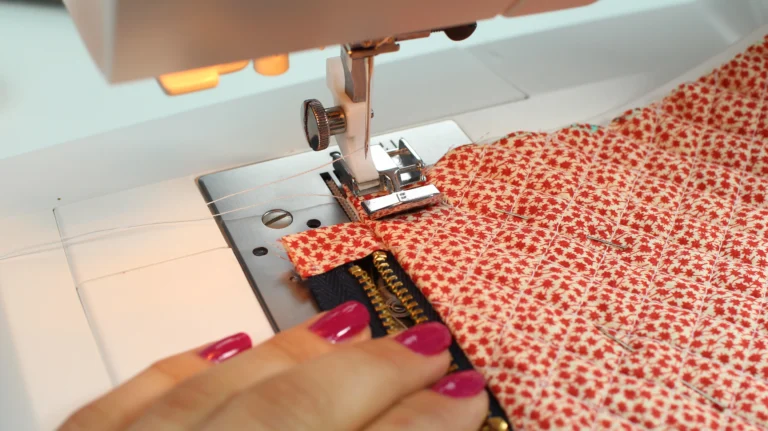
Repeat for the other side of the zip.
Open the zip (important!).
Place exterior pieces right sides together and lining pieces right sides together.
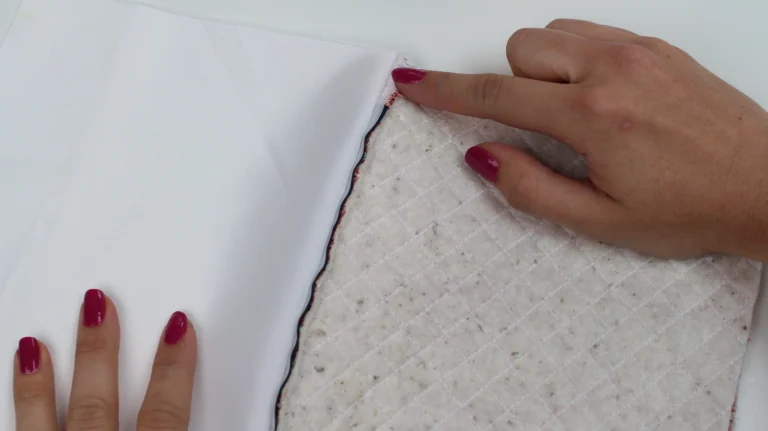
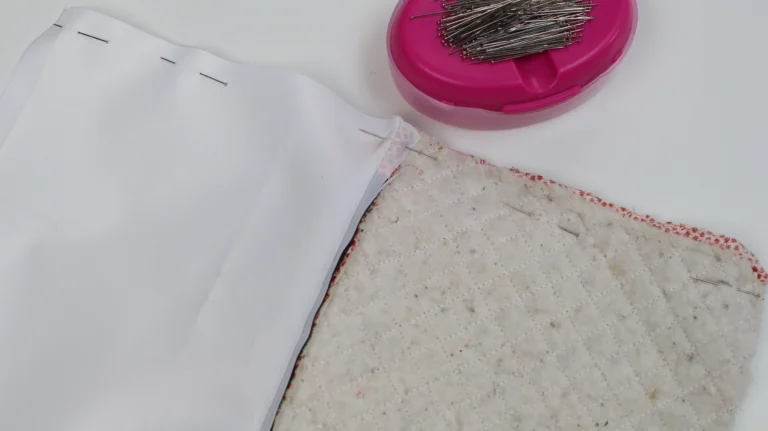
Sew both side seams using a 1/2″ (1cm) seam allowance, sewing from the lining towards the exterior fabric. The seam allowances at the zipper, including the zipper tape and zip tab should be going in the direction of the exterior fabric.
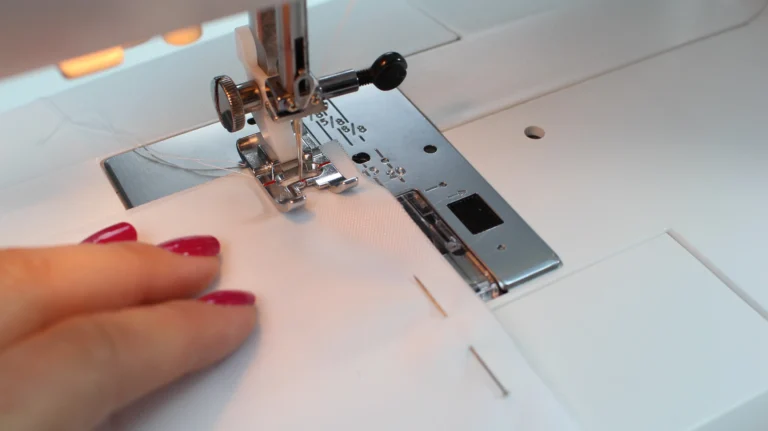
Sew across the bottom of the exterior.
Sew the bottom of the lining, leaving a 4″ (10cm) gap in the centre for turning.
Match the side seam with the bottom seam, opening the seam allowances.
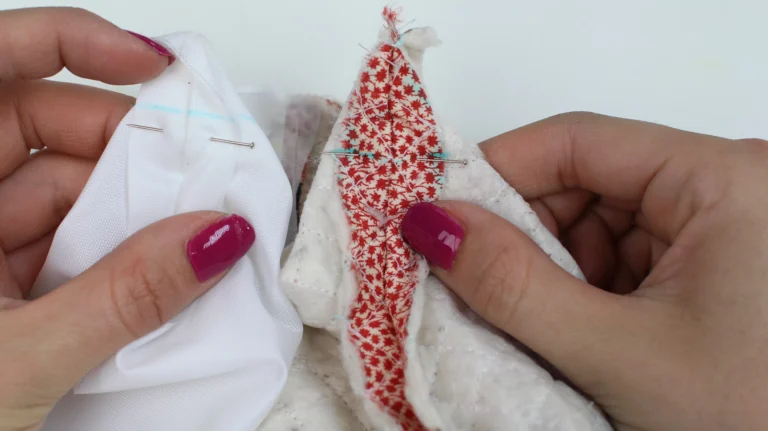
Measure from the sewn corner:
Medium bag: 3/4″ (2cm)
Large bag: 2″ (5cm)
Draw a line and sew across it.
Repeat for all four corners. Trim excess fabric 1/4″ (5mm) from the seam.
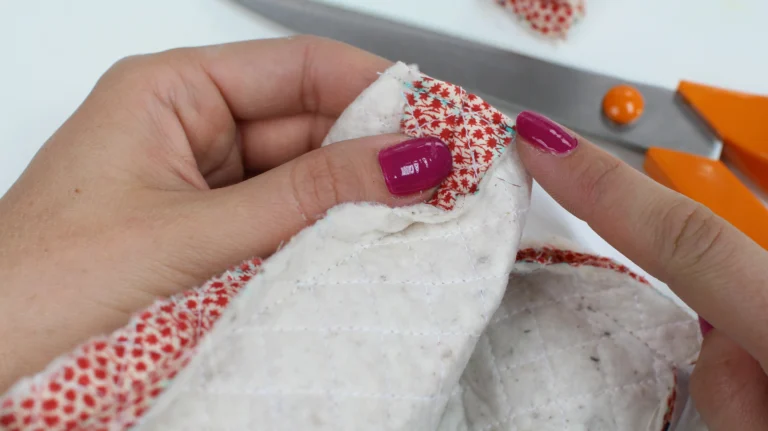
Turn the bag right side out through the lining opening. Push out corners at the zipper, and the bottom edge.
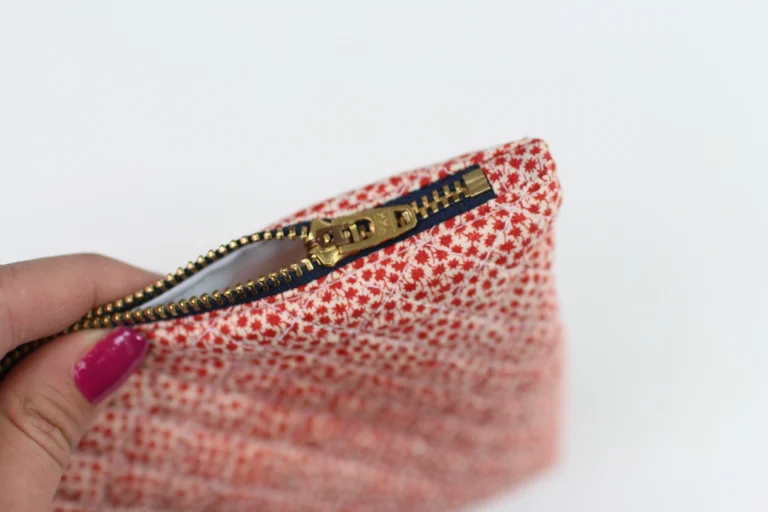
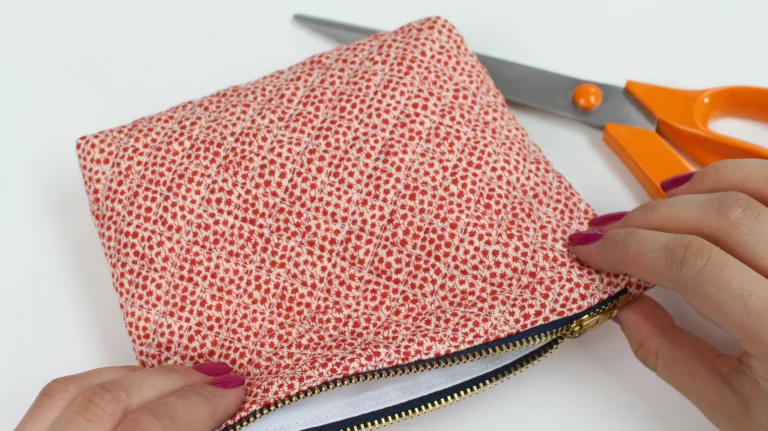
Turn under the seam allowances at the lining opening and pin.
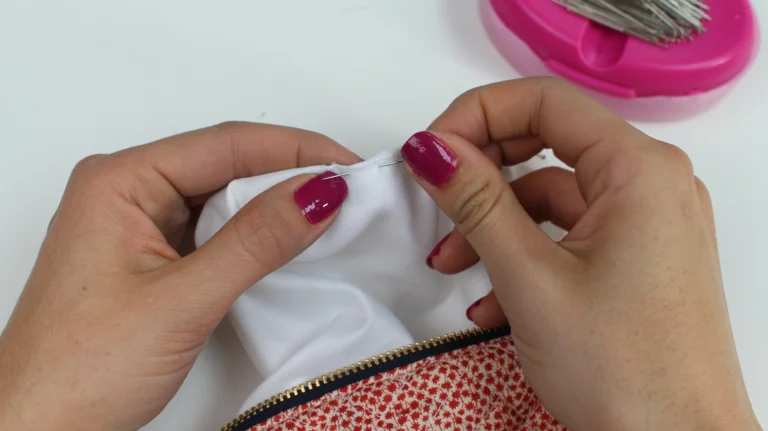 ‘
‘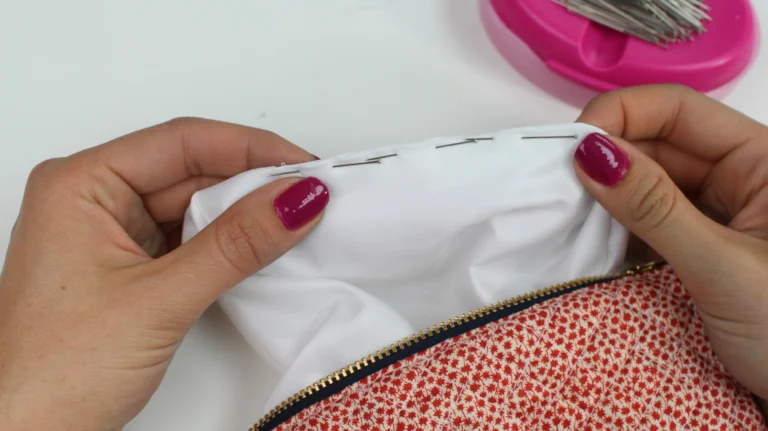
Edgestitch 1/8″ (3mm) from the edge of the material to close the lining.
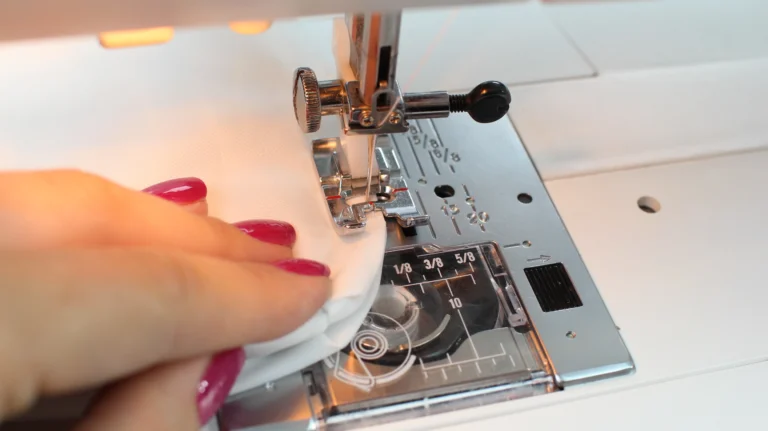
You now have a beautiful quilted wash bag with professional finishes and a whole set of new sewing skills.
Looking for your next sewing project?
Explore more Made to Sew sewing tutorials, dressmaking patterns and professional sewing classes.