
What is a back stitch?
The back stitch is a hand sewing stitch with a variety of uses. The hand stitches are sewn backwards, over themselves (this is visible on the wrong side of the stitching). Creating a very strong stitch, the closest hand stitch to the sewing machine.
With a variety of uses the back stitch can be used to reinforce, repair or sew garments and projects together. Alternatively the decorative look of the stitch can be used for embroidery or appliqué.
For a video on how to sew the stitch and the completion of back stitch appliqué. watch our tutorial on YouTube: Back Stitch (Hand Sewing, Embroidery / Appliqué).

Sewing a back stitch
Start by choosing your thread and needle. If you are using the back stitch for appliqué I would recommend using embroidery thread (two threads) for a visible finish. Tie a knot at the end of the thread and bring it through to the right side of the fabric (leaving the knot at the back of the fabric).
Sew the first stitch by sewing into the fabric and along by 1/8″ (2-3mm), exit the fabric another 1/8″ (2-3mm) along.

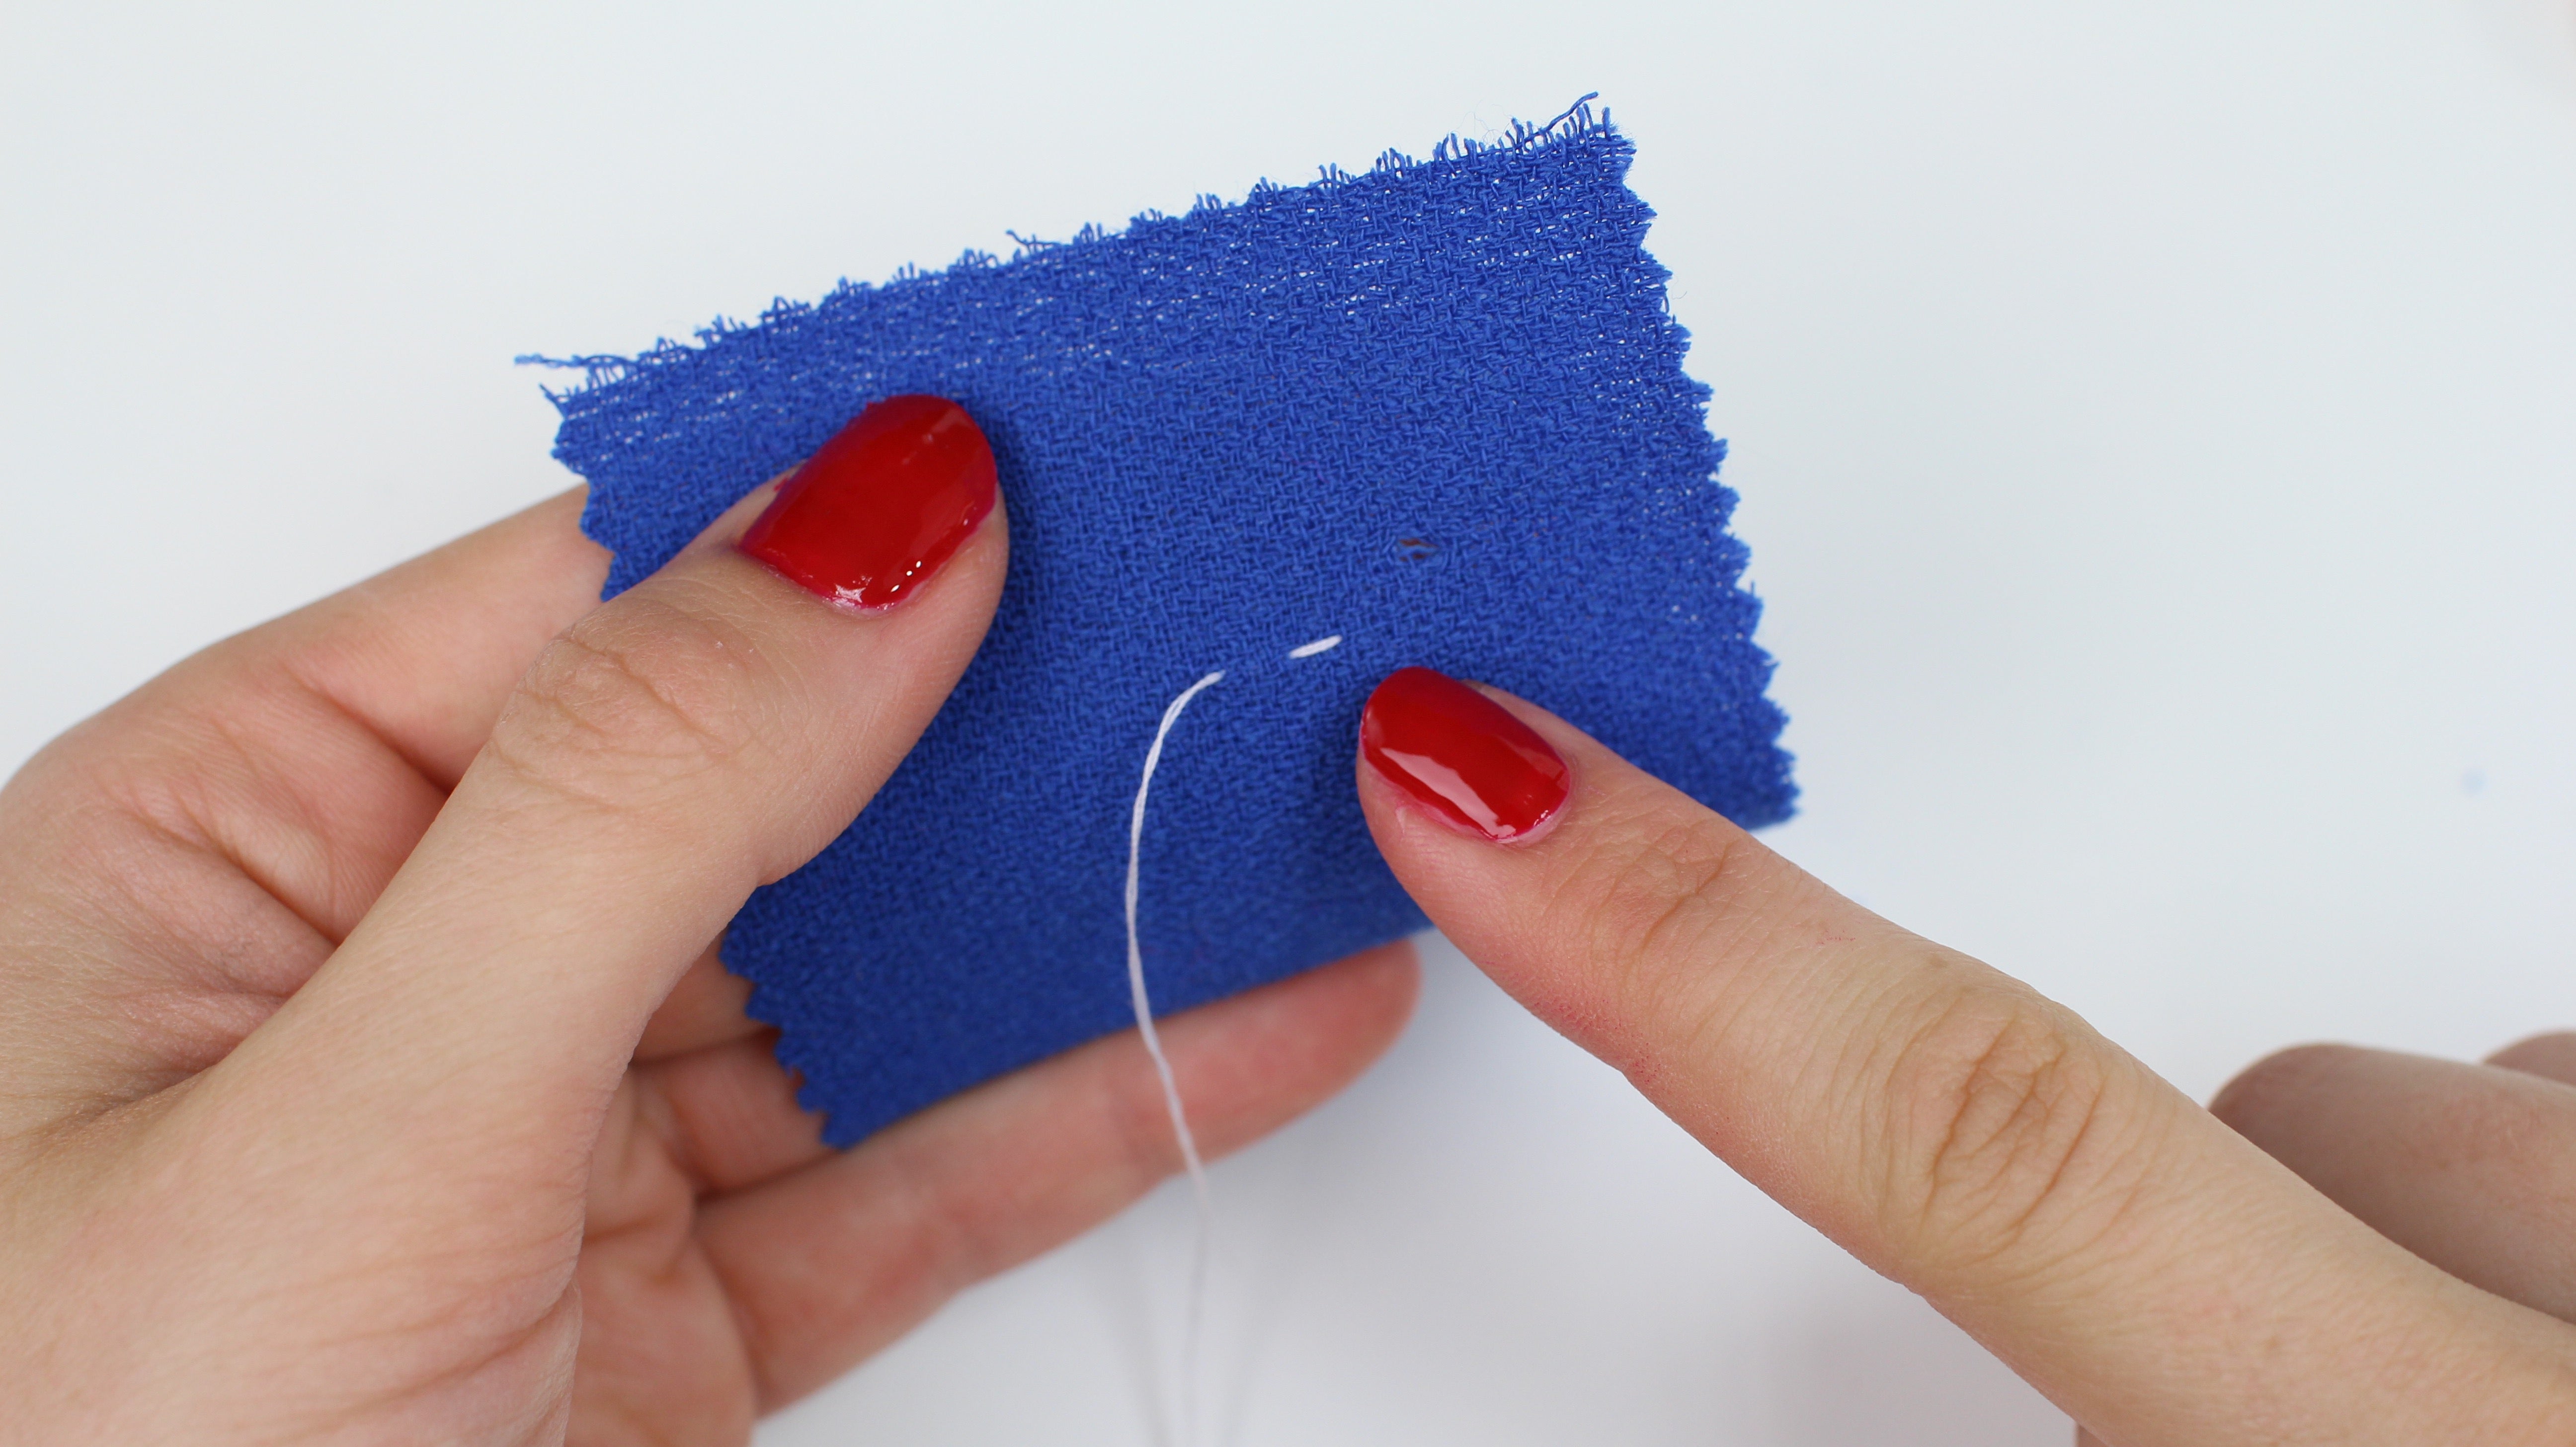 To complete the back stitch, position the needle into the end of the last stitch. Sew through the fabric and come back out onto the FRONT of the fabric, 1/8″ (2-3mm) away from the thread coming out of the fabric.
TIP: To make sure that your stitches are even, consider using the thread (coming out of the fabric) as the centre point from where the needle enters the fabric (at the end of the last stitch), to where the needle resurfaces.
Why not watch our YouTube tutorial to see how this is done: Back Stitch (Hand Sewing, Embroidery / Appliqué).  How to appliqué with the back stitch
Start by deciding on the motif you wish to appliqué. I would recommend using a double sided adhesive such as Bondaweb to attach the appliquéd motif onto the fabric. This will make the sewing process easier.
If you are working with Bondaweb you will need to draw your motif REVERSED onto the smooth side of the paper using a pencil.
 Position the rough, textured side of the Bondaweb onto the WRONG side of your chosen motif fabric. Iron this onto the fabric with heat (no steam) for 5 seconds. (Please refer to your instructions if you are working with a different double sided adhesive).
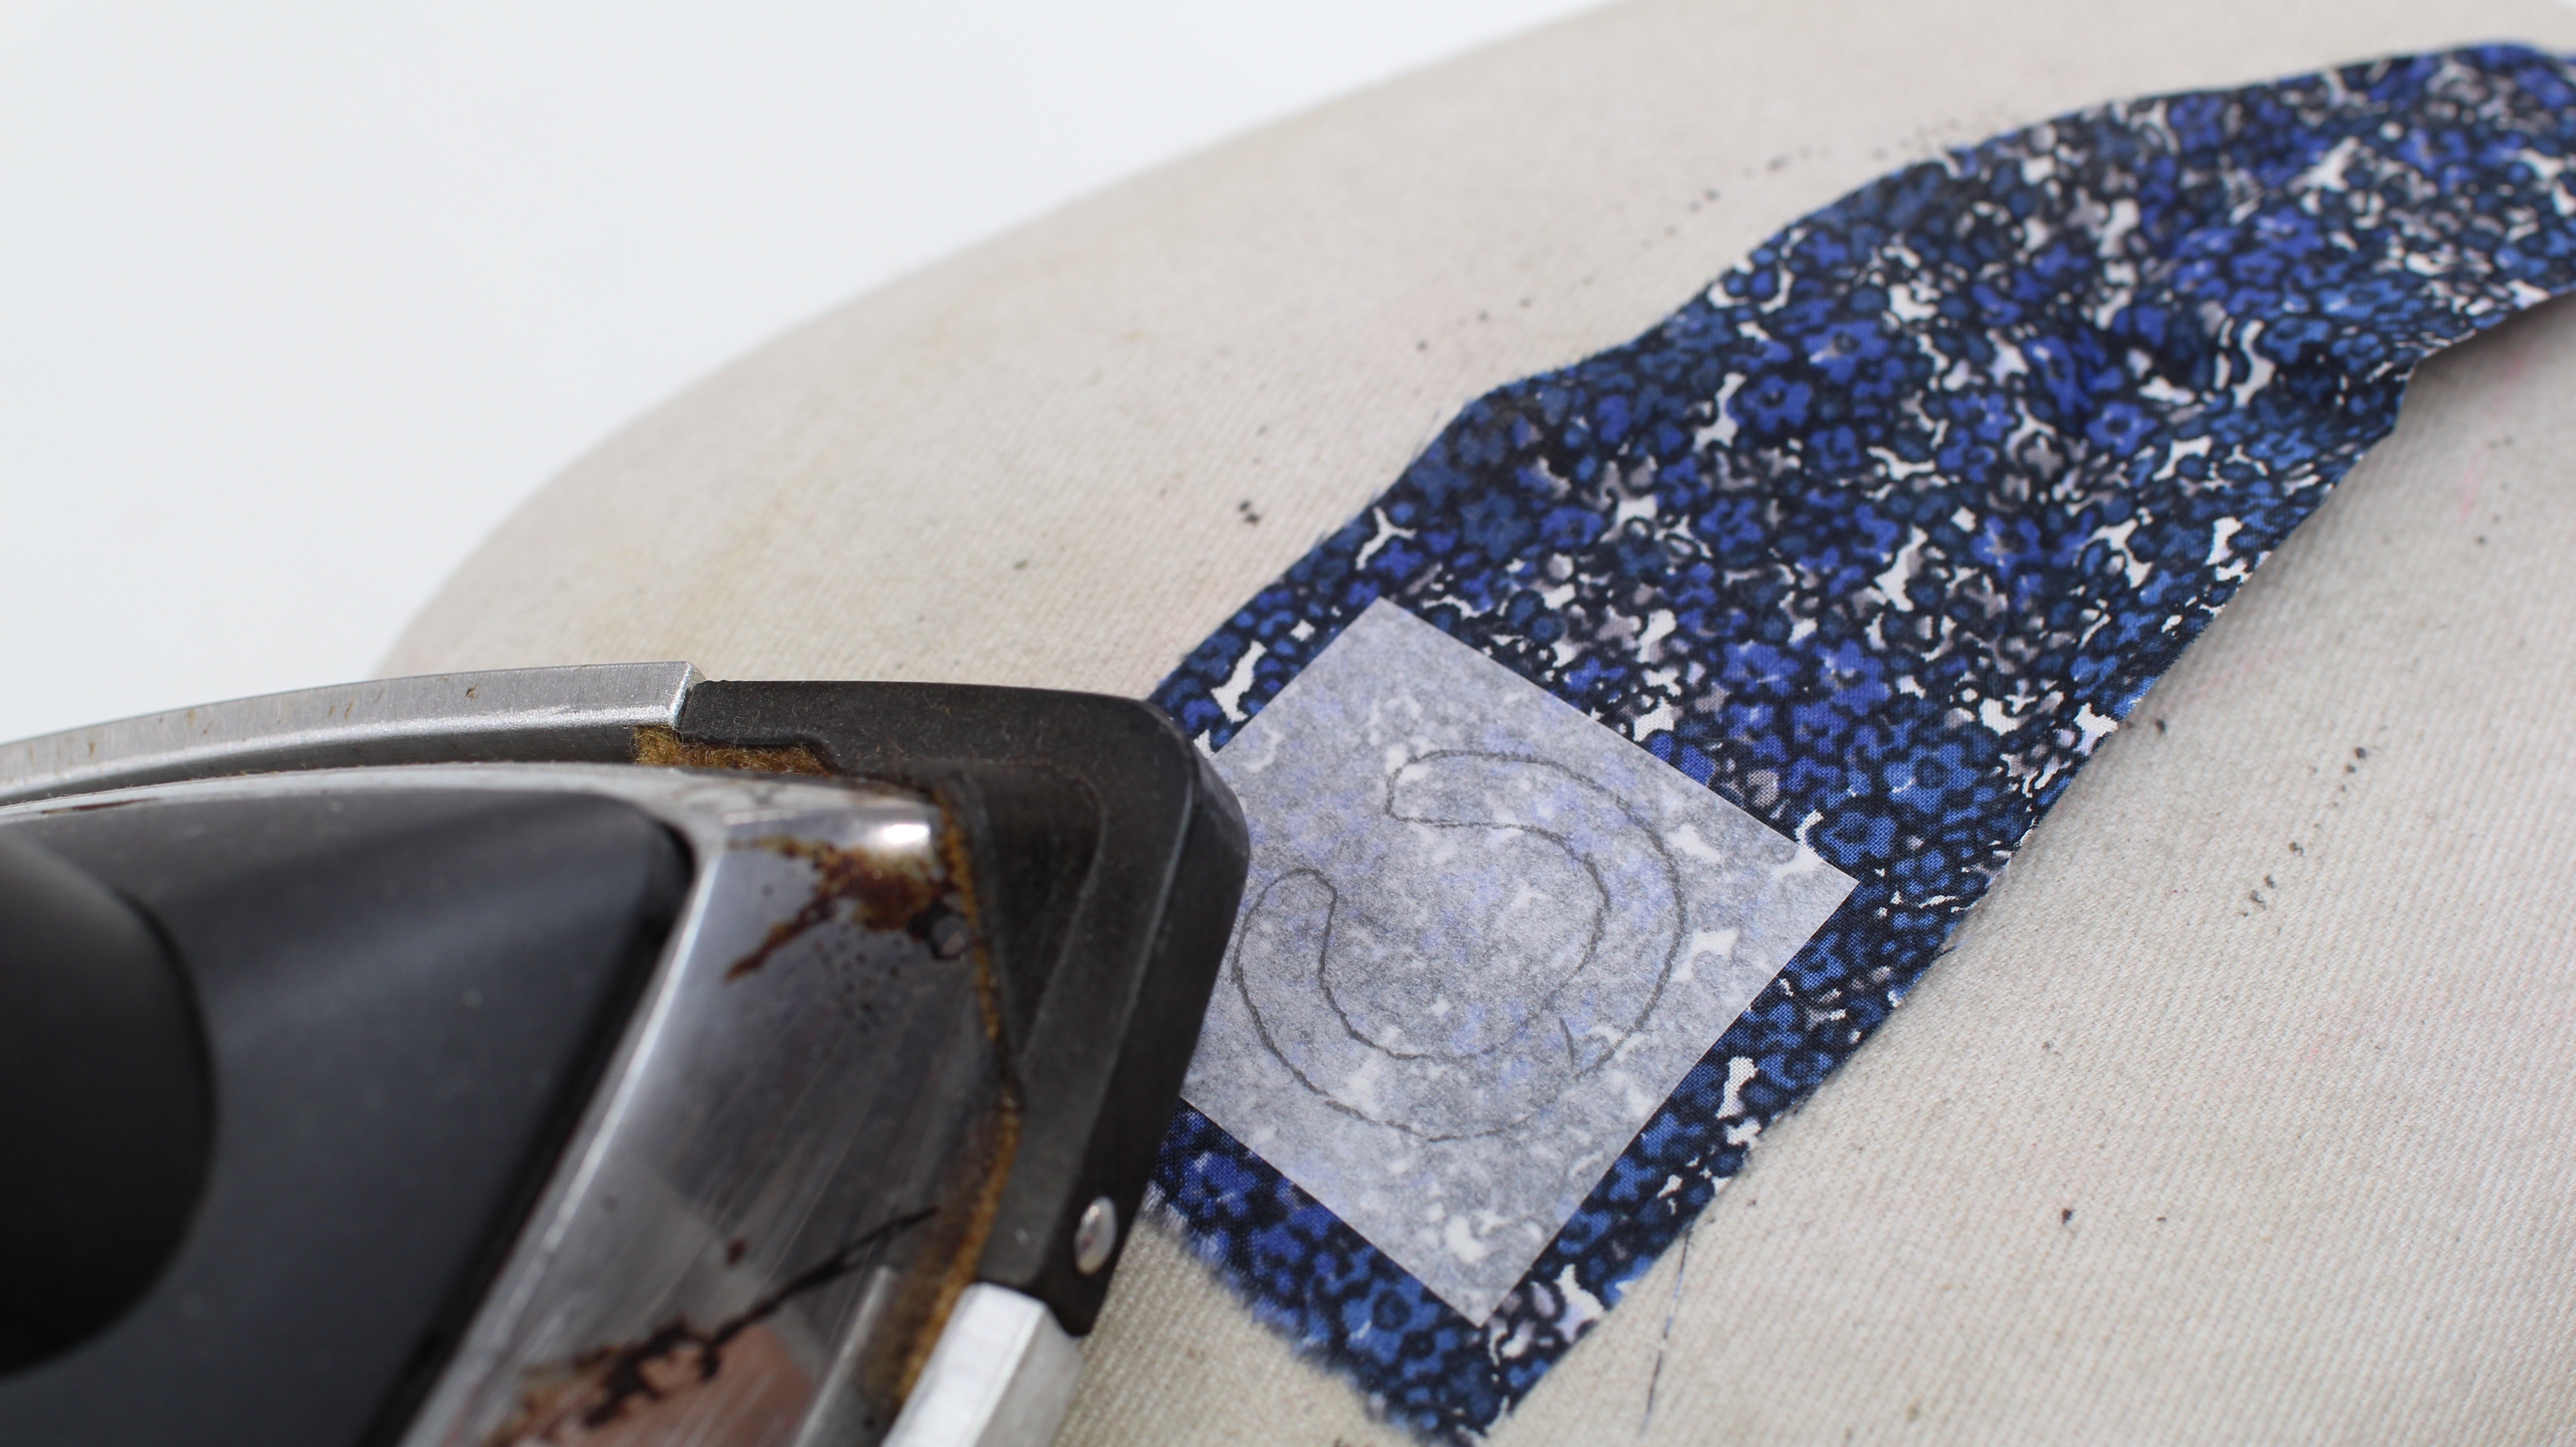
Cut out the motif around the drawn line.
Peel off the backing paper on the Bondaweb. This is the trickiest part, use tweezers or your finger nails to get started.
Position the motif onto the fabric, think about the placement of the motif. Position both the motif and the fabric RIGHT side facing up.
Iron the motif onto the fabric using steam or a damp cloth for approximately 10 seconds. (Please check your double sided adhesive instructions.)
You may need to interface the back of the main fabric should you wish to support the motif and stitching. This does depend on the fabric you are working with. Working with a cotton fabric we interfaced the back of the main fabric using a lightweight interfacing.
Complete the backstitch, try using two strands of embroidery thread for a decorative finish. Tie a knot at the end of the thread and bring the needle and thread through to the RIGHT side of the fabric. The knot should be at the back of the fabric.
Complete the back stitch as explained previous, I stitched 1/16″ (1-2mm) away from the edge of the motif. However this will depend on the size of your individual motif and is up to you.
To finish take the thread to the WRONG side of the fabric, tie a knot to secure.
 Hopefully you feel able to use your new skills to create beautiful back stitching. Use it for decoration on your next appliqué or embroidery project; alternatively as a sturdy hand stitch to sew a garment or home furnishing project.
P.S. If you want to make the keyring I used in this tutorial, click here for the blog post and corresponding YouTube tutorial: DIY Personalise Keyring (Appliqué).
