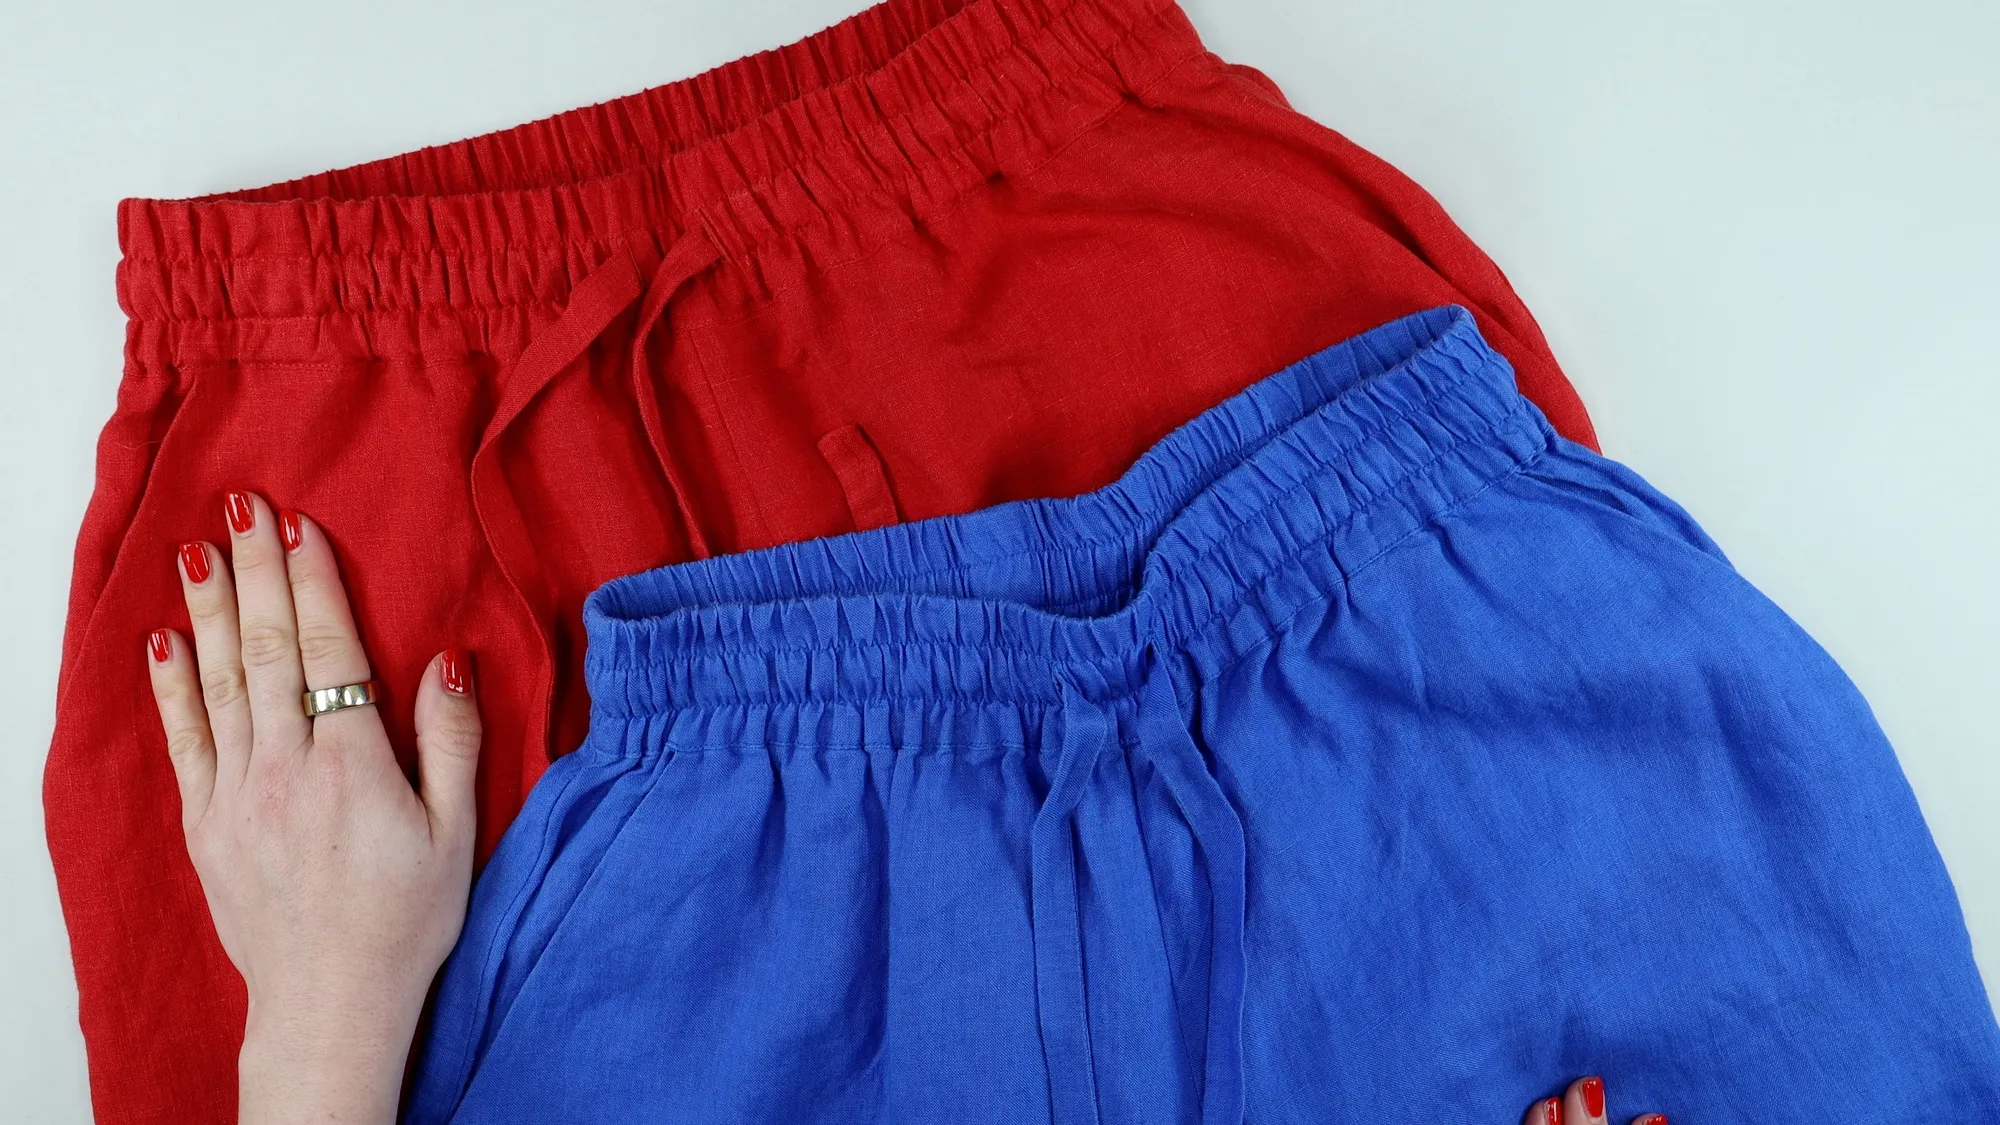
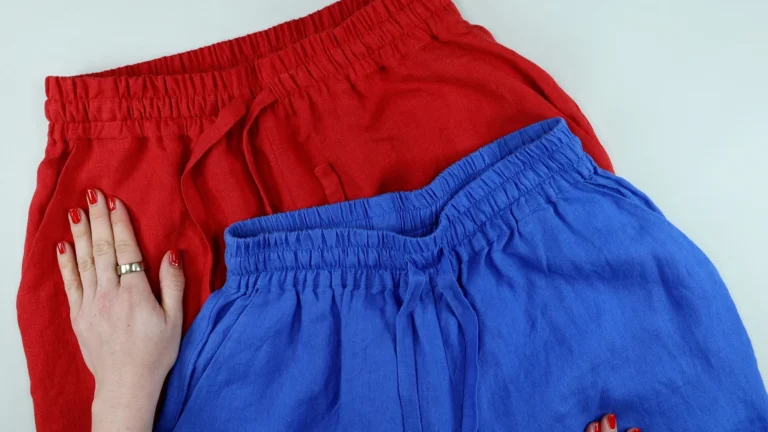
Learn how to sew a pair of relaxed linen trousers with side seam pockets, an elasticated waistband and a drawcord tie.
These trousers are quick and straightforward to construct, making them a great project for beginners. I chose to make mine in linen for a relaxed, casual finish, but you can use another suitable woven fabric such as cotton.
This is Class Two in my Linen Trouser series. If you would like to draft the pattern yourself, start with Class One – How to Draft Linen Trousers, where I show you how to adapt a trouser block to create the pattern.
You can make these trousers:
Watch the Full Tutorial – How to Sew Linen Trousers
Need the pattern first?
Draft these trousers to your own measurements in Class One: How to Draft Linen Trousers
*affiliate links below
To follow along with this tutorial you will need:
In this tutorial I’ll show you how to:
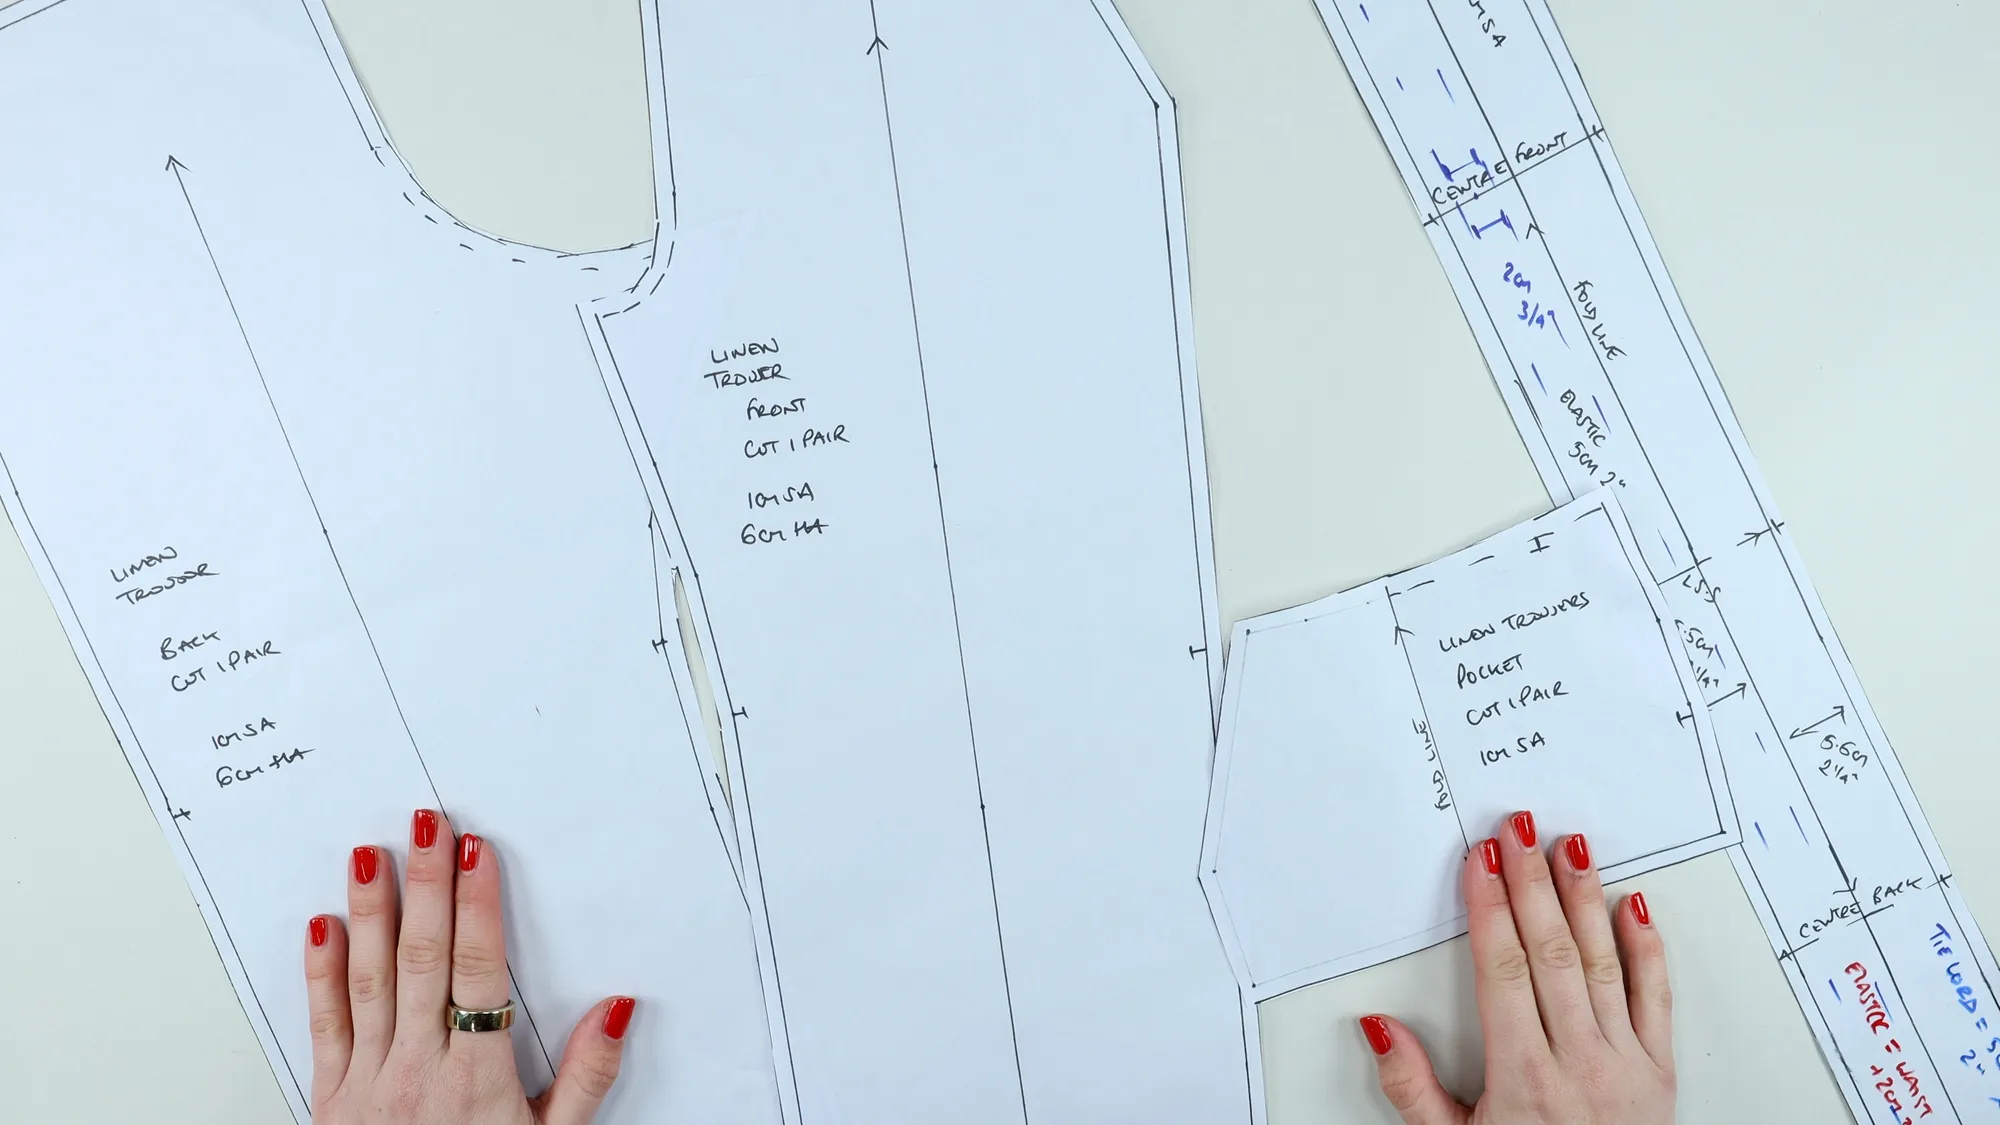
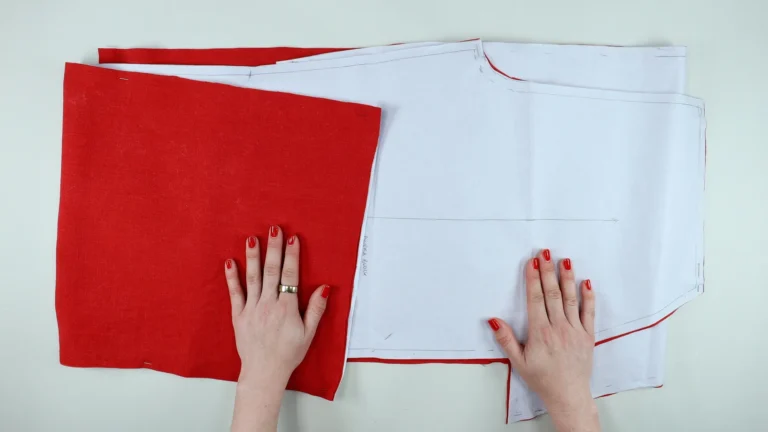
Cut out the following from your fabric:
Mark all of your notches using your preferred method. If you clip the notch at the bottom of the pocket, make sure you don’t cut deeper than 5mm, as we will be sewing a French seam here later. Alternatively mark with chalk.
Before constructing the pockets, stabilise the angled pocket opening.
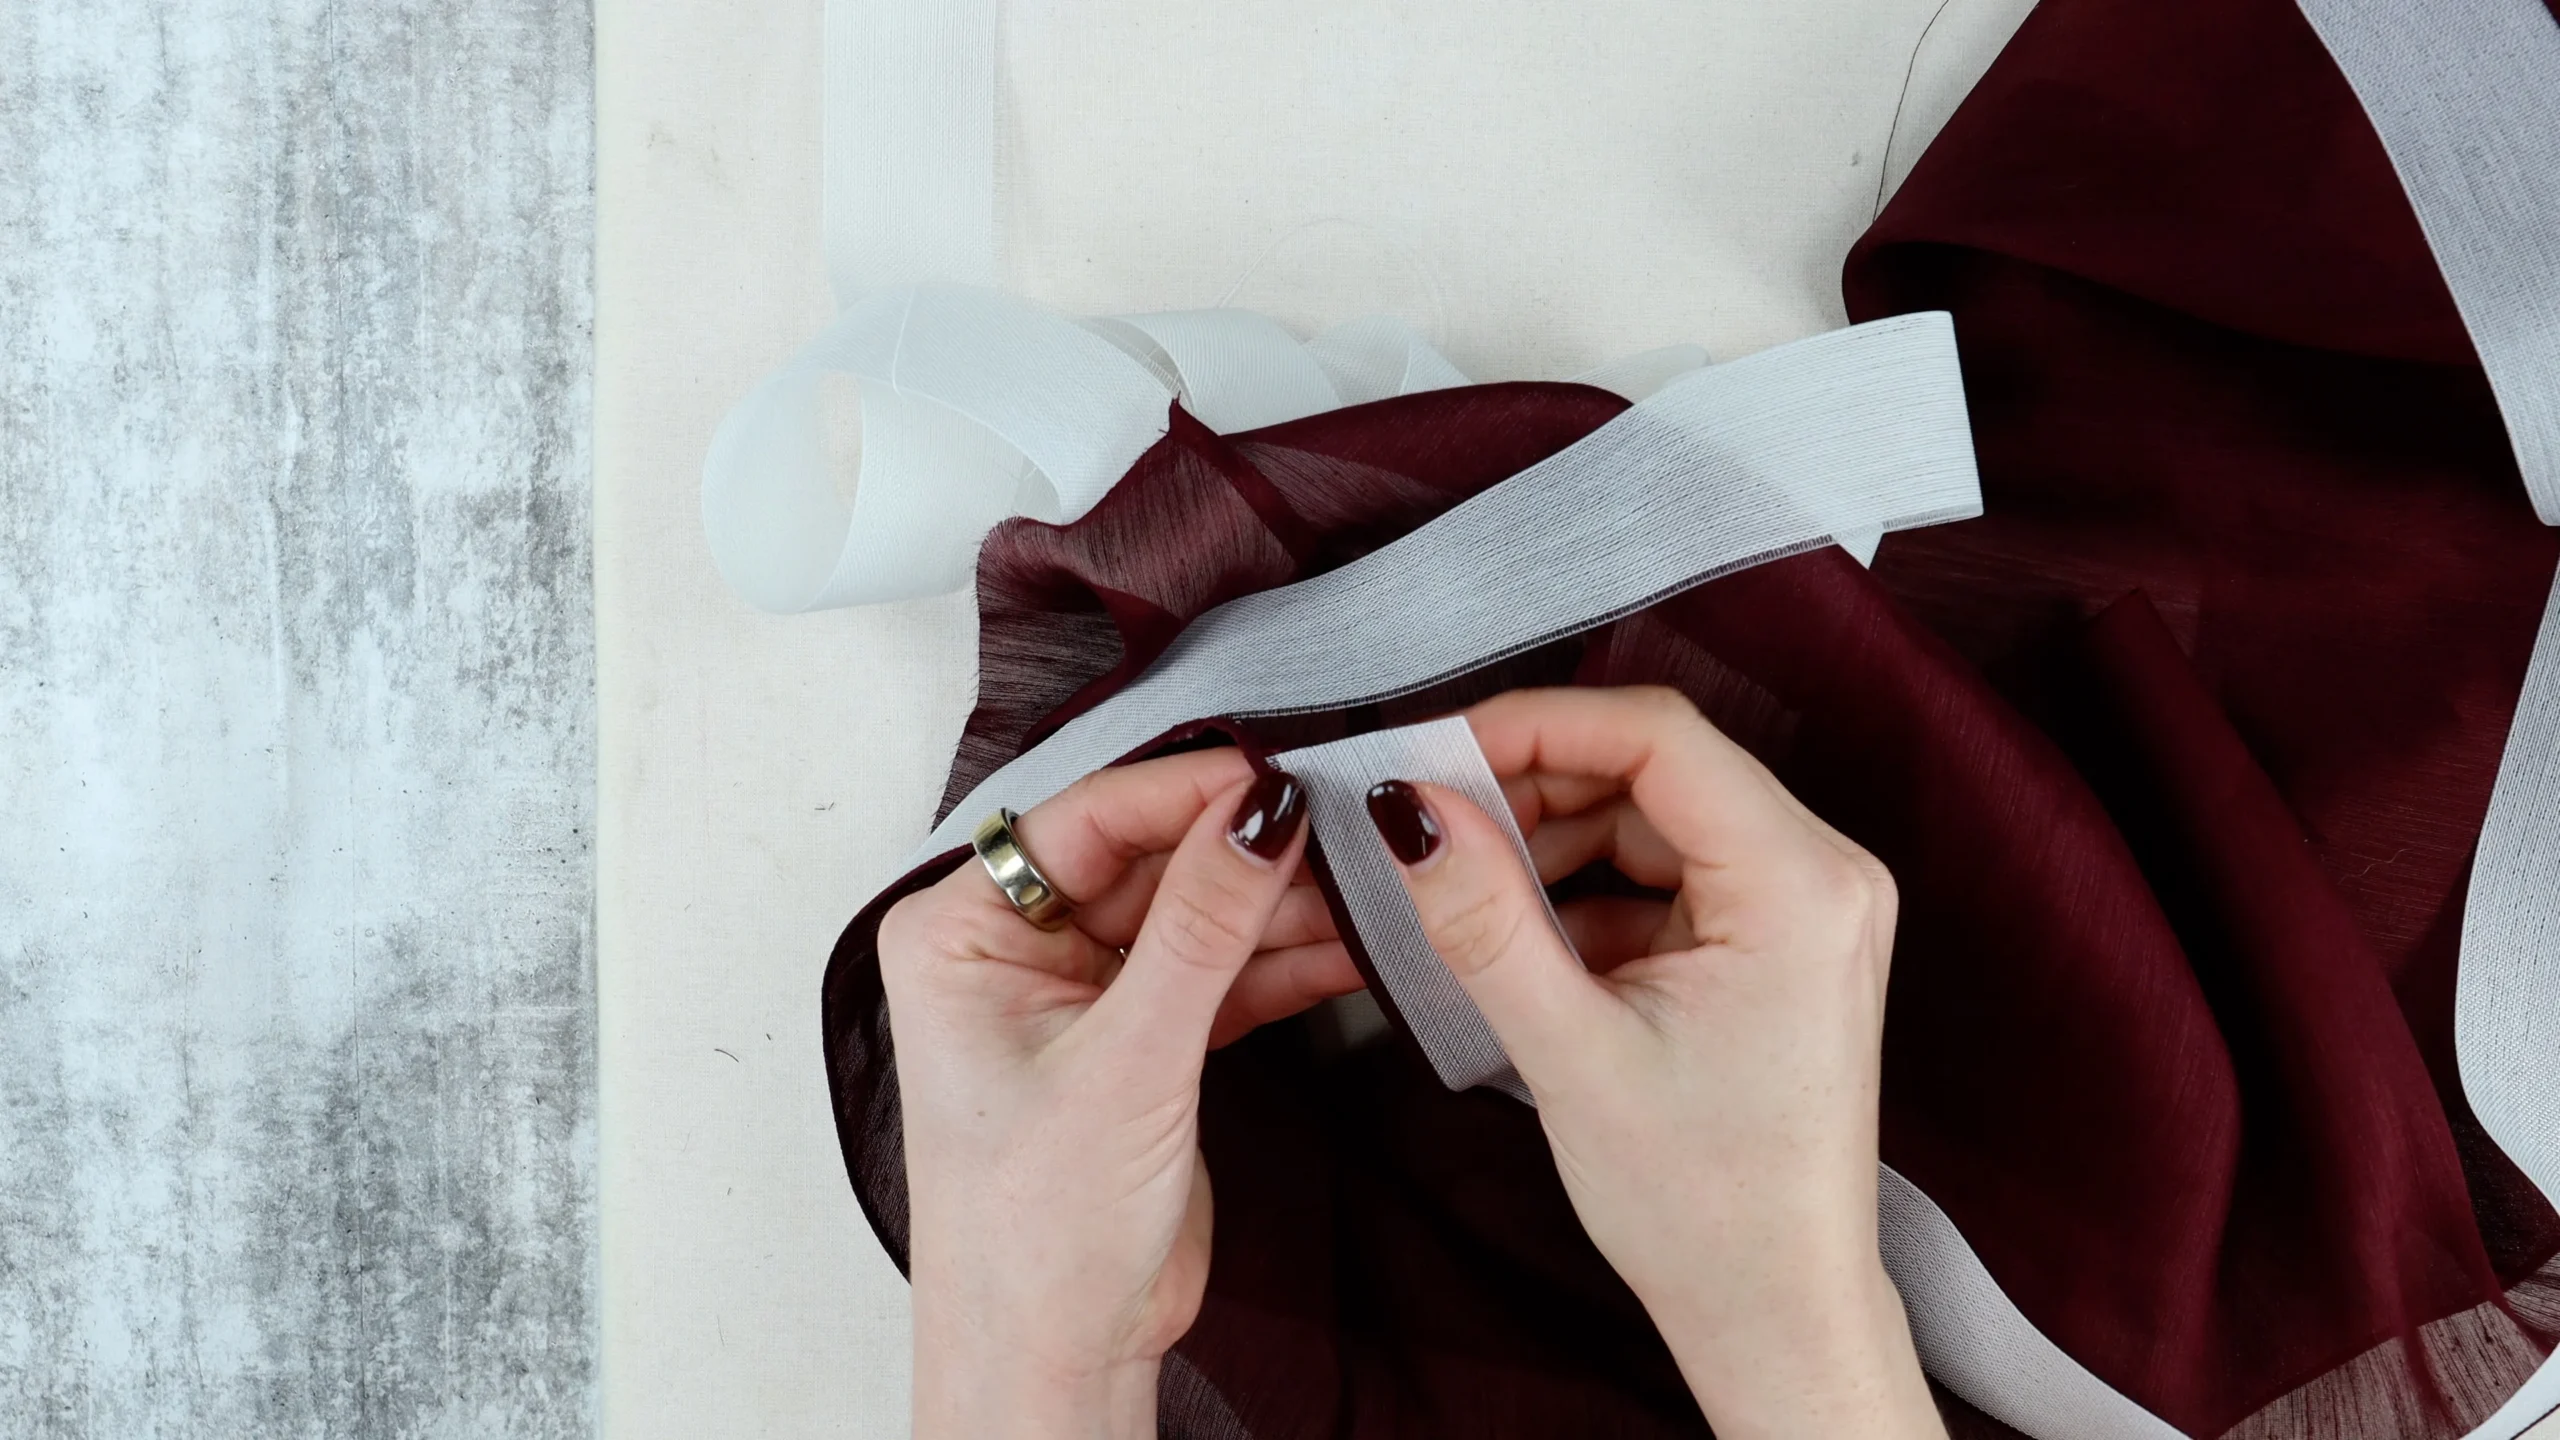
Apply a strip of lightweight to medium-weight fusible interfacing to the wrong side of the angled edge of each pocket bag. I used interfacing tape approximately 2cm (¾″) wide.
You can purchase pre-cut tape or cut your own strips of interfacing. If you make your own, cut them on the straight grain so that they provide plenty of stability.
Fuse according to the manufacturer’s instructions and trim away any excess.
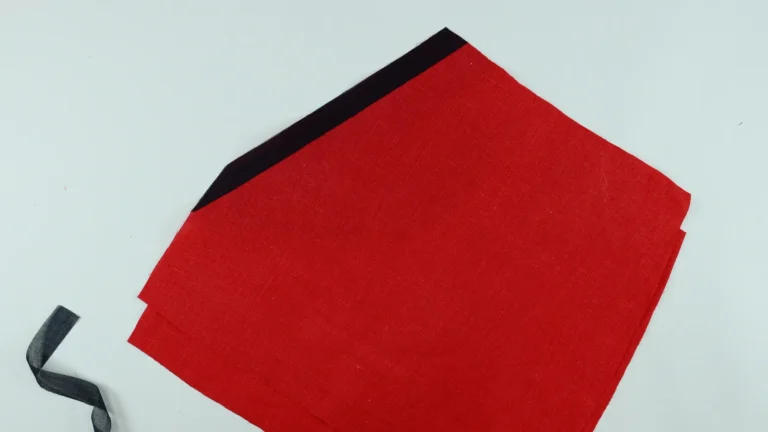
Position the pocket bag onto the front trouser piece with right sides together, aligning the angled pocket opening.
Pin in position and sew along the angled edge following your seam allowance. My seam allowance is 1cm (⅜″).
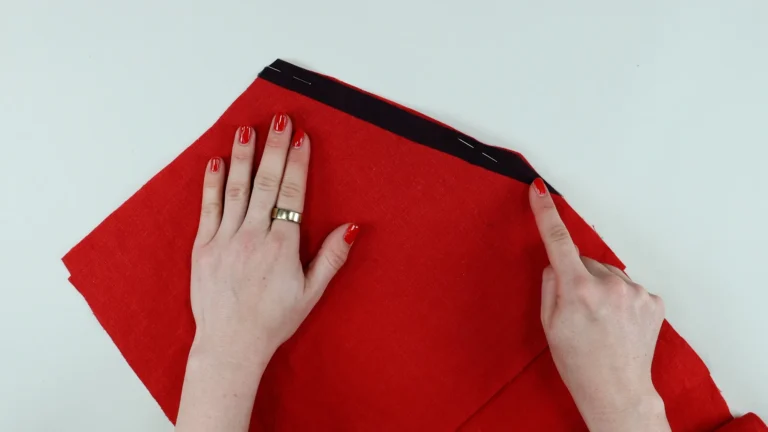
Press the seam open before finishing the two seam allowances together using an overlocker or serger.
Next, understitch the pocket opening. Push both seam allowances towards the pocket bag and stitch through the pocket bag and seam allowances approximately 2-3mm (¹⁄₁₆-⅛″) from the seam.
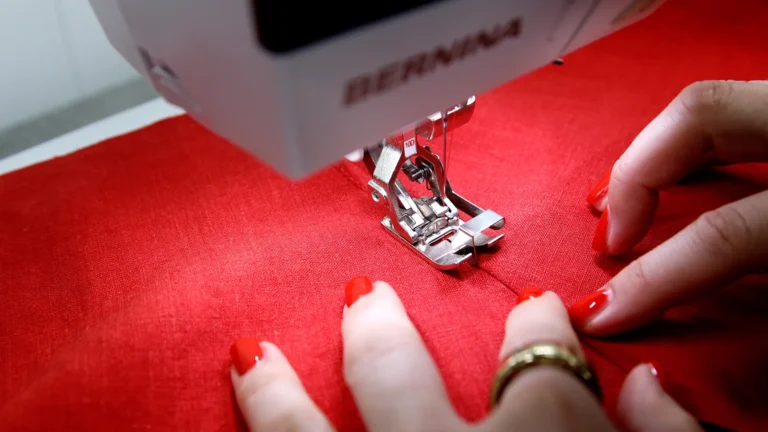
Understitching helps the pocket bag roll neatly towards the inside of the garment rather than being visible from the front.
Press the pocket opening into position, allowing a tiny amount of the trouser fabric to roll towards the inside. From the right side, neither the pocket bag nor the stitching should be visible.
Fold the pocket bag along the marked notches so that the side and waist edges align with the front trouser piece.
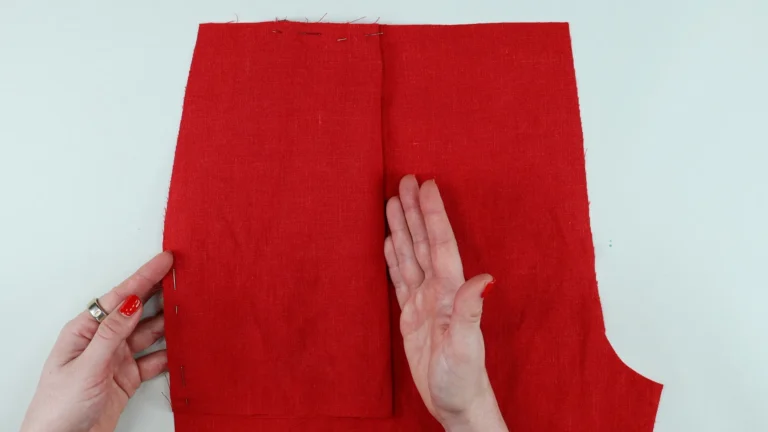
For the first stage of the French seam, position the pocket bag with wrong sides together.
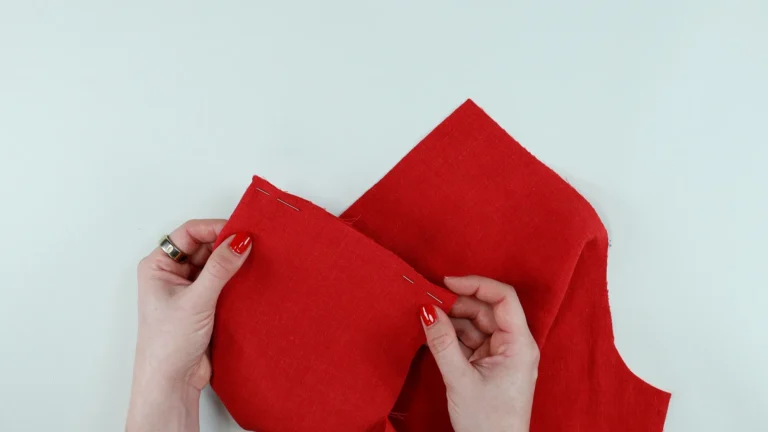
My total seam allowance is 1cm (⅜″). Sew the first seam at 5mm, trim the seam allowance to approximately 3mm, turn the pocket so that the right sides are together, press, and sew another 5mm seam.
If you’re working in imperial measurements, you can sew the first seam at approximately ⅛″ and the second at ¼″.
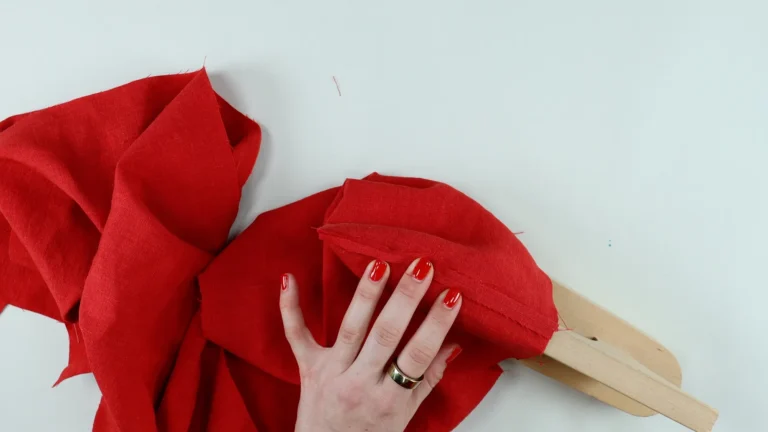
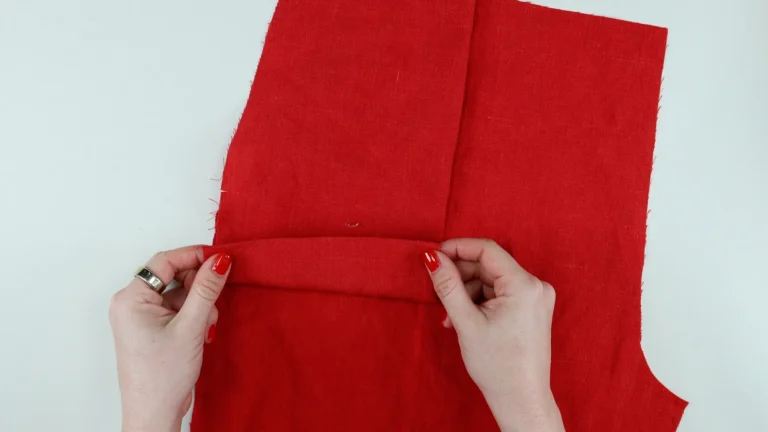
Make sure any notch cut into this area is smaller than your first seam allowance so that it is completely enclosed inside the finished French seam.
The result is a beautifully clean pocket bag with no exposed raw edges.
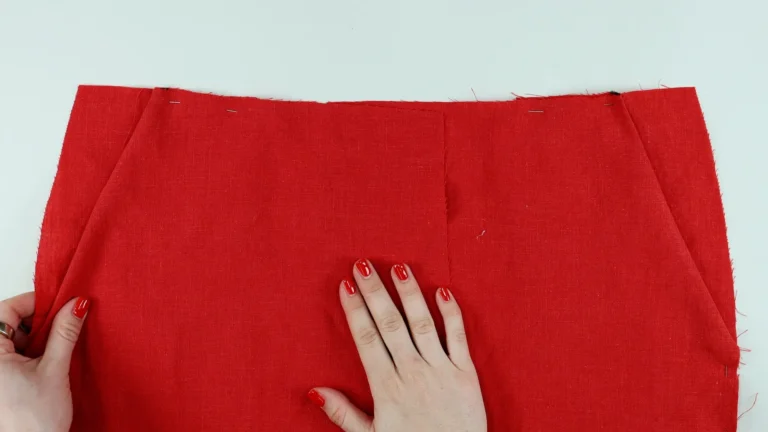
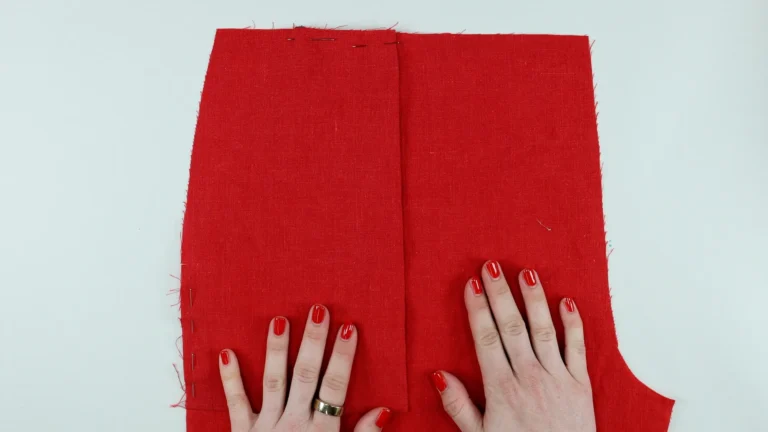
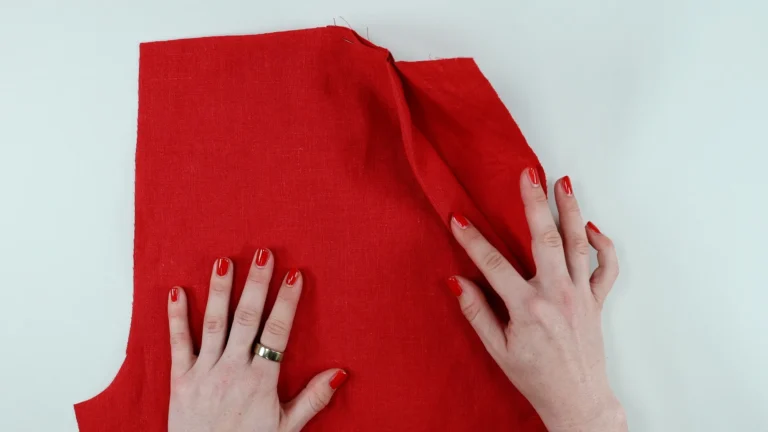
With your pockets completed, position each front trouser piece right sides together with its corresponding back.
Pin the outseam or side seam, paying particular attention to the pocket area. You need all three layers – front, pocket bag and back – to remain correctly aligned.
Sew from the hem towards the waist using your seam allowance. Mine is 1cm (⅜″).
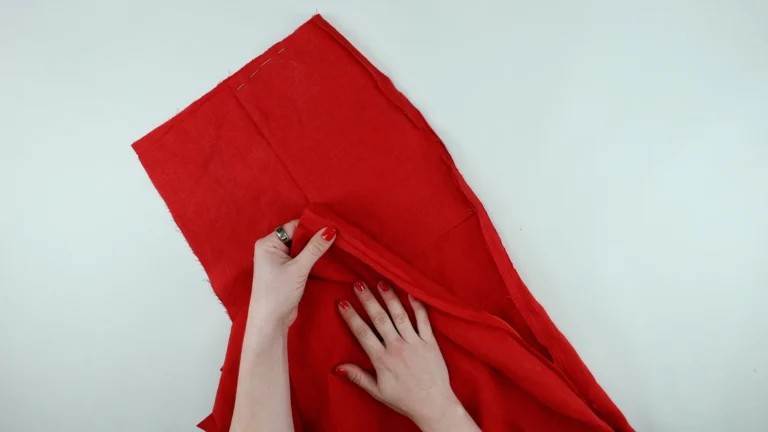
Press the seam open first to achieve a crisp finish and then finish both seam allowances together using a three-thread overlock stitch. Finally, press the finished seam allowance towards the back of the trousers.
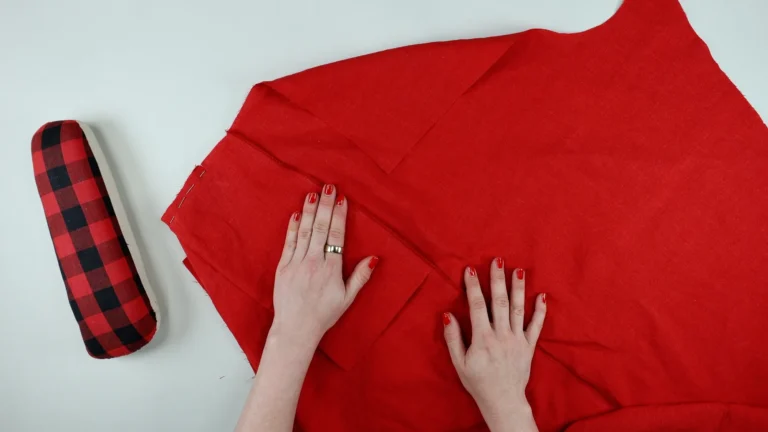
For these relaxed linen trousers, I think an overlocked or serged seam is perfectly appropriate. However, you could use French seams, flat-felled seams or bound seams depending on your fabric and the finish you prefer.
If you already know the finished length of your trousers, I recommend pressing the hem while the trouser legs are flat. It is considerably easier to achieve an accurate press at this stage.
For my trousers, I pressed: 1cm (⅜″) first turn + 5cm (2″) hem.
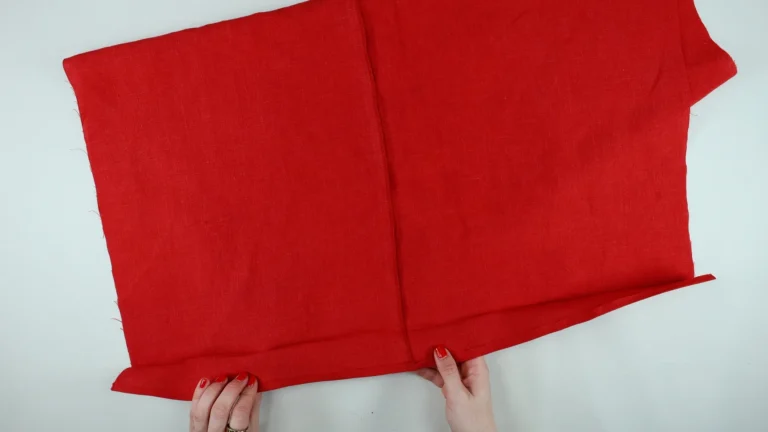
If you haven’t established your finished trouser length yet, leave the hem until the trousers are complete so you can try them on first.
Position the front and back legs right sides together and sew the inseam from the hem towards the crotch.
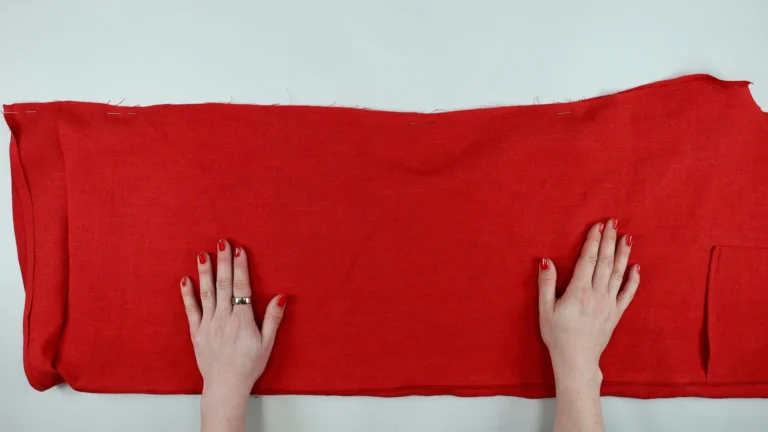
Press the seam allowances open, finish them together using your overlocker or serger, and press towards the back.
Repeat for both trouser legs.
If you know your finished length, lay both trouser legs together first and check that they are exactly the same length.
Using an edge-stitching foot if you have one, sew approximately 3mm (⅛″) from the inside folded edge of the hem.
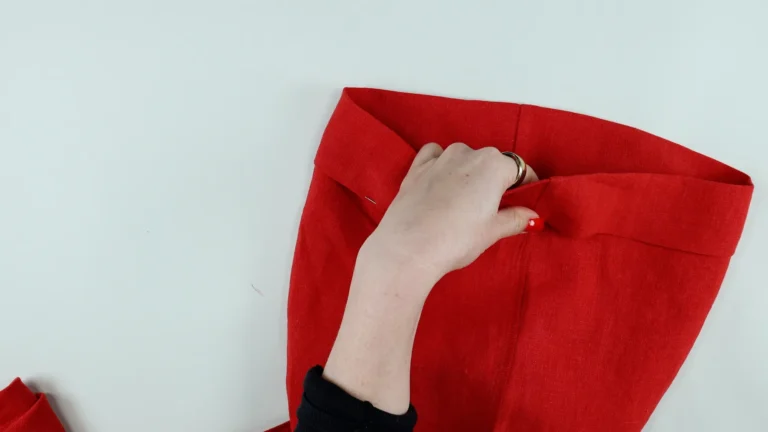
I like to begin around the inseam and work from the inside of the trouser leg.
Provided your hem has been pressed consistently, the stitching will appear perfectly even from the outside.
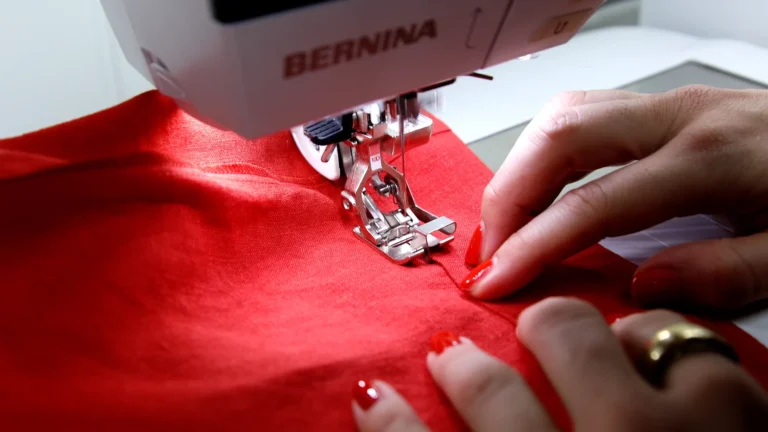
Turn one trouser leg right side out and leave the other wrong side out.
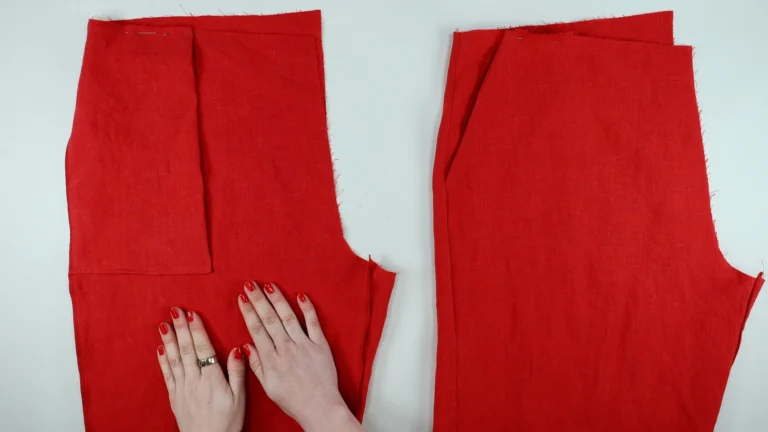
Slide the right-side-out leg inside the wrong-side-out leg. This automatically positions the right sides of the fabric together.
Align the inseams at the crotch, then pin from the crotch towards the centre front and centre back waist. Match the crotch seam with a Clover Fork Pin (shop) if required.
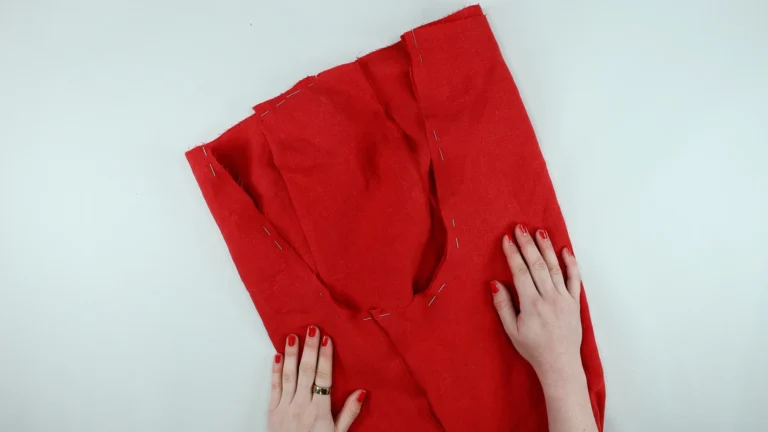
Make sure the inner trouser leg is lying completely flat and hasn’t twisted.
Sew around the entire crotch seam using your seam allowance – mine is 1cm (⅜″).
Check the match at the inseam before finishing the seam allowances with your overlocker or serger.
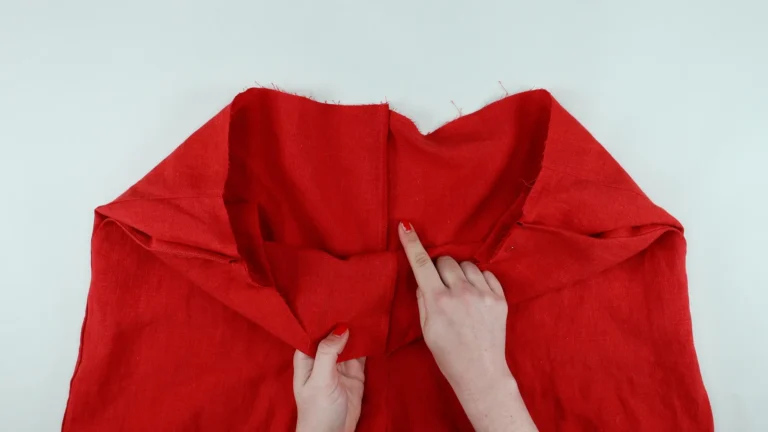
Before attaching the waistband, prepare the openings for the drawcord.
I used buttonholes because I wanted a relatively substantial fabric tie. My finished drawcord measures approximately 1.5cm (⅝″) wide, so the buttonholes need to be large enough for the tie to pass through comfortably.
Mark the buttonhole positions onto the right side of the waistband.
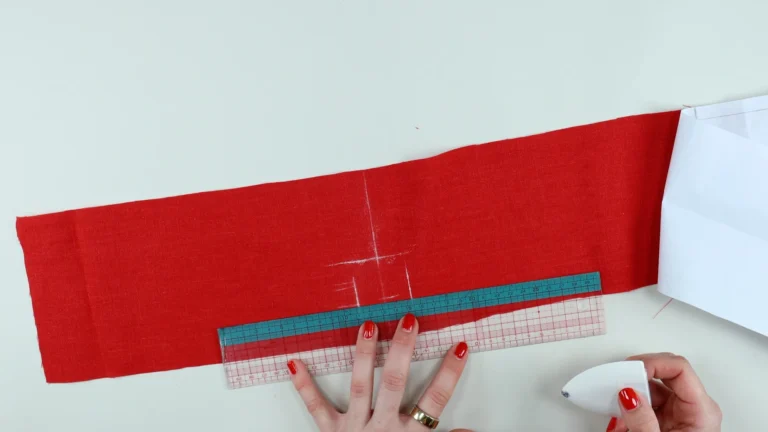
Fuse small pieces of lightweight woven interfacing to the wrong side behind each buttonhole. I always recommend testing the buttonhole on a scrap of your fabric first before sewing the final version.
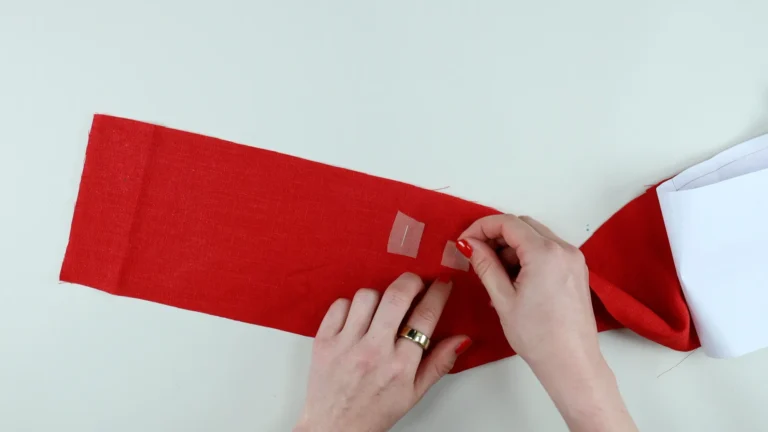
My finished buttonholes measure approximately 17mm (¾″).
If you’re new to buttonholes, watch my Buttonhole Series, where I demonstrate both automatic and manual buttonholes on different sewing machines.
Open the buttonholes carefully using a buttonhole cutter or seam ripper.
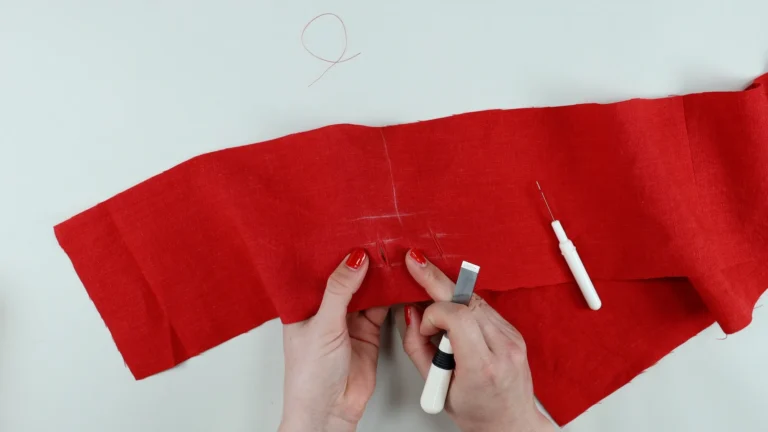
Sew the waistband into a circle and press the seam allowances open. Press the waistband in half lengthwise.
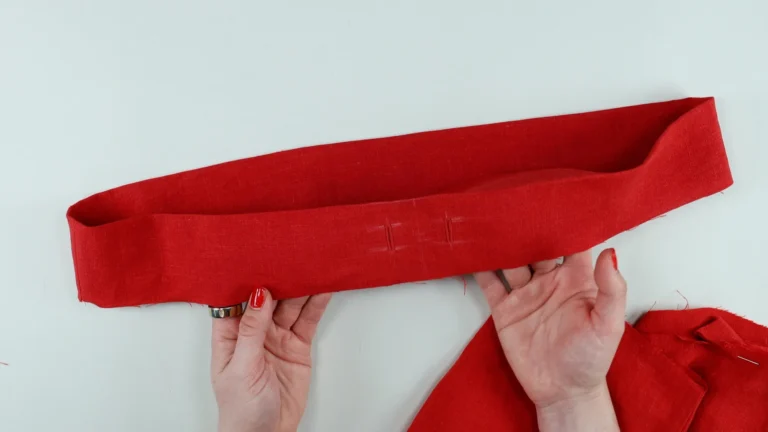
On what will become the inside of the waistband, press the bottom raw edge under by the seam allowance – mine is 1cm (⅜″).
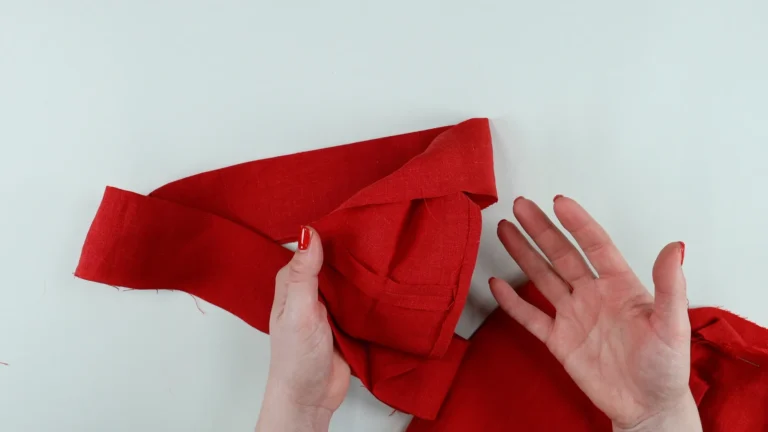
Match the centre front of the waistband to the centre front of the trousers, with the outside of the waistband right side down against the right side of the trousers.
Continue matching the side seams and centre back before pinning the entire waistband in position.
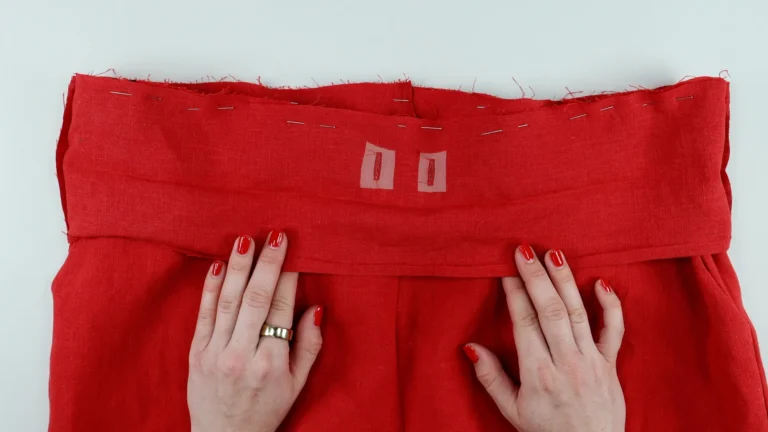
Sew around the waist using your seam allowance.
Press the seam allowances open first, then press both towards the waistband.
Fold the waistband along the previously pressed centre line. The folded edge on the inside should cover the stitching used to attach the waistband to the trousers. I like the inside edge to sit very slightly lower – no more than about 3mm = to make sure it is caught when I sew from the right side.
You can finish the lower edge of the waistband by stitching in the ditch or by edge stitching from the right side.
I chose to edge stitch approximately 2-3mm (¹⁄₁₆-⅛″) from the seam.
If you are a beginner, or simply want a particularly precise result, I recommend basting the inside edge of the waistband in position first. This lets you check that you are catching an even amount of the inside waistband before taking the work to the sewing machine.
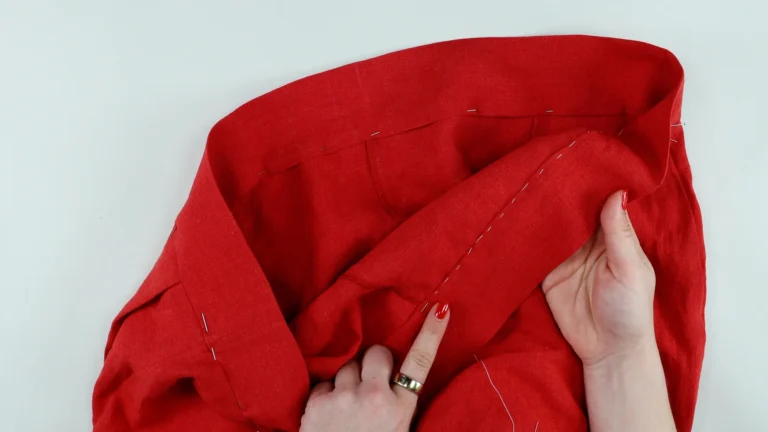
Leave approximately 5cm (2″) unstitched at the centre back or a side seam so that you can insert the elastic.
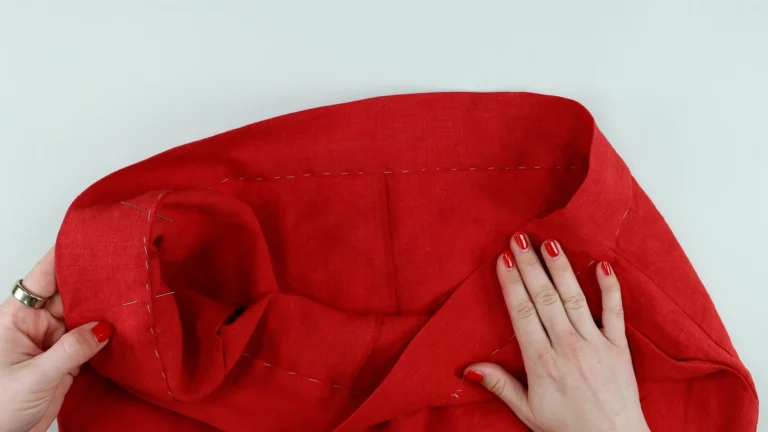
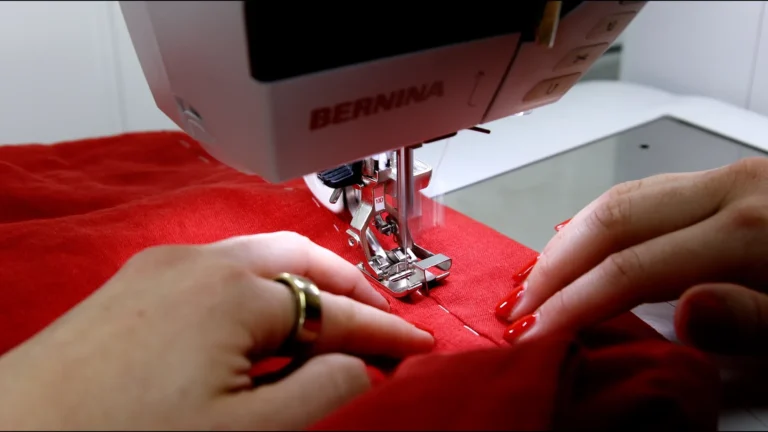
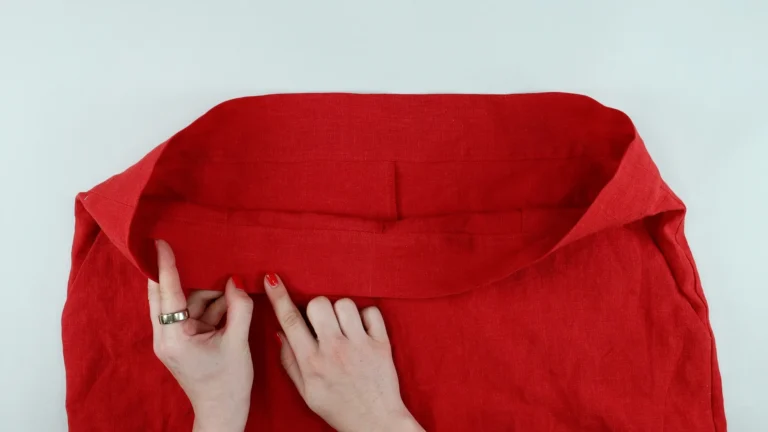
Attach a large safety pin to one end of your elastic and feed it through the opening in the waistband.
Work the elastic carefully around the entire waistband, making sure you don’t lose the other end inside.
Before joining the ends, check carefully that the elastic hasn’t twisted.
Overlap the ends by 2cm (¾″) and sew securely. Stitch a rectangle around the overlap with a central X for additional strength.
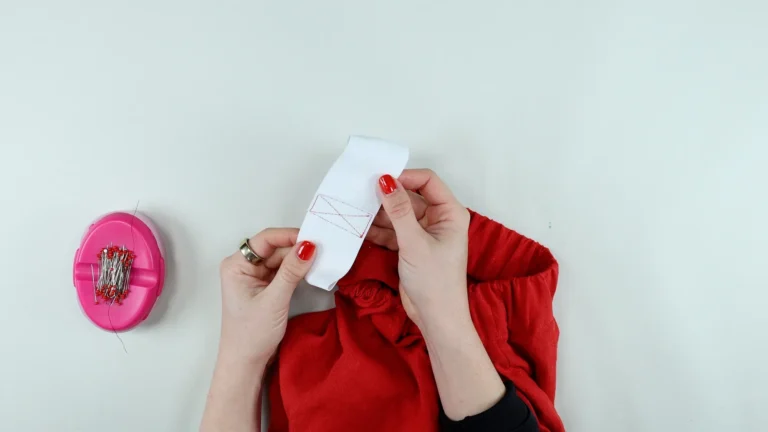
Move the elastic join towards a side seam or the centre back before closing the opening in the waistband.
This is important because the overlapped section doesn’t stretch quite as much as the rest of the elastic. Keeping it at the side or back makes this less noticeable when the waistband is stretched.
Sew the gap along the bottom of the waistband, where the elastic was inserted. The gap can be basted/tacked closed for ease.
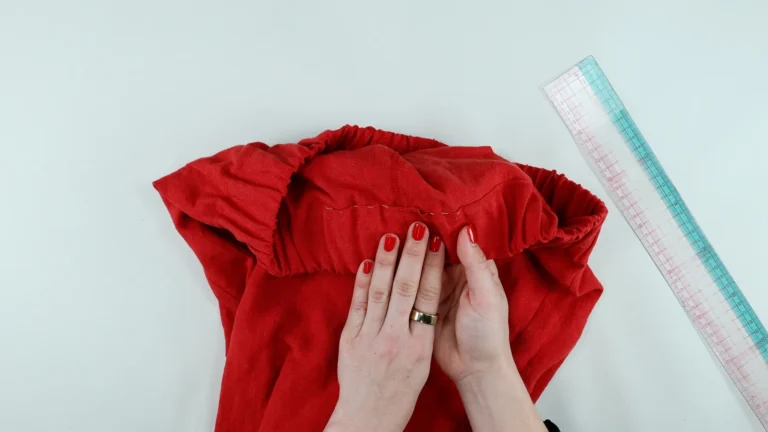
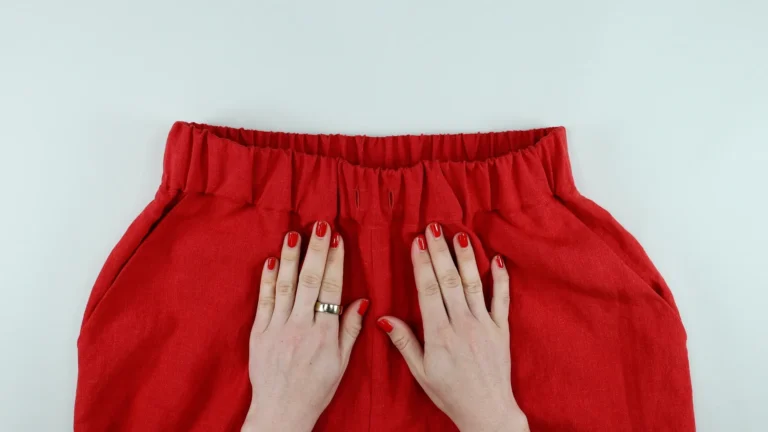
Distribute the elastic evenly around the waistband.
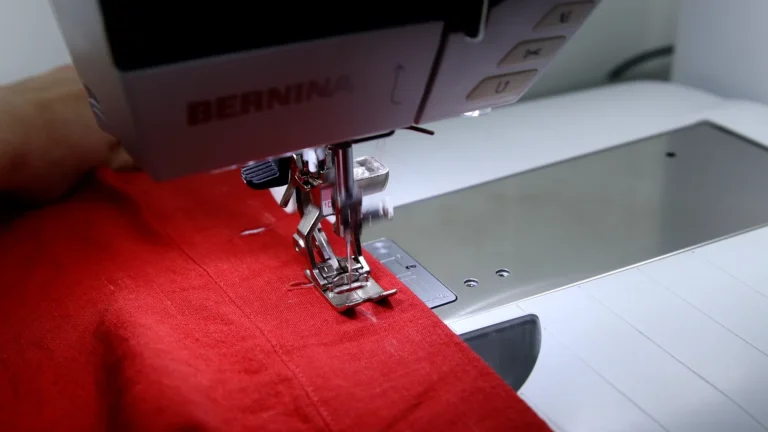
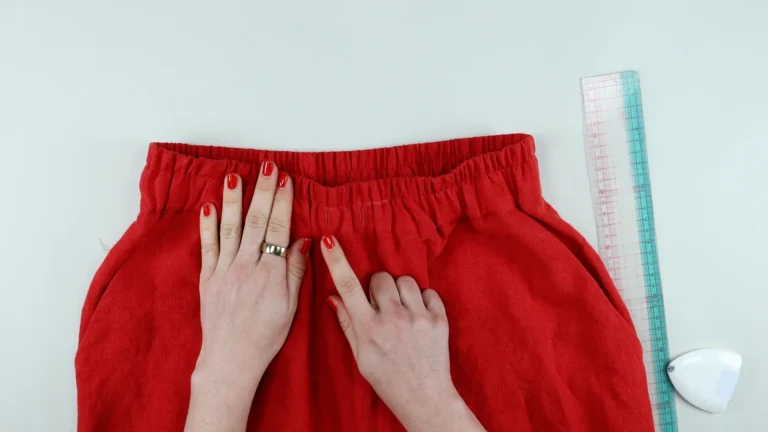
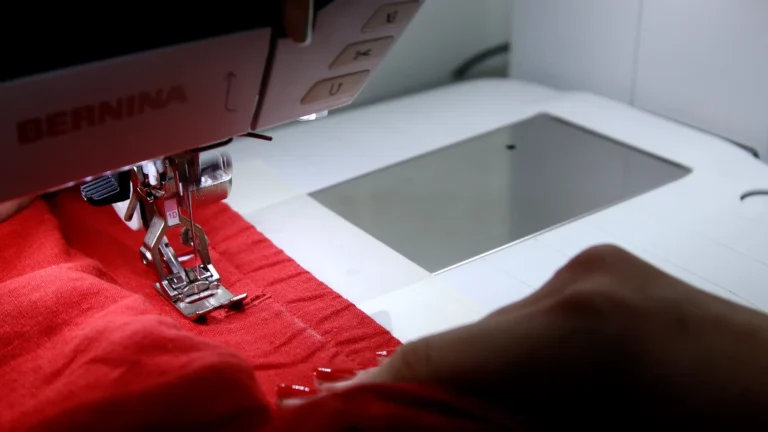
We are now going to sew two rows of stitching through both the waistband and the elastic. This keeps the gathers evenly distributed and creates the central channel for the drawcord.
My drawcord channel measures approximately 2cm (¾″) wide and is centred around the buttonholes.
When sewing through the elastic, stretch the waistband completely flat both in front of and behind the needle. Don’t pull the fabric through the machine – hold it under tension and allow the feed dogs to move the fabric naturally.
Work slowly and take breaks if you need to. Once released, the elastic will gather back up to create an even finish around the waistband.
Cut your drawcord tie as one long piece where possible. If you don’t have enough fabric, you can join two pieces with a 1cm (⅜″) seam and press the seam allowances open.
Fold the tie in half lengthwise with right sides together.
Mark and sew across each short end and along the long edge using a 1cm (⅜″) seam allowance, leaving approximately 10cm (4″) open around the centre back so you can turn the tie through.
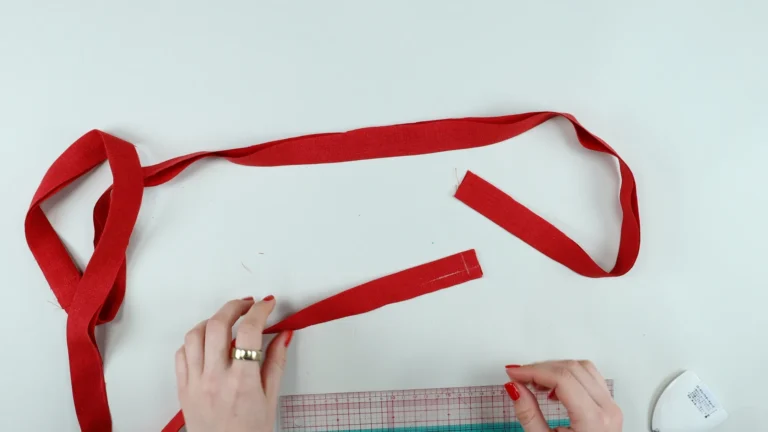
I reduce my stitch length to approximately 1.5mm around the corners for additional strength.
Trim the seam allowances to approximately 5mm (scant ¼″) and trim the corners before turning the tie right side out.
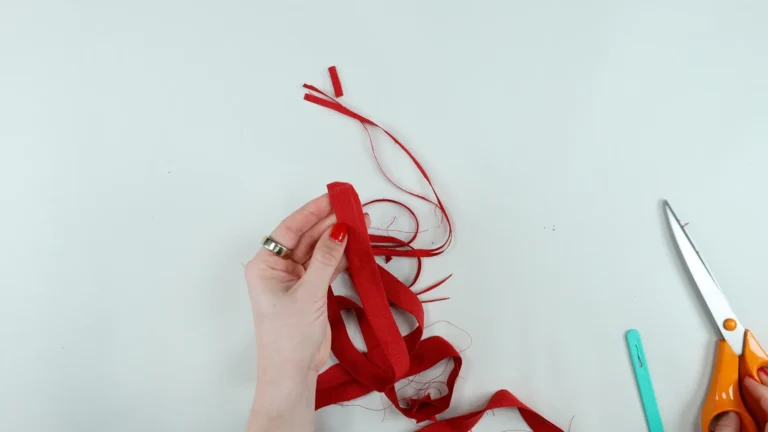
Use a point turner or similar blunt tool to push out the corners carefully.
Press the tie thoroughly, keeping the seam positioned consistently along one edge, then edge stitch the opening closed. Use a pressing bar for ease: shop.
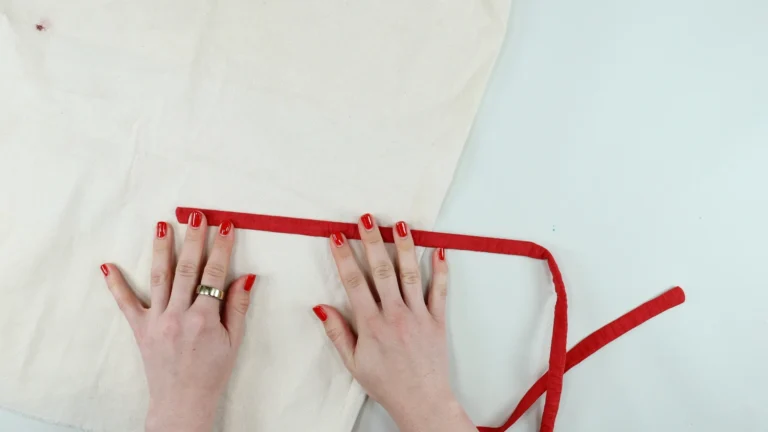
Feed the drawcord through one buttonhole and around the central waistband channel before bringing it back through the second buttonhole.
You can use a safety pin, although this can occasionally catch and damage delicate fabric. A bodkin or suitable threading tool is another option, shop.
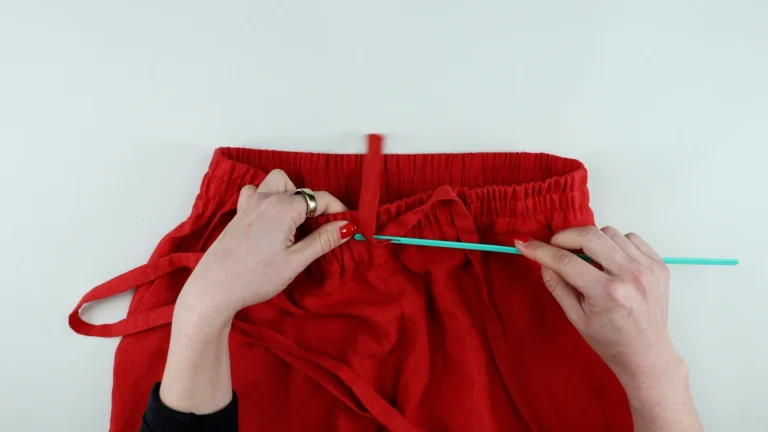
Make sure the tie isn’t twisted as you feed it through and adjust the ends so that they’re approximately equal in length.
Give the waistband and tie a final press.
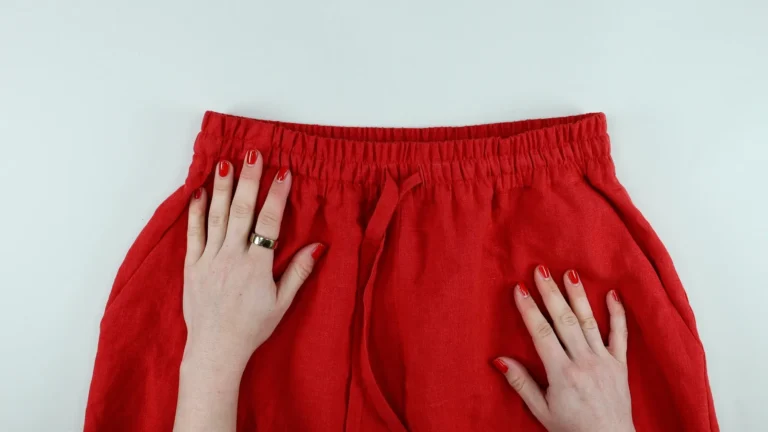
Your linen trousers are finished.
Are linen trousers suitable for beginners?
Yes. This particular trouser design is a good beginner garment because there is no zip or fitted waistband to construct. The elasticated waistband provides a comfortable fit, while the side pockets and drawcord introduce useful garment-sewing techniques.
What fabric can I use for these trousers?
I used linen, but you could also use cotton or another suitable woven fabric. The weight and drape of the fabric will affect the finished silhouette, so choose something appropriate for relaxed trousers. I plan to make my next pair in a lightweight crepe fabric.
Do I need an overlocker or serger?
No. I used an overlocker because these are relaxed, casual trousers and I think an overlocked seam is completely appropriate. You could instead use French seams, flat-felled seams, bound seams or another seam finish suitable for your fabric.
Can I make these trousers without drafting my own pattern?
Yes. You can use an existing suitable trouser pattern. If you would like to draft the pattern to your own measurements, follow How to Draft Linen Trousers first.
Can I leave out the drawcord?
Yes. The elastic provides the fit at the waist, so the drawcord is primarily an additional design detail.
Can I make the trousers cropped or into shorts?
Yes. The same design can be made full length, cropped, three-quarter length or as shorts. Decide on your finished length before cutting or establish the length before sewing the hem.
Why sew through the waistband elastic?
The two rows of stitching keep the elastic evenly distributed inside the waistband rather than allowing it to roll or twist. They also create a separate central channel through which the fabric drawcord can be threaded.