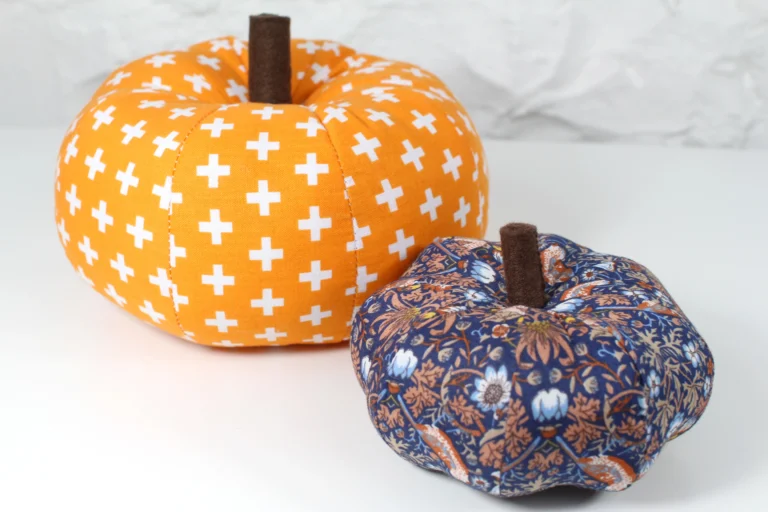
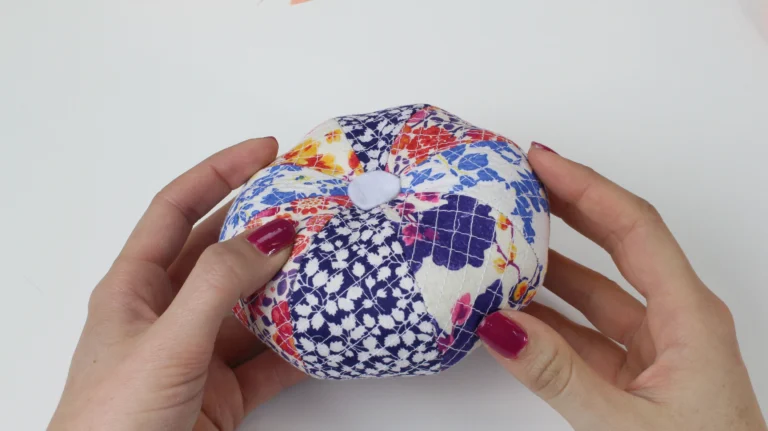
Create a beautiful segmented fabric pumpkin for autumn or Halloween with this free sewing tutorial and downloadable pumpkin pattern. The same eight-panel pattern can also be used to make a practical pumpkin pincushion for your sewing room.
This beginner-friendly project is made from eight fabric segments, which give the finished pumpkin its curved, three-dimensional shape. Choose one fabric for a classic finish, combine coordinating colours and prints, or quilt the fabric first to make a firmer pincushion.
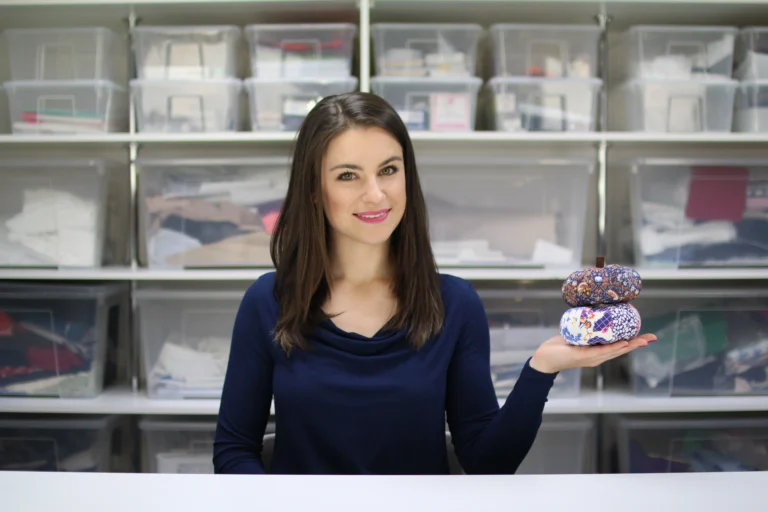
Prefer to sew along with me? Watch the complete fabric pumpkin and pincushion video tutorial.
Make my easy no-pattern fabric pumpkin.
*affiliate links below
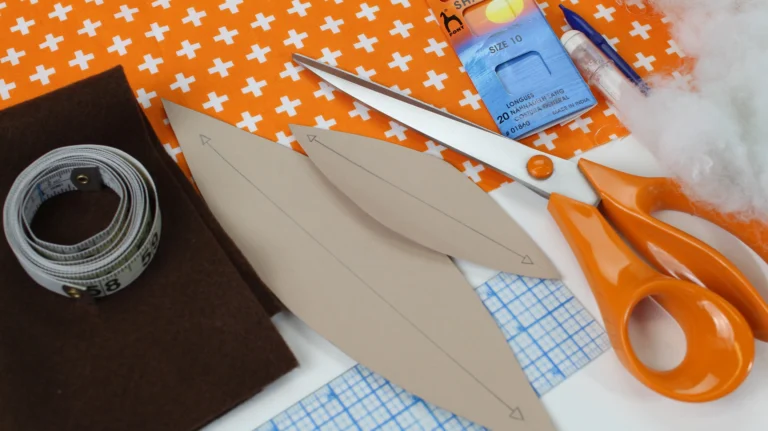
Download the free fabric pumpkin sewing pattern. The template includes two sizes, so you can make either a small or large pumpkin.
For the best results, print or trace the template onto paper or lightweight card before you begin. Please note that the template does not include seam allowances; you will add these when marking the fabric.
Cotton and lightweight upholstery fabrics are both good choices for this project. You can make all eight segments from the same fabric or mix different colours and prints.
If you are using a directional print, plan the placement of each segment carefully so that the design faces the correct way on the finished pumpkin.
To make a quilted pumpkin pincushion, quilt the fabric before cutting out the individual segments. A lightweight cotton wadding will add structure without making the seams too bulky. I quilted the pincushion fabric with lines spaced approximately 1/4 inch (5mm) apart. If you are new to quilting, follow my how to quilt fabric video tutorial.
1. Prepare and mark the fabric
If you would like a quilted finish, layer and quilt the fabric before cutting out the pumpkin pieces.
Place the fabric with the wrong side facing up. Position the pattern piece on the fabric and check that its grainline is parallel to the selvedge. If your fabric has a directional print, make sure the motif will face the correct way.
Draw around the template using fabric chalk, a pencil or a removable fabric marker.
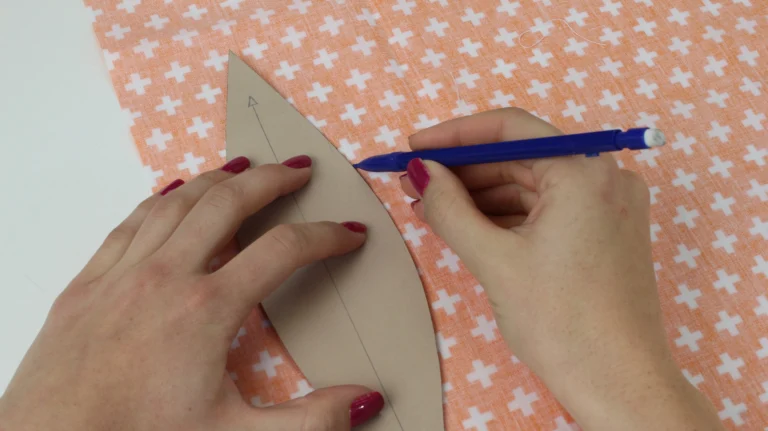
The pattern does not include seam allowances. Use a ruler to add a 1/4 inch (5mm) seam allowance around the entire template.
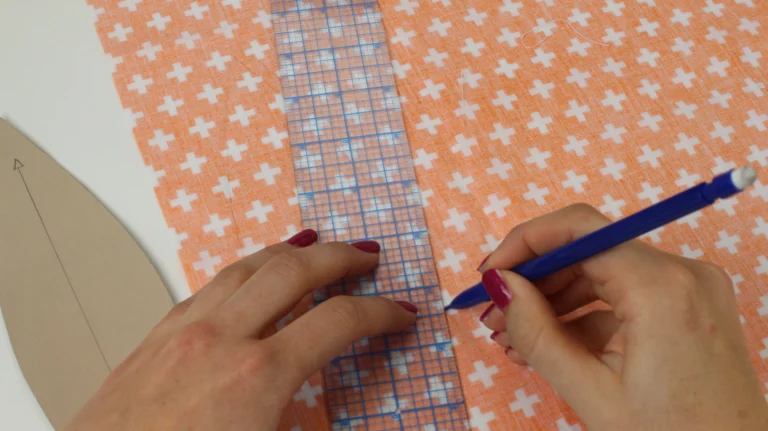
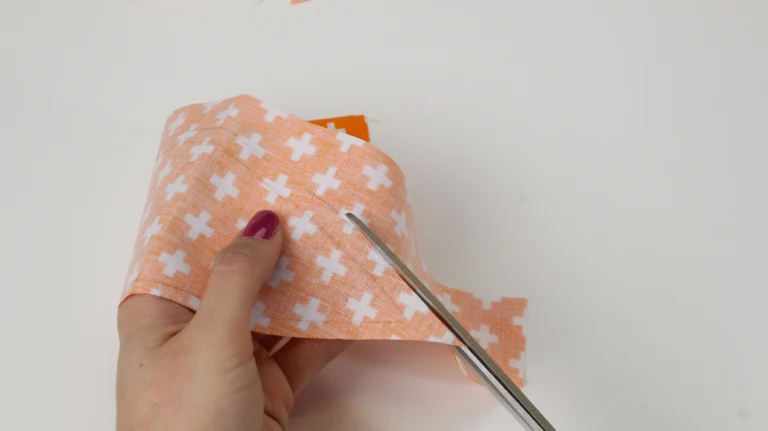
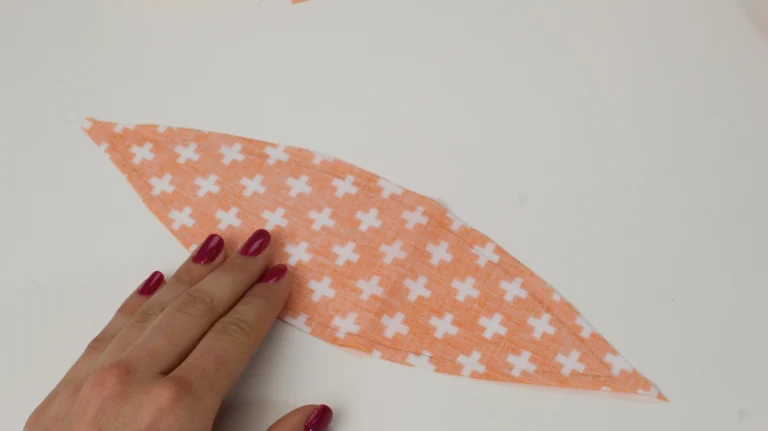
Repeat until you have marked eight segments. Cut each piece along the outer seam-allowance line.
2. Arrange the eight pumpkin segments
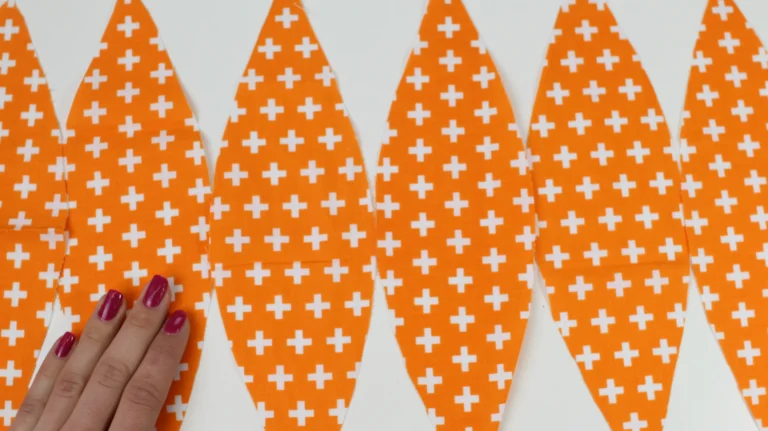
Lay out the segments in the order you want them to appear on the finished pumpkin. Number them from one to eight, working from left to right, or take a photograph so you can refer back to the arrangement.
Check once more that any directional prints are the correct way up.
3. Sew the segments into four pairs
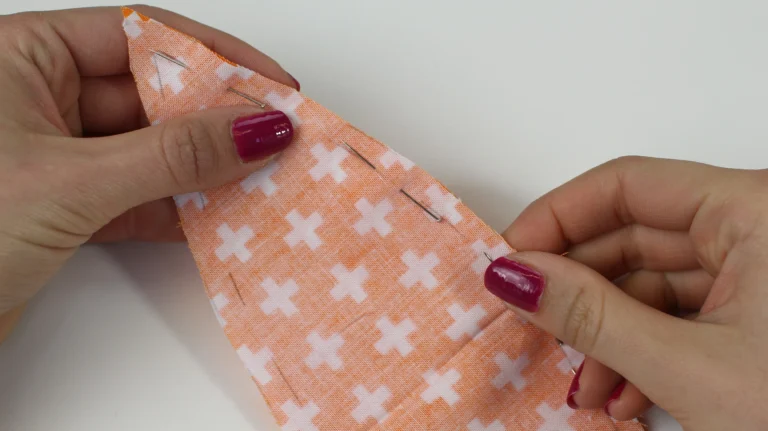
Starting at the left, divide the eight segments into four pairs. For each pair, place the segment on the right on top of the segment on the left, with the right sides of the fabric together.

Pin along the right-hand stitching line. Match and pin the top and bottom points first, then add pins between them. You can see this process more closely in the fabric pumpkin video tutorial.
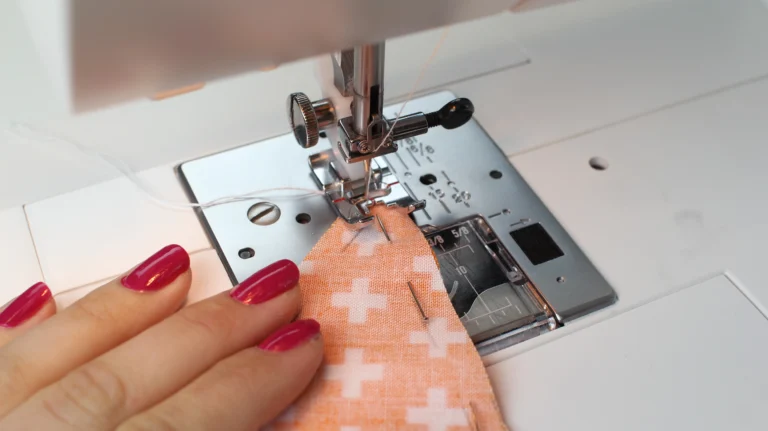
Using a standard straight stitch with a 2.5mm stitch length, sew along the pinned right-hand edge. Backstitch at the beginning and end to secure the seam. Repeat for the remaining three pairs.
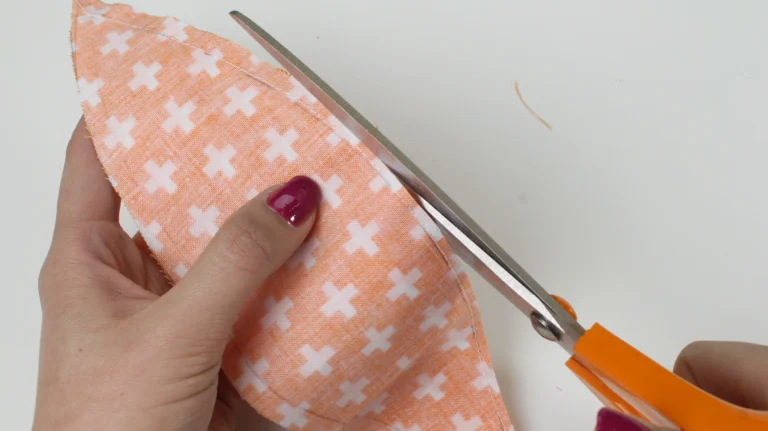
Trim each seam allowance to approximately 1/8 inch (3mm). The narrow seam allowances will help the curved seams sit smoothly when the pumpkin is turned right side out.
4. Join the pairs together
Return the four sewn pairs to the work surface in their original order.
Working from left to right, join the first two pairs and then the second two pairs. Place the pair on the right over the pair on the left, with the right sides together.
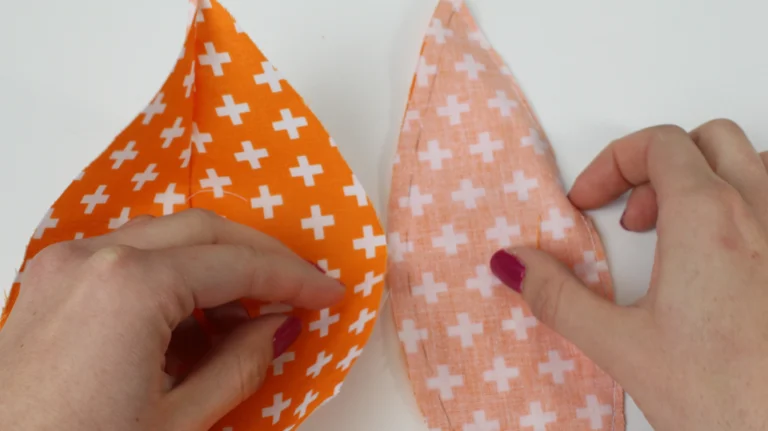
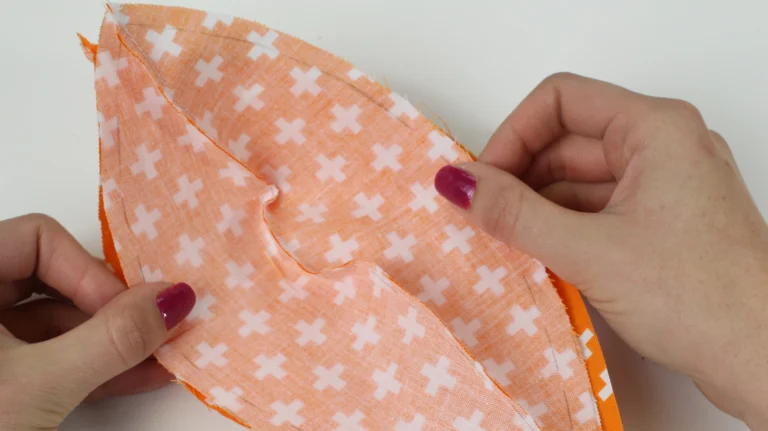
Match the top and bottom points, pin the curved stitching line, and sew the right-hand seam using a 2.5mm straight stitch.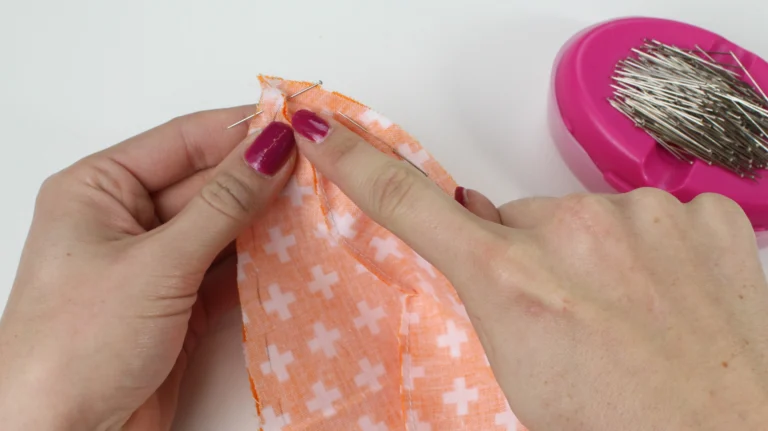
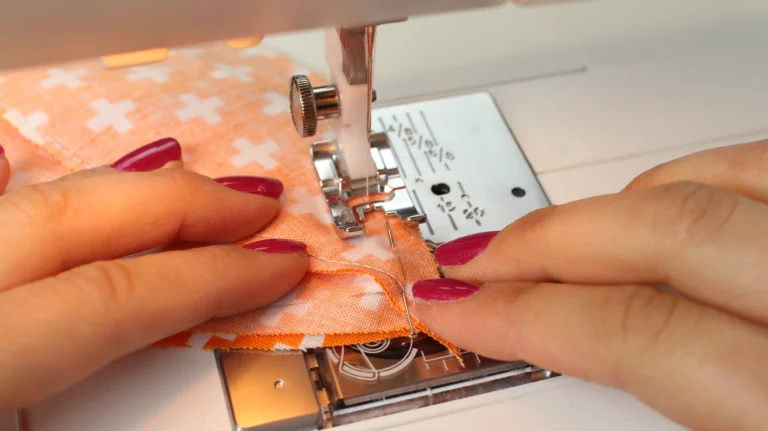
Trim the newly sewn seam allowances to approximately 1/8 inch (3mm).
You should now have two halves, each made from four fabric segments. Keep them in their original order.
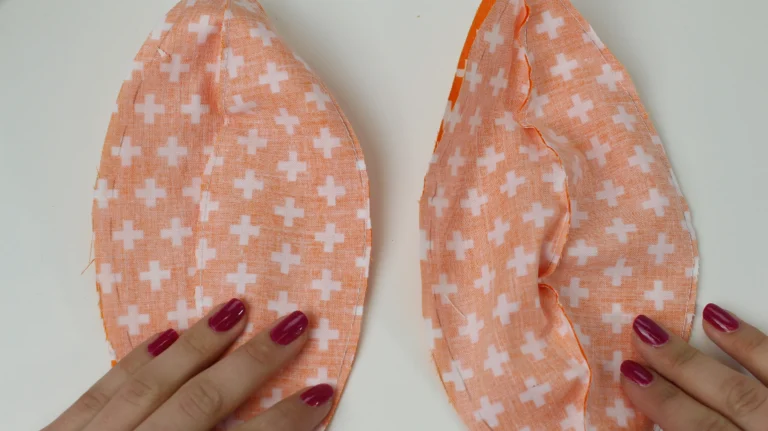
Place the right-hand half over the left-hand half with right sides together, pin the stitching lines, and sew one curved edge.

5. Sew the final seam and leave a turning gap
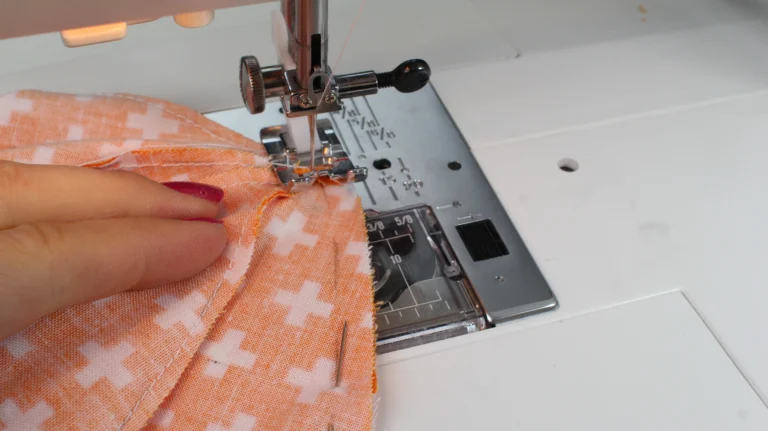
There will now be one seam left to sew. Place the remaining raw edges right sides together and pin them, matching the stitching lines and the points at the top and bottom.
Leave a gap of approximately 2 inches (5cm) in the centre of this seam for turning and stuffing. Sew from the top point to the gap, backstitch, then sew from the other side of the gap to the bottom point.
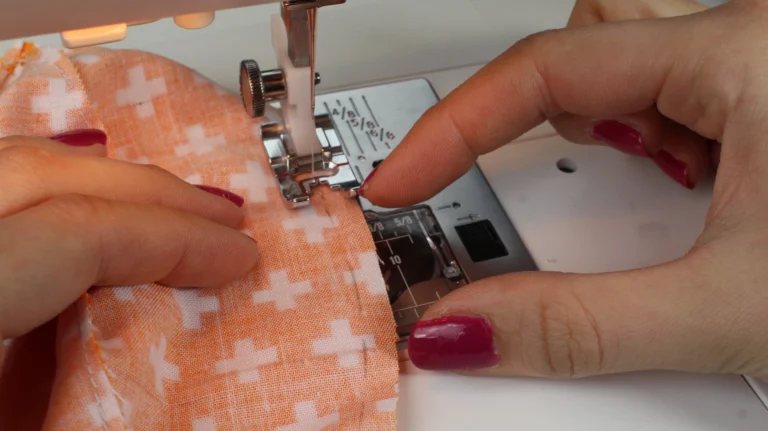
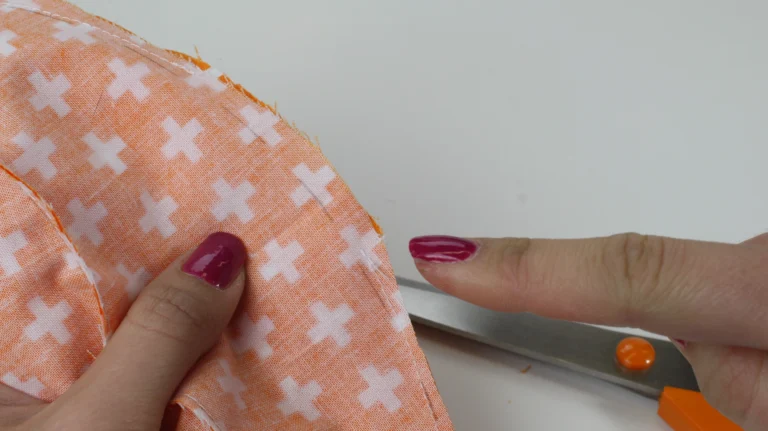
Trim the seam allowances to approximately 1/8 inch (3mm), but leave the seam allowances around the opening untrimmed. The extra fabric will make the opening easier to close neatly by hand.
6. Turn and stuff the pumpkin
Turn the pumpkin right side out through the opening. Gently push out the curved seams, then fill the pumpkin with polyester toy stuffing.
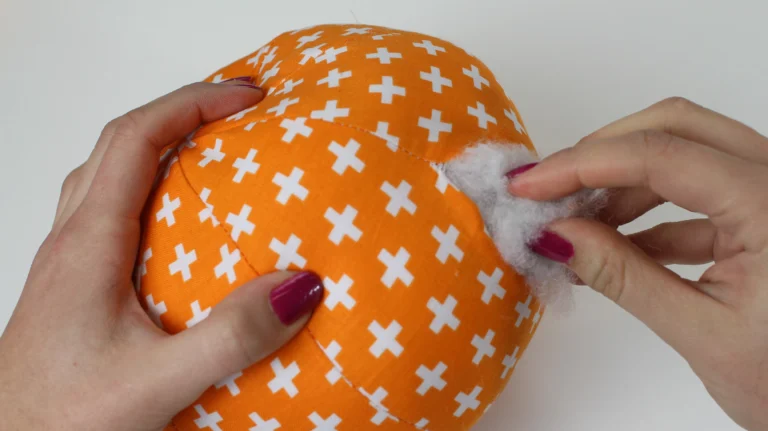
Add the stuffing gradually and distribute it evenly between the segments. Stuff the pumpkin quite firmly for a smooth, well-defined shape.
Fold the seam allowances at the opening to the inside and pin the gap closed. Hand sew the opening with an invisible ladder stitch or slip stitch. If you have not used this stitch before, watch my invisible stitching tutorial.
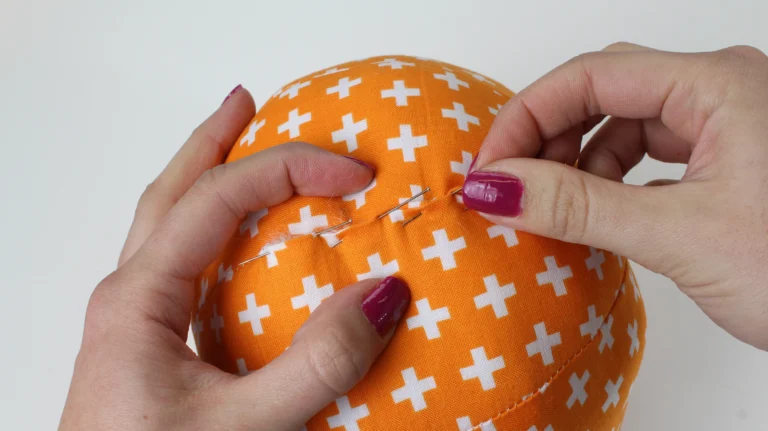
7. Shape the pumpkin
Thread a long, sturdy needle with a doubled length of thread and knot the ends together. Secure the thread at the bottom centre of the pumpkin.
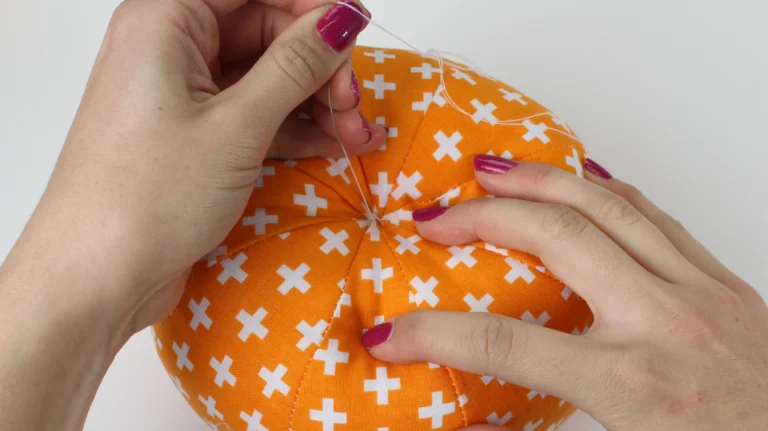
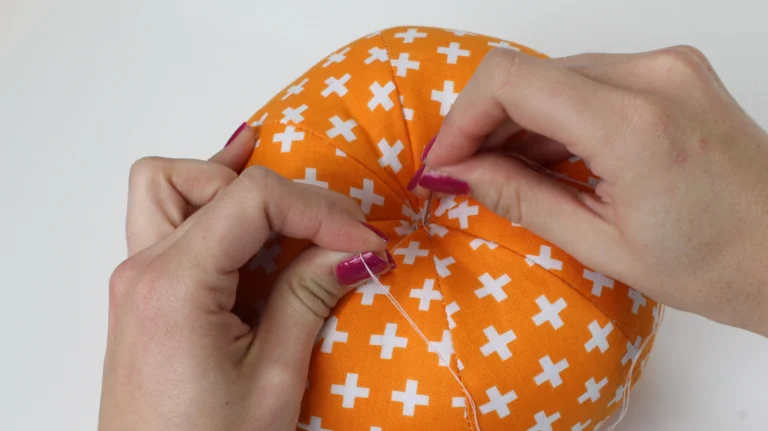
Pass the needle through the centre of the pumpkin, from the bottom to the top, and then back through to the bottom. Pull the thread firmly to draw the centre in and create the characteristic dipped pumpkin shape.
Repeat this process until you are happy with the shape, then secure the thread at the bottom. Pushing the needle through a firmly stuffed large pumpkin can be difficult, so ask someone to compress the pumpkin while you work or carefully grip the needle with pliers.
8. Make the felt pumpkin stem
Felt is ideal for the stem because it does not fray and requires no edge finishing. Cut a rectangle using the measurements below, or adjust the size to create your own stem design.
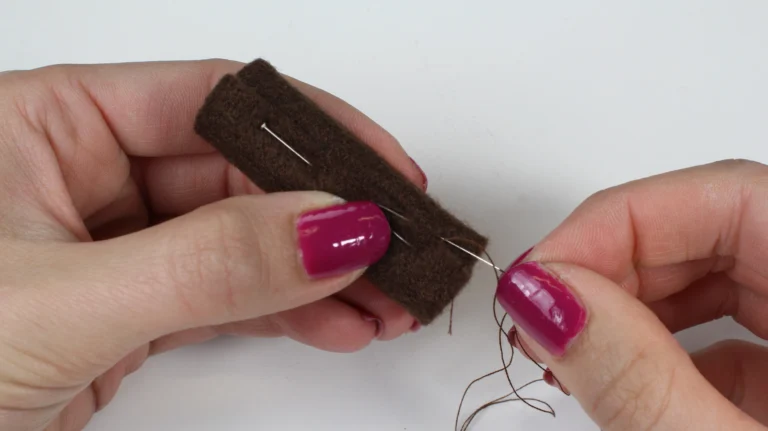
Mark the stem on the felt and cut it out. Roll the felt along the longer, width measurement.
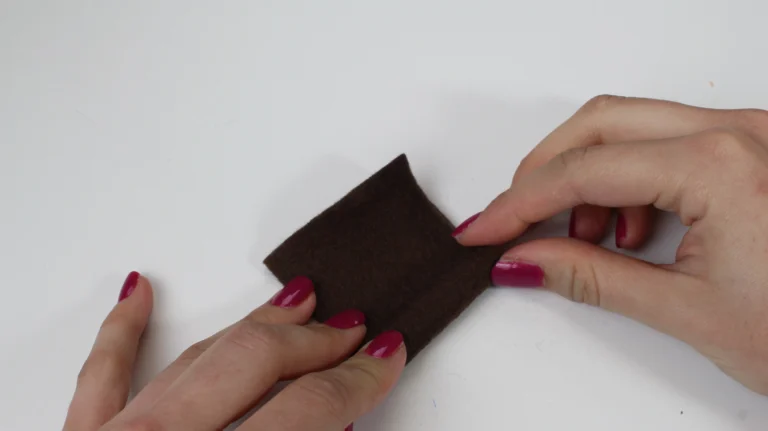
Pin the rolled felt and secure it with small slip stitches. Alternatively, use fabric glue or a hot glue gun. The complete pumpkin sewing video shows this step in more detail.
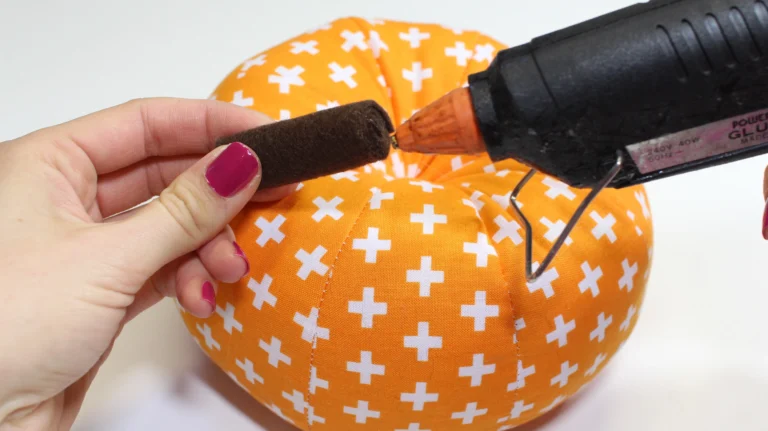
Attach the stem to the top of the pumpkin with fabric glue or a hot glue gun.
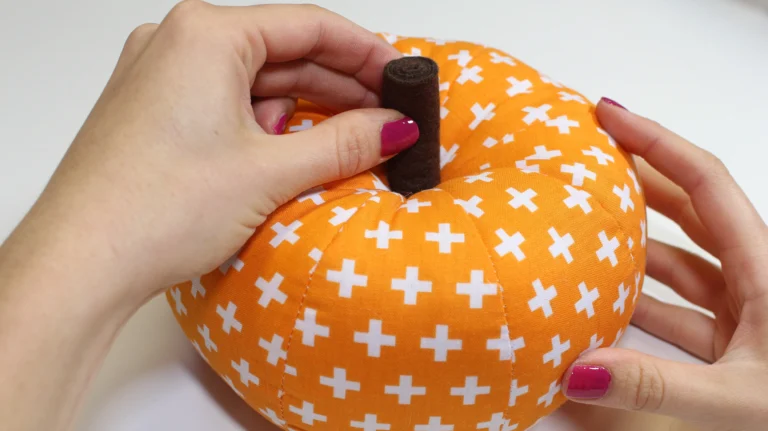
To neaten the bottom of the pumpkin, cut a small circle of felt and glue it over the shaping stitches. If you are making a pumpkin pincushion, you may prefer to add a felt circle to both the top and bottom to cover all visible threads before attaching the stem.
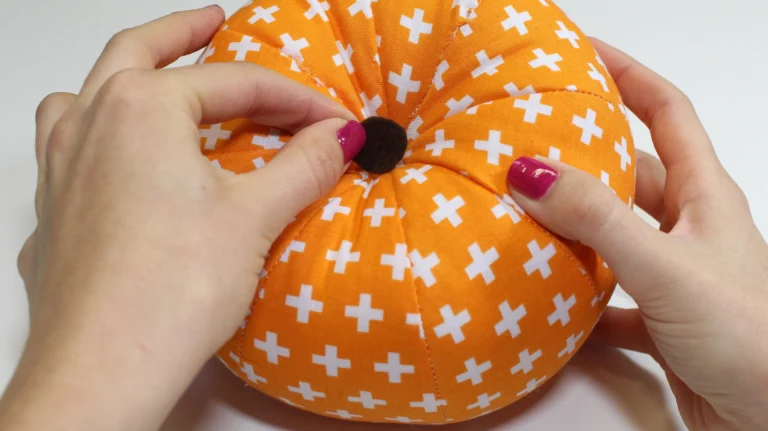
You have now sewn a segmented fabric pumpkin or pumpkin pincushion. Try making several in different sizes, colours and textures to create a handmade autumn display, or keep the smaller version beside your sewing machine as a pincushion.
If you make this project, share your finished fabric pumpkin with Made to Sew on Facebook or Instagram.