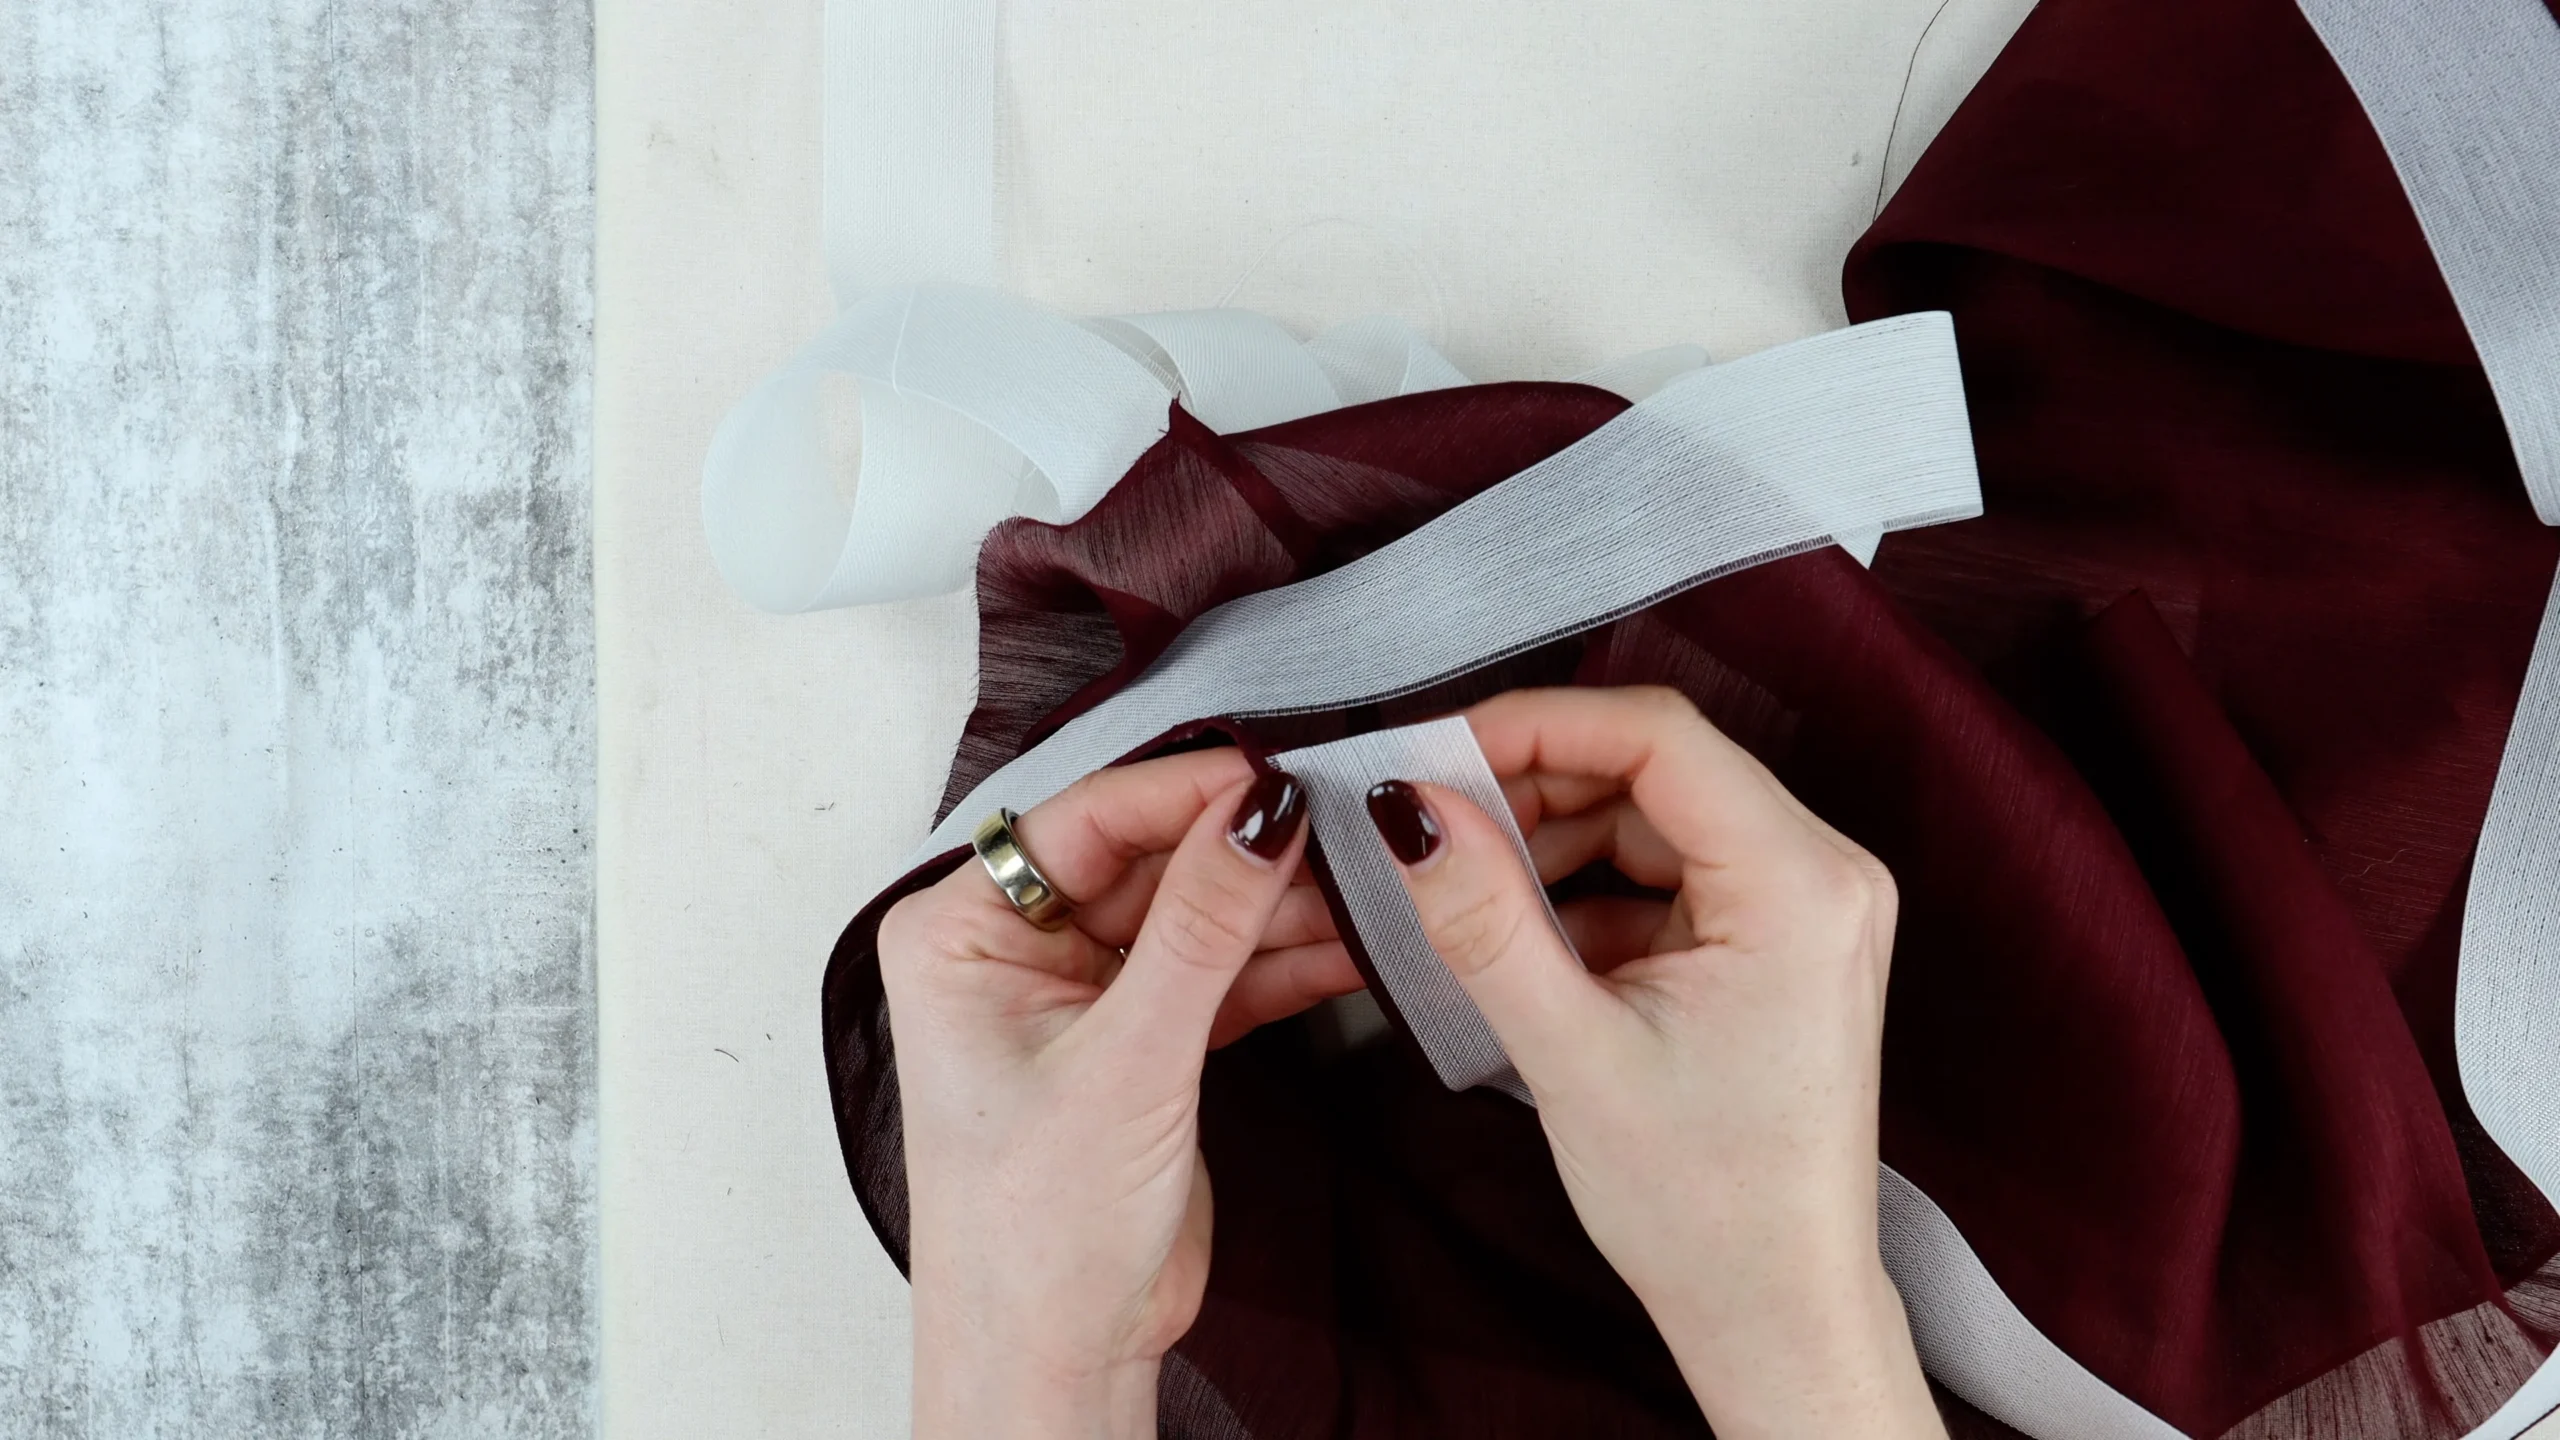
An all-in-one facing is a clean and professional way to finish both the neckline and armholes at the same time, making it a perfect technique for sleeveless garments.
In this tutorial, I’ll show you exactly how to draft an all-in-one facing from a bodice pattern, including key considerations for different necklines and how to ensure a beautiful finish on the inside of your garment.
An all-in-one facing is a single facing piece that finishes:
The neckline
The armholes
… all in one go.

This method is commonly used in:
Sleeveless dresses
Tops and blouses
Lined or unlined garments
If you’re only looking to finish a neckline (not armholes), you can use a standard neckline facing instead.
Read more about drafting a standard facing here: Read More
Your bodice pattern (front + back) – the bodice pattern I am working with, does not have seam allowances. You can work with a pattern that has seam allowances, but you will need to take them into consider with the measurements. This also means that you won’t need to add them at the end, when tracing off the finished facing pattern.
Pattern paper
Ruler + French curve
Pencil
Scissors
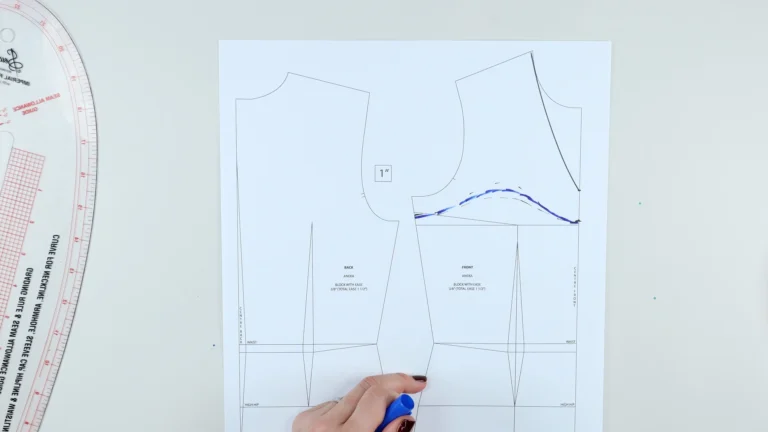
Start by marking how deep you want your facing to be.
Neckline depth (centre front & centre back):
Minimum: 1.5 cm (½”)
Standard: 5 cm (2”)
Larger (for design features like a cowl neck): 10 cm (4”)
I typically recommend around 5 cm (2”) for most garments.
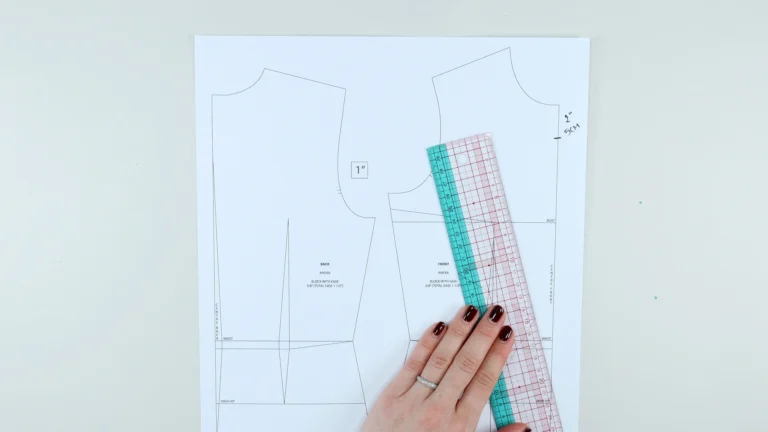
Armhole depth:
Range: 1.5 cm – 5 cm (½”- 2”)
Typical: 2.5 cm – 5 cm (1”- 2”)
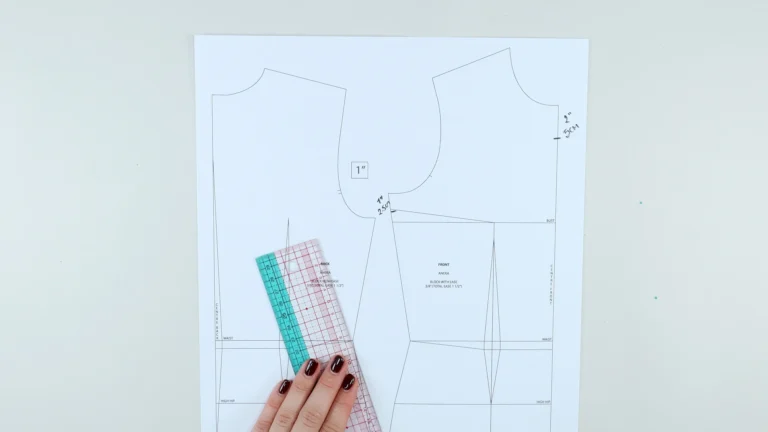
Measure down from the centre front neckline
Measure down from the armhole at the side seam
Square off both points:
From the centre front
From the side seam

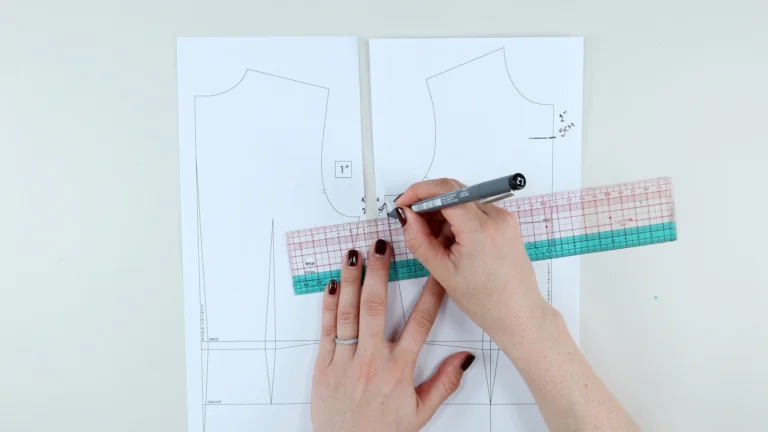
Connect the two points with a soft curved line.
Always use a curve rather than a straight line, this helps the facing sit better and reduces visibility from the right side.
If your bodice has a side dart, and this dart will affect the facing:
Close the dart before drawing the facing
This ensures a smooth, uninterrupted facing shape
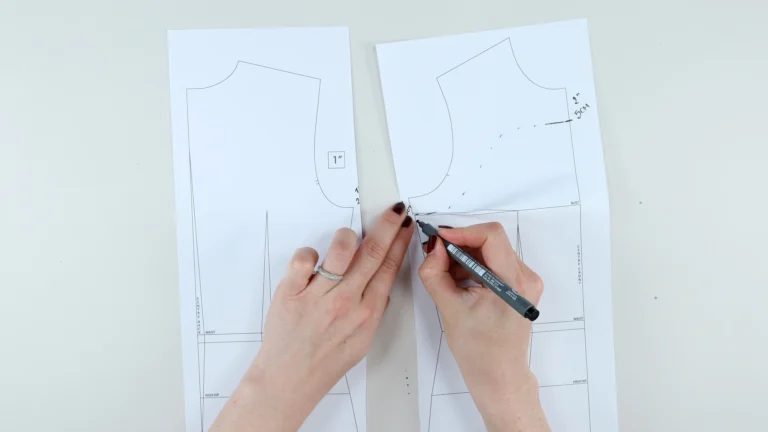
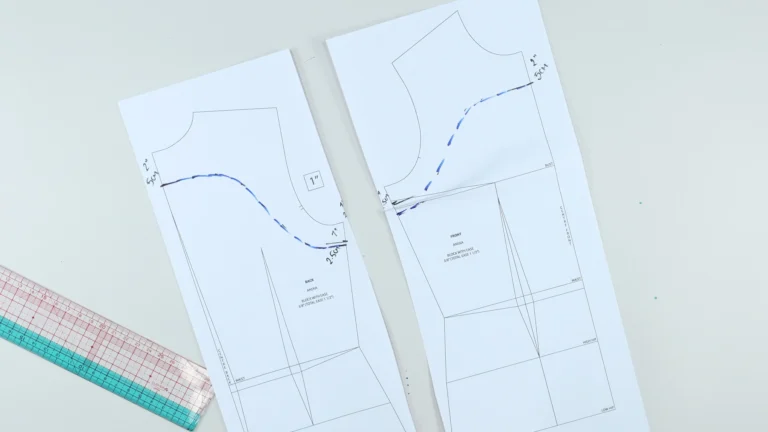
Repeat the same process for the back:
Mark the neckline depth at the centre back.
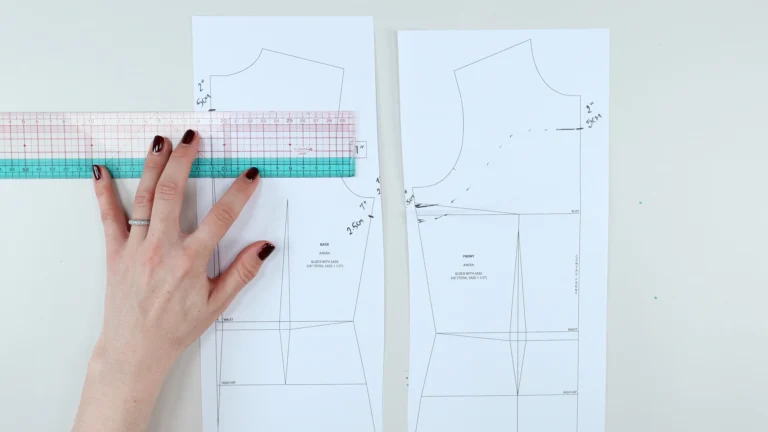
Match the armhole measurement to the front. Aligning the front and back pattern pieces without seam allowances.
You want a clean, continuous curve shape and want to avoid:
Peaks (upward V shapes)
Troughs (downward V shapes)
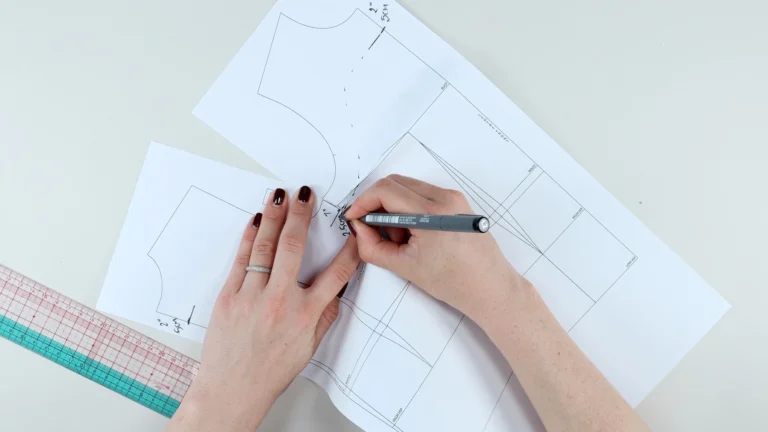
Square off the neckline and armhole points.
Draw a smooth curve to connect the centre back and armhole.
You can make the back facing slightly deeper (e.g. up to 10 cm / 4”) if needed; this might depend on your choice of fastening.
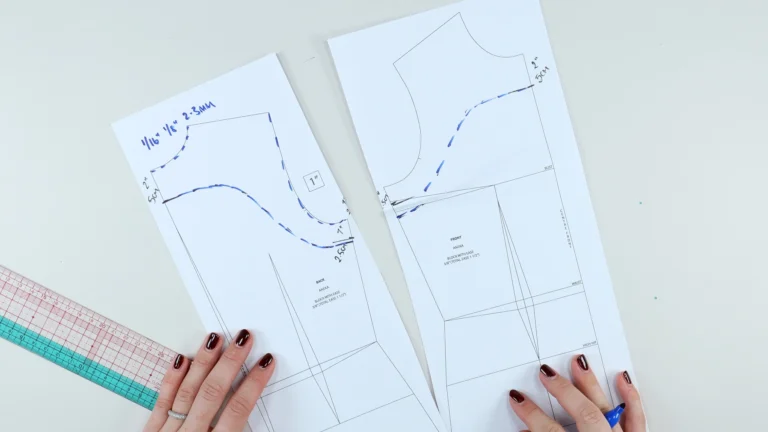
To keep the facing hidden inside the garment, we reduce it slightly at the edges.
Reduce by: 2 – 3 mm (1/16” – 1/8”)
Apply to:
Neckline edge
Armhole edge
This helps the seam roll slightly to the inside.
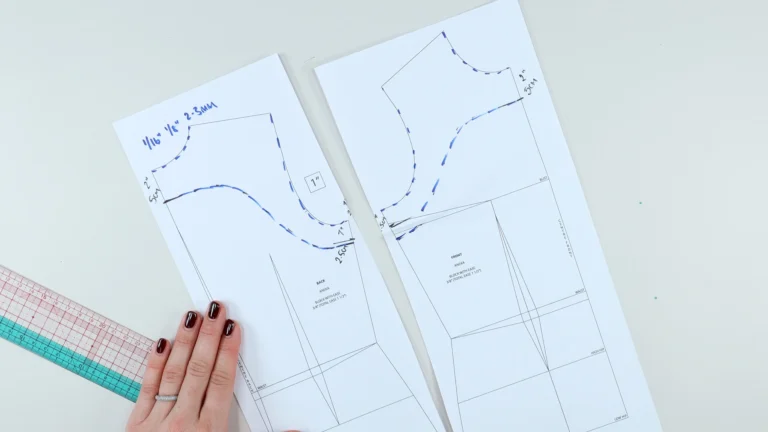
If your garment has a V-neckline:
Keep the facing line softly curved
Try to keep it above the bust level
Avoid sharp angles in the facing shape
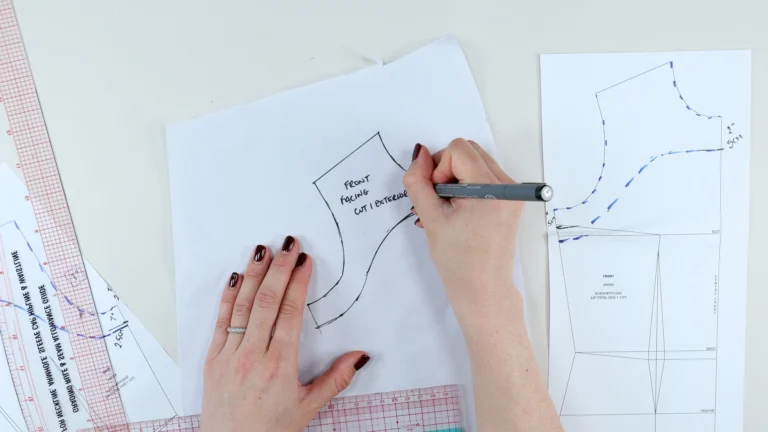
Now trace off your facing:
Front facing:
Centre front (often cut on fold)
Shoulder seam
Armhole edge (with favouring)
Side seam
Bottom edge (with dart closed)
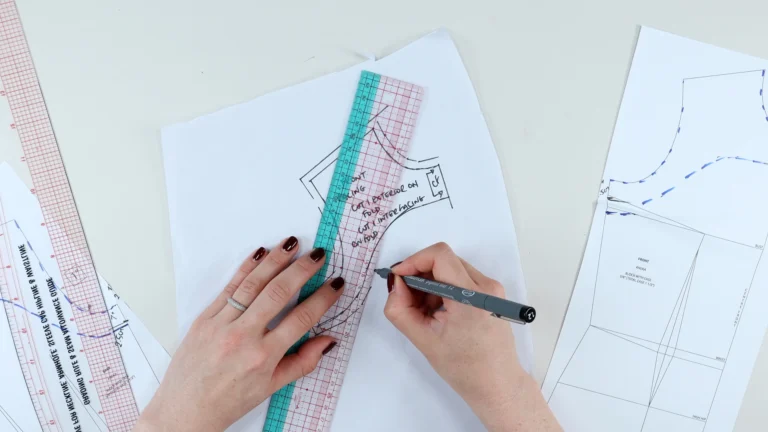
Back facing:
Same process as front
Decide:
Cut on fold or
Include centre back seam
Label your pieces clearly:
Front Facing
Cut 1 on fold – outer fabric
Cut 1 on fold – interfacing
Back Facing
Cut 2 (or 1 pair), or 1 on fold – outer fabric
Cut 2 (or 1 pair), or 1 on fold – interfacing
Add your seam allowances. Example: 1 cm / 3/8”.
Instead of a facing, you can fully line the garment.
If you do this apply the same favouring (2 – 3 mm reduction) to the lining neckline and armholes.
What is an all-in-one facing?
An all-in-one facing is a method used to finish both the neckline and armholes of a sleeveless garment in one step.
Can I use a lining instead of a facing?
Yes, you can line the garment instead, but you should still apply slight favouring to keep the lining inside.
In the next class, I’ll show you how to sew an all-in-one facing, including:
With a centre back seam
Without a centre back seam
Read More | Watch Video on YouTube