If you want a beautifully finished seam on the inside of your garment but don’t own a serger – or you’re working with a fabric too delicate for one – a mock French seam is exactly what you need.
It looks identical to a classic French seam from the inside: a neat, enclosed channel with no raw edges in sight. But the technique is different, it’s more forgiving, and it works on curved seams where a true French seam can be tricky to manage. Best of all, you can sew it on a sewing machine.

A mock French seam and a true French seam produce almost identical results. Both enclose the seam allowances inside the seam itself, leaving a clean finish on the inside of your garment. The only visible difference is a second row of stitching on the mock French seam.
Where they differ is in the method. A true French seam is sewn wrong sides together first, then trimmed, flipped, and sewn again right sides together – encasing the raw edges in the process. To learn more about a French Seam read this tutorial: How To: Sew a French Seam.
A mock French seam is sewn right sides together as normal, then the seam allowances are folded and stitched down from the inside.
The mock French seam is often a better choice for beginners, for tight curves, and for situations where the construction of the garment makes a true French seam impractical.
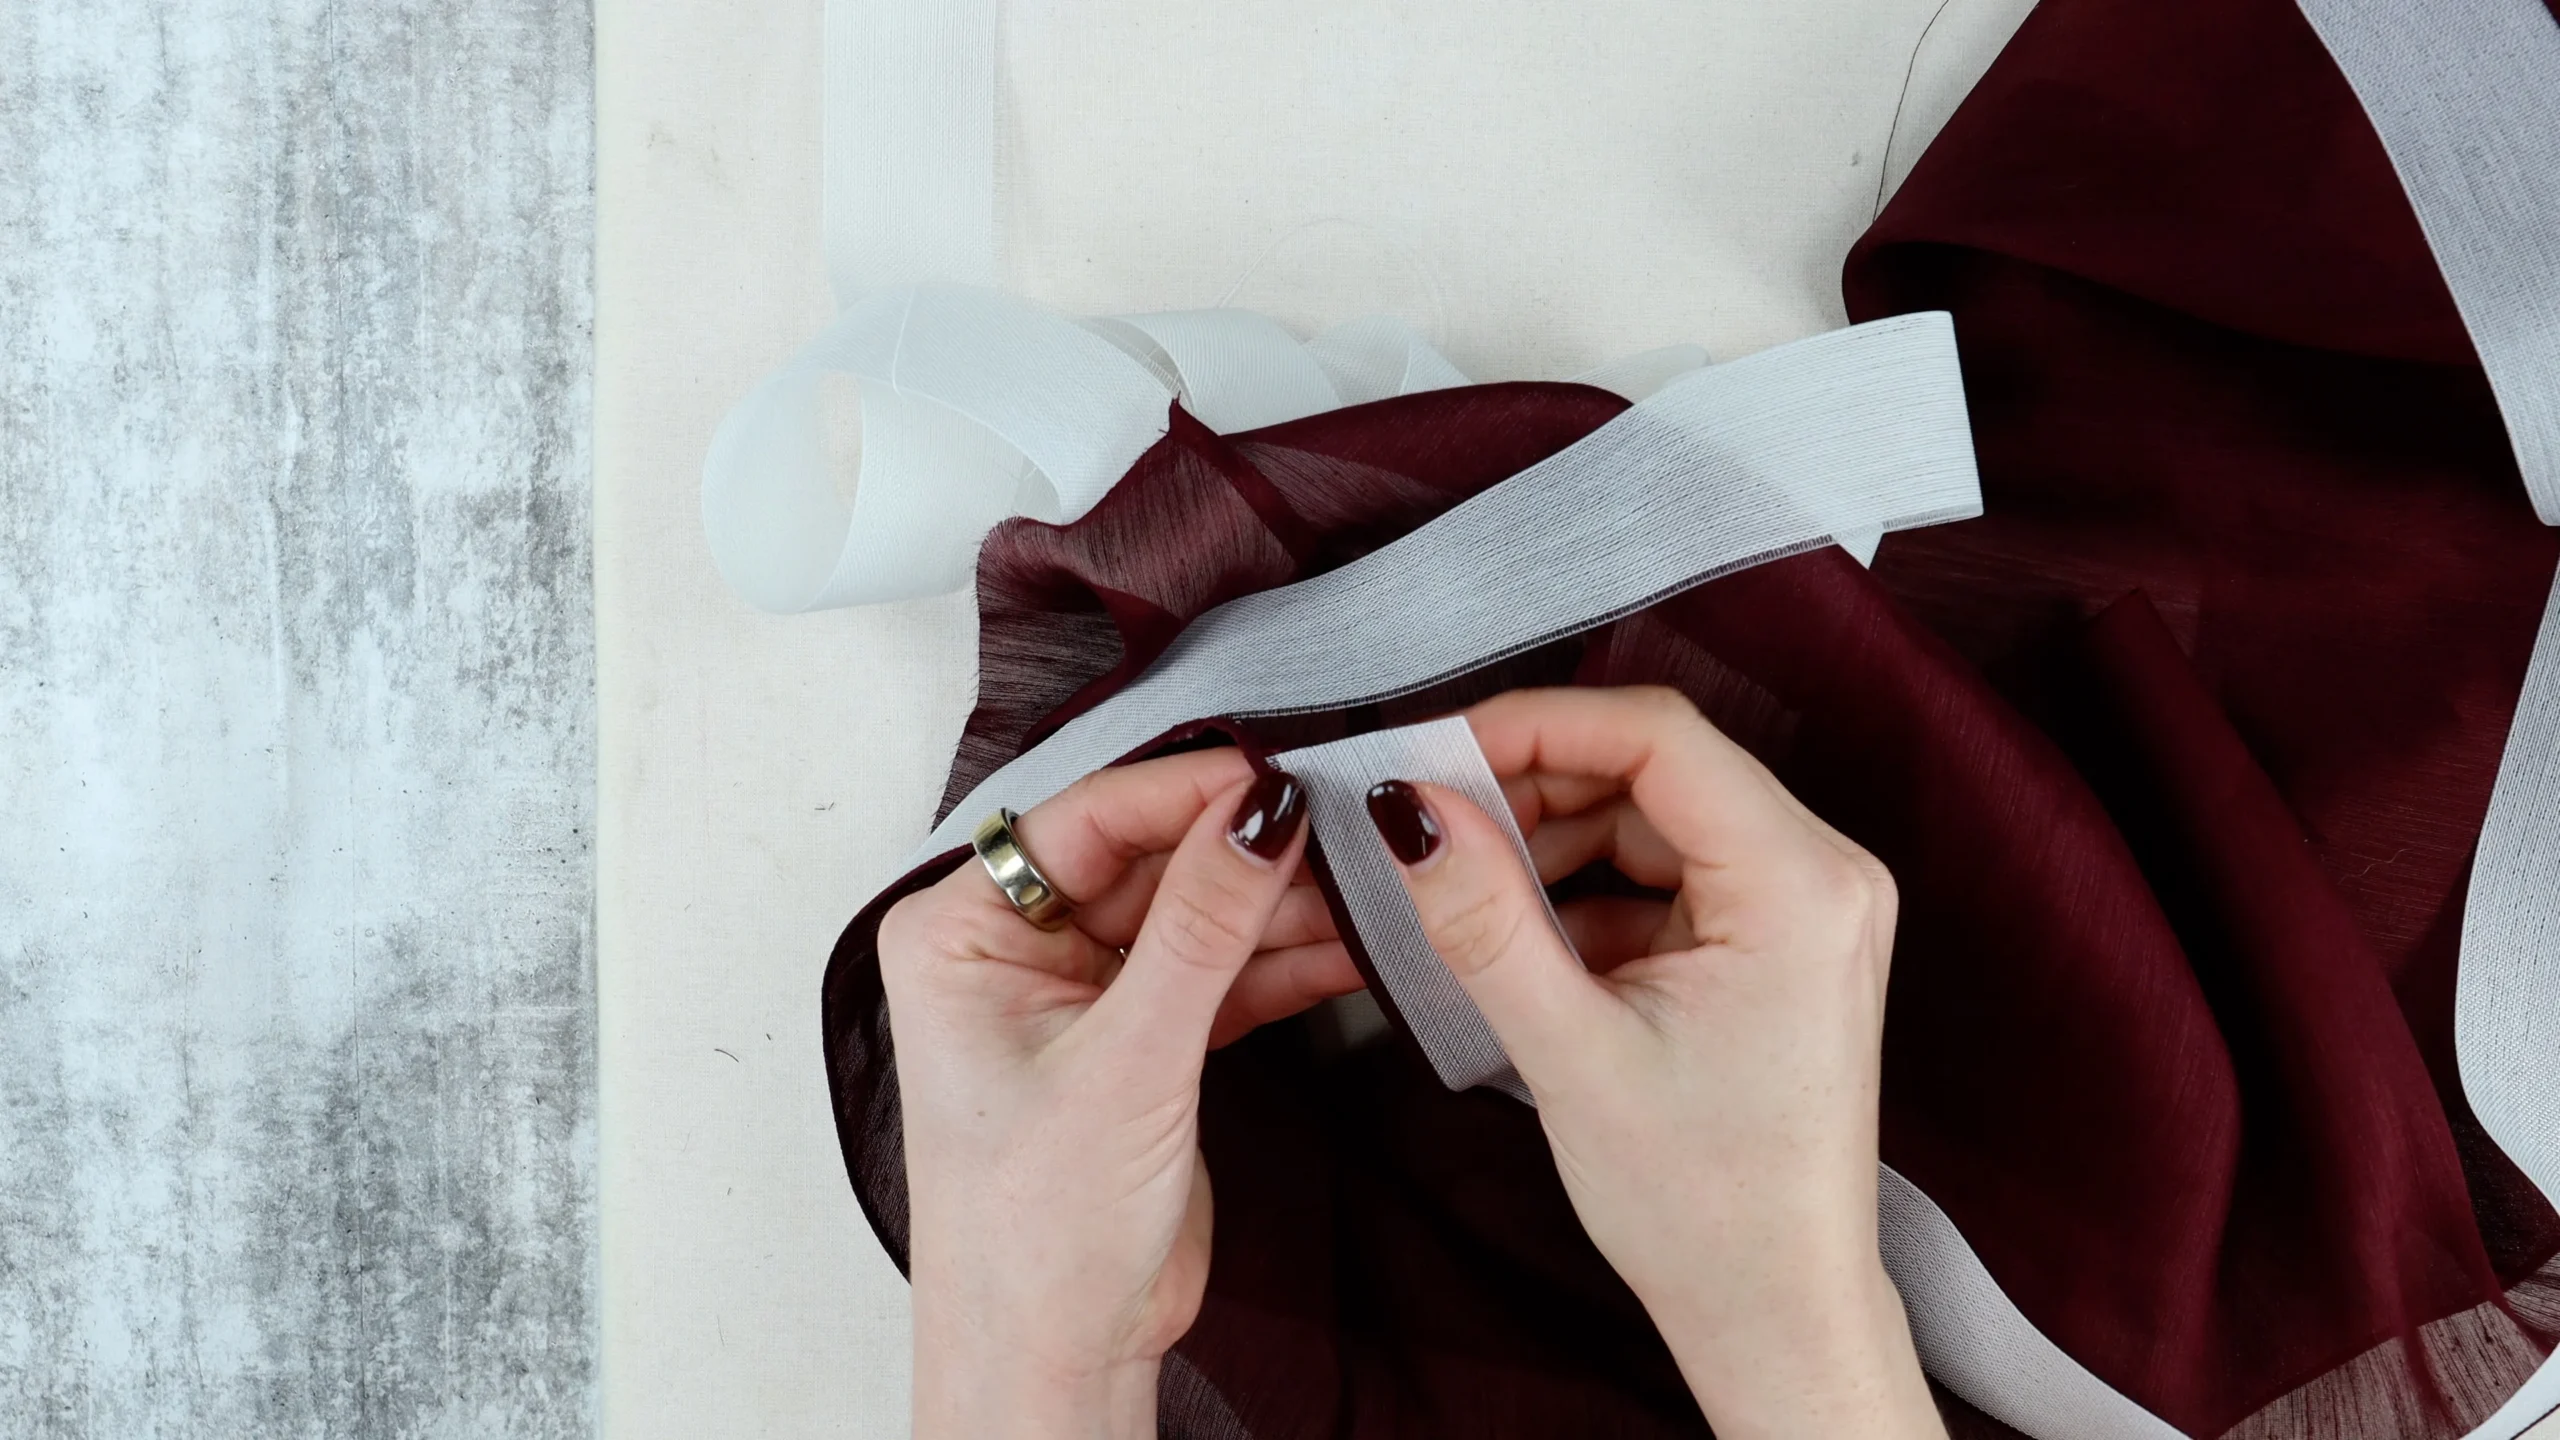
These images show a Mock French Seam on the left (sample) and a garment with a French seam on the right. Showing the seam from the right side of a sheer fabric.

And here is the Mock French Seam on the left (sample) and a garment with a French seam on the right, from the wrong side of the fabric.

This seam finish works beautifully on:
I like to keep my mock French seams with a finished width of 5mm or 1/4″.
To achieve this, I use a seam allowance of 1cm for metric or 3/8″ to 1/2″ for imperial – the finished seam will be half the width of whatever seam allowance you start with. Beginners may prefer to use 1.5cm or 5/8″.
Place your fabric pieces right sides together and pin. Sew at your chosen seam allowance, back stitching at the start and end of the seam.

Take the sewn seam to the iron and press the seam allowances open. A seam roll will give you a neat press without leaving an impression on the right side of the fabric.
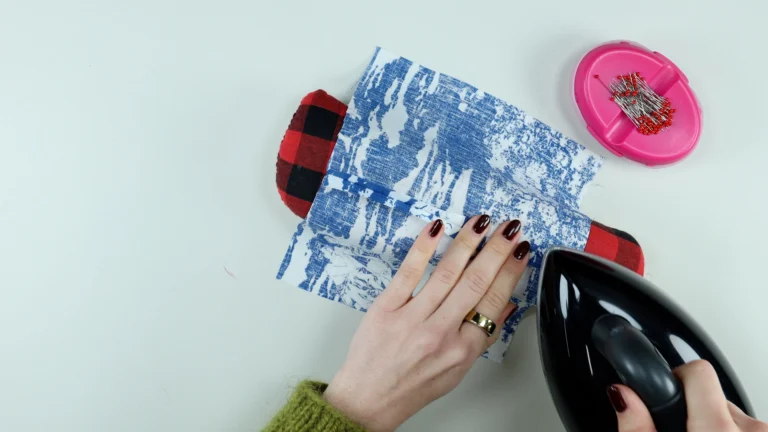
Fold each seam allowance in half, to meet the seam line. Press each side.
You want both pressed seam allowances to be the same width – accuracy here makes the edge stitching easier.
If your fabric is fraying, trim away any stray threads before folding.


Bring the two folded seam allowances together so they meet, encasing the raw edges of the fabric inside. Press flat.
Depending on your fabric you may want to pin the work. Alternatively baste or tack, which is particularly useful for slippery or sheer fabrics.


Take the seam to your sewing machine and edge stitch 1–2mm (1/8″) from the folded edge. An edge stitching foot makes this easier – align the folded edge with the bar in the centre of the foot and adjust the needle position as needed.
Back stitch at the start and end of the seam.

Remove any basting stitches, then press the finished seam allowances toward the back of the garment.

From the right side of the fabric, the seam is invisible.

From the inside, you have a neat enclosed channel – a finish that looks as considered and professional as the outside of the garment.


I’ve filmed a complete step-by-step tutorial for this technique on my YouTube channel, Made to Sew. The video covers all six steps in detail, including tips on seam allowance sizing, how to handle slippery fabrics, and when you might want to choose a mock French seam over a true French seam.
If you’re new to French seams and want to learn the traditional technique too, I have a separate tutorial on that: How to: Sewing French Seams
Feel free to use this technique with the Tie Neck Halter Neck Top project: Coming Soon.
Watch: How to Sew a Mock French Seam (No Serger Needed) – Made to Sew YouTube