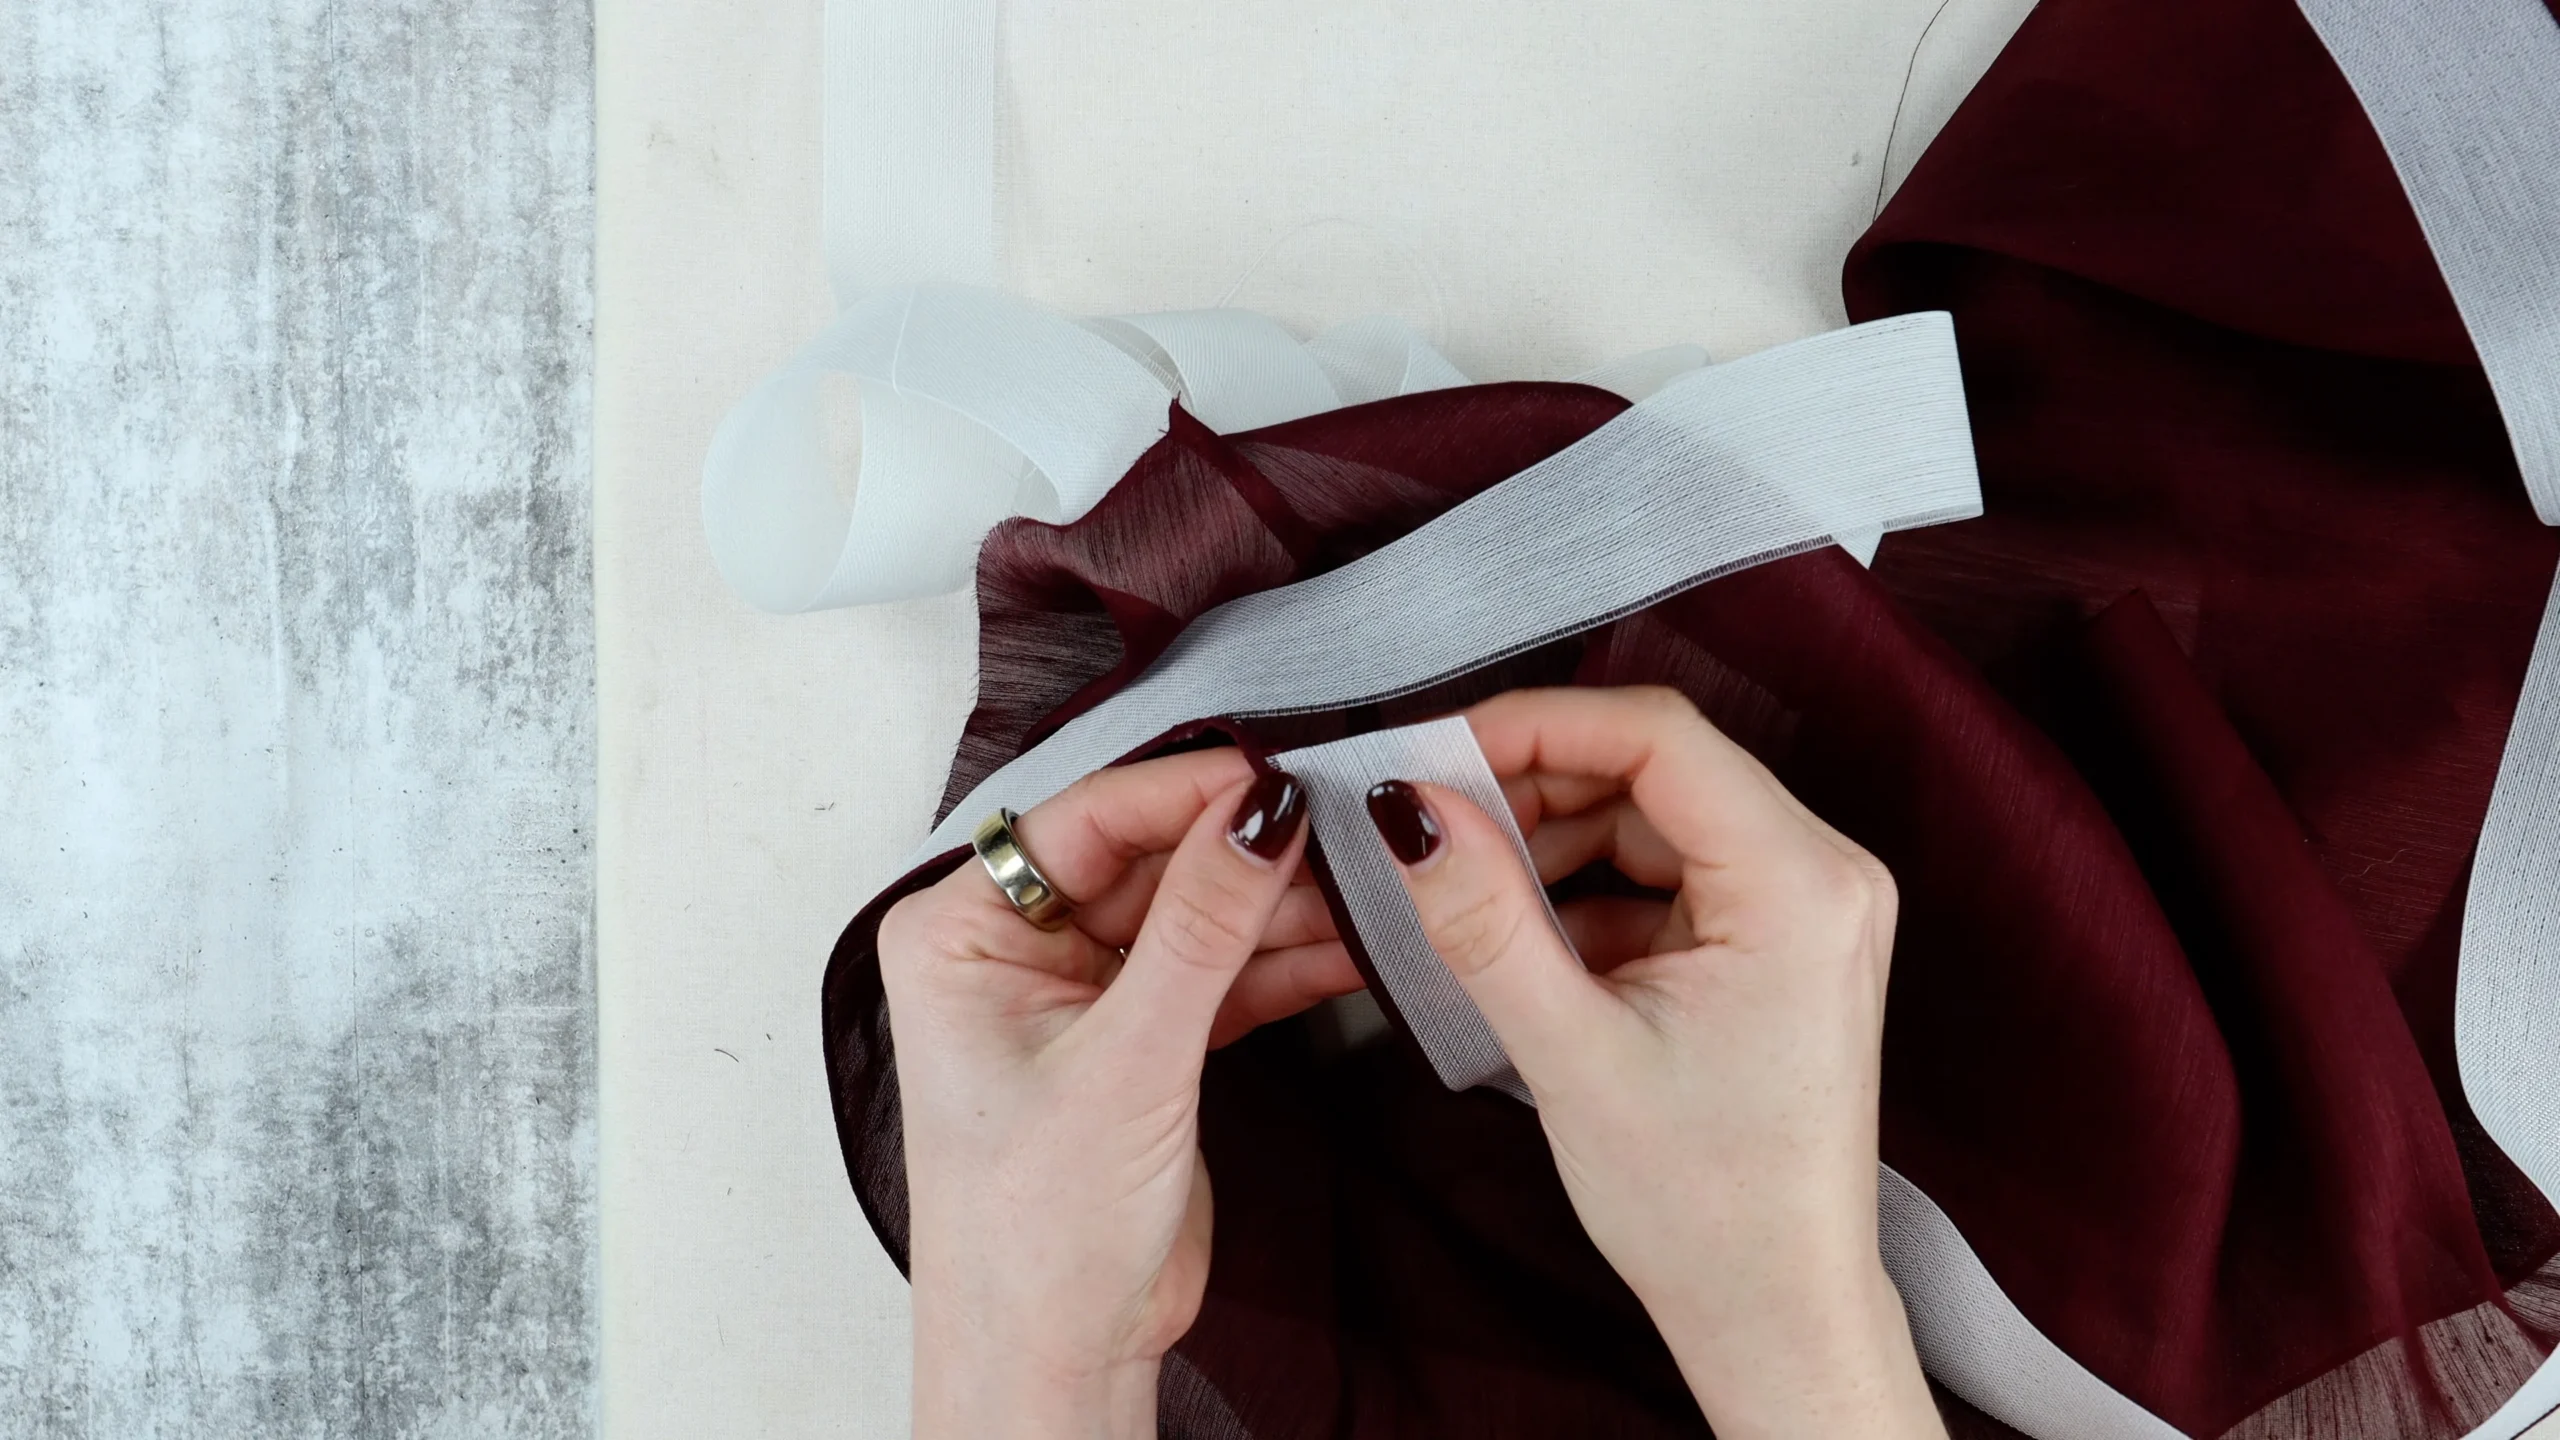

French seams are ideal for lightweight and sheer fabrics, as they fully enclose the raw fabric edges inside a very narrow seam allowance. This creates a clean, durable finish on the inside of a garment, perfect when the fabric is prone to fraying.
French seams are also a great option if you don’t own an overlocker (serger) but still want a professional internal finish.
They work best on light to medium-weight fabrics. Heavier fabrics can create bulky seams, which is why French seams are not recommended for thick or structured materials.
While they can be used successfully around the armhole, they are less suitable for highly curved or shaped seams.
This tutorial demonstrates how to sew a French seam using a 5/8” (1.5 cm) seam allowance. If your pattern uses a different seam allowance, you will need to change the measurements.
You can also watch the corresponding video tutorial on YouTube:
How To: Sewing a French Seam
Step 1: Pin the Fabric
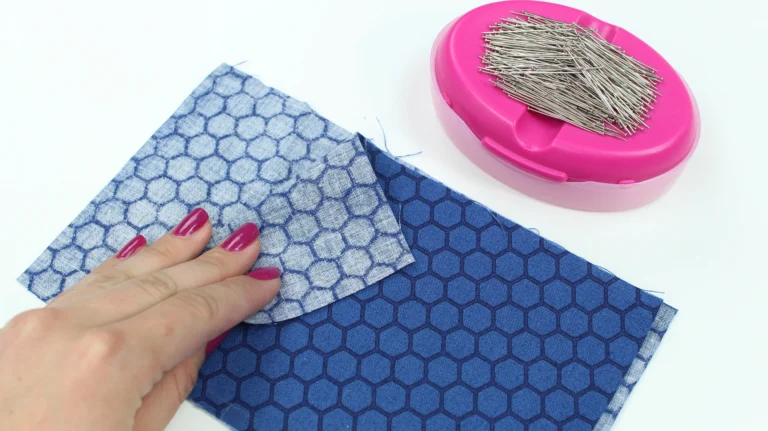
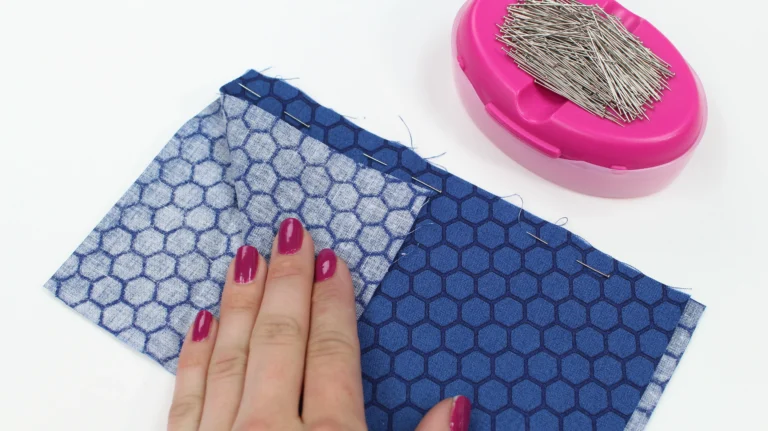
Begin by placing your fabric wrong sides together. I’m working with a printed fabric so the right and wrong sides are easy to see. Pin along the seam you wish to sew.
Step 2: Sew the First Seam
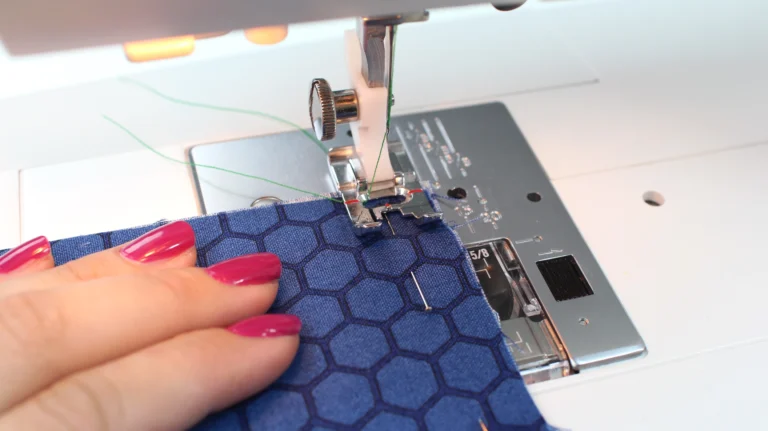
Sew 3/8” (1 cm) from the raw edge. I’m using a contrasting thread colour here to make the stitching easier to see.
If your pattern uses a 3/8″ (1 cm) seam allowance, sew the first seam at 1/8″ (5 mm) from the edge.
Step 3: Press the Seam
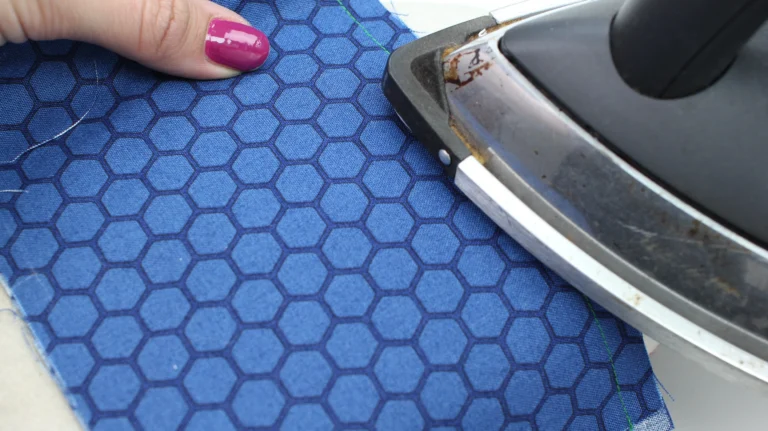
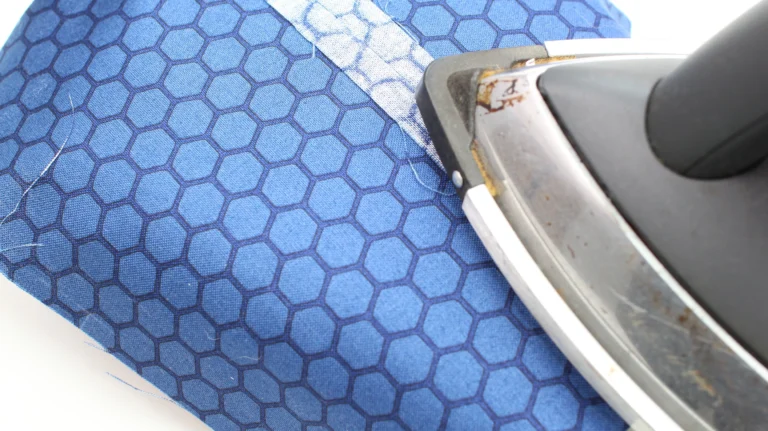
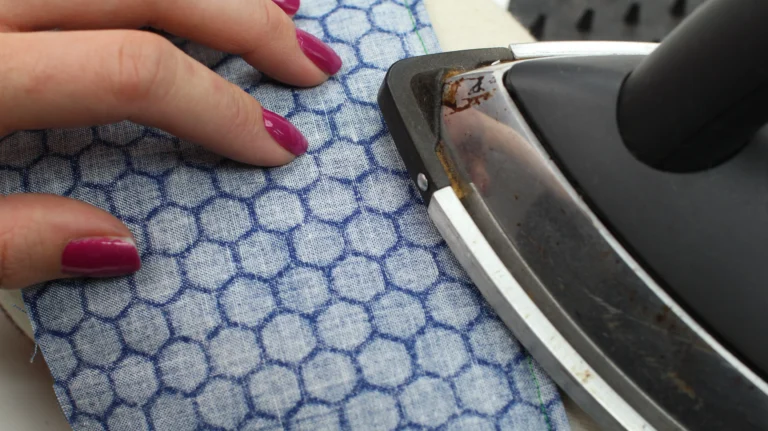
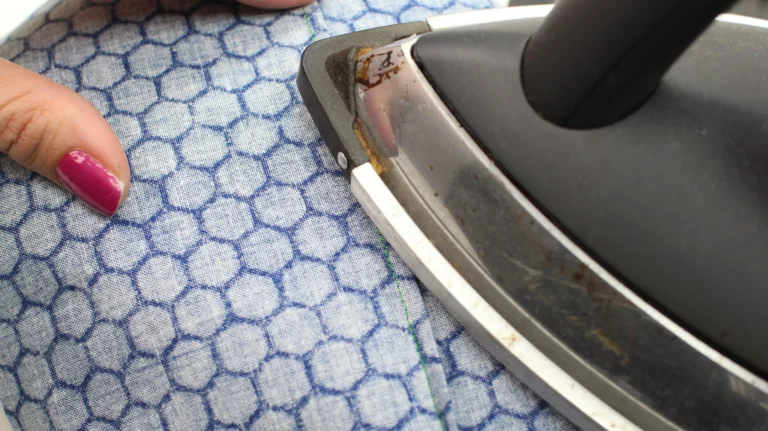
Press the seam flat to meld the stitches into the fabric, then press the seam open.
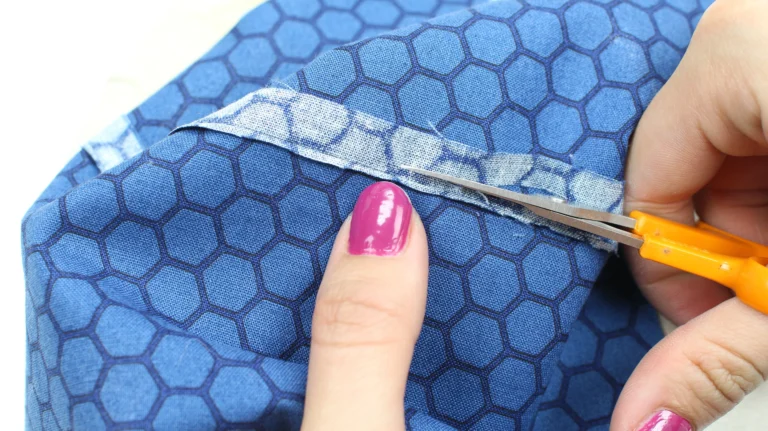
Step 4: Trim the Seam Allowance
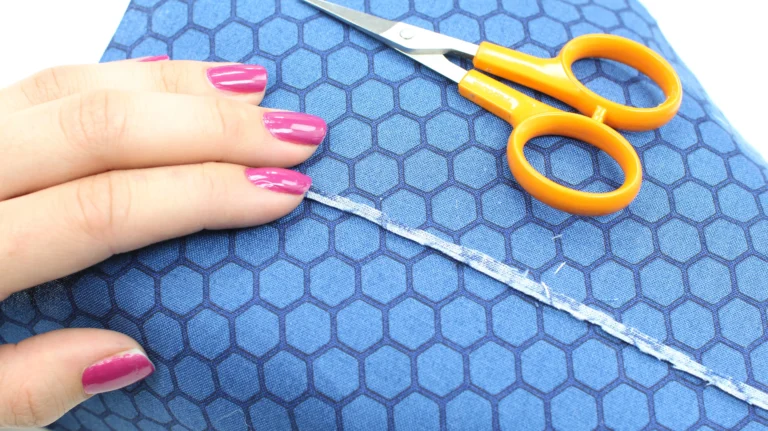
Trim both seam allowances down to 1/8” (3 mm).
This step is essential, the seam allowance must be trimmed small enough so it doesn’t show through the final seam.
The next seam will be sewn at 1/4” (5 mm), so accuracy here matters.
Step 5: Fold and Press
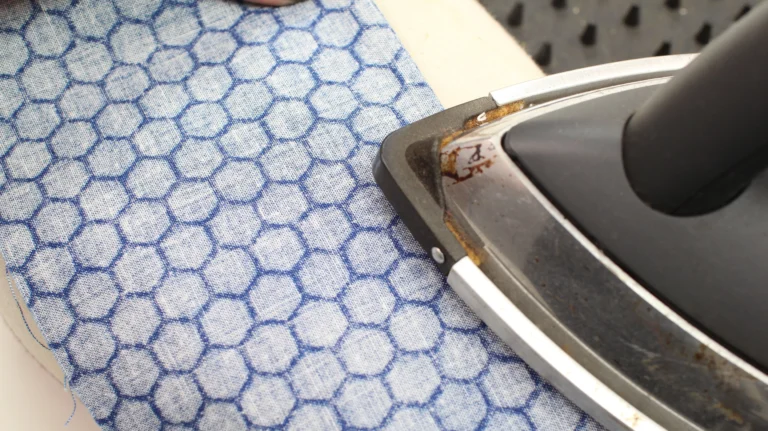
Place the fabric right sides together, folding along the previous stitching line so it sits exactly on the edge of the fabric. Press flat and pin if needed.
Step 6: Sew the Final Seam
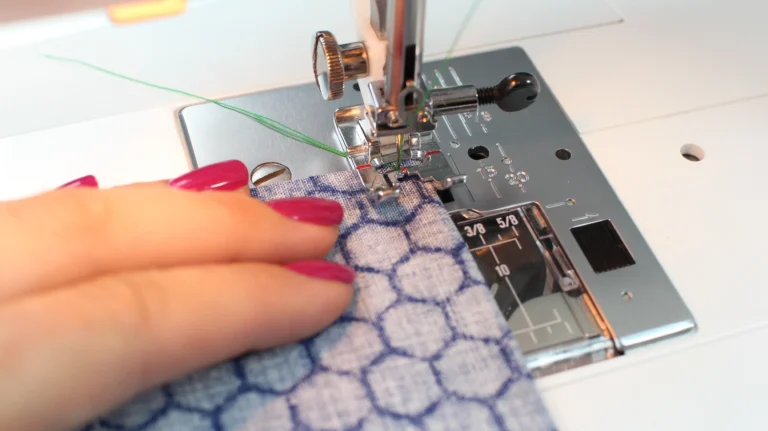
Sew 1/4” (5 mm) from the folded edge, encasing the trimmed seam allowance inside.
Step 7: Final Press
Press the seam flat to set the stitches, then press the seam allowance towards the back of the garment.
Congratulations – you’ve sewn a French seam. A beautifully neat, enclosed finish that’s perfect for delicate fabrics.
If you are working with silk or slippery fabrics you may find this tutorial helpful: Sewing with Silk Fabrics or a Rolled Hem Tutorial, a useful hem for lightweight fabric.s
French seams can be sewn on gentle curves such as armholes or side seams. However very tight curves may distort the seam because the enclosed seam allowance cannot spread easily.
In these cases a mock French seam or overlocked seam may be a better choice.
Related Sewing Tutorials:
How to Sew a Rolled Hem
How to Sew an Inseam Pocket
How to Sew with Silk Fabrics