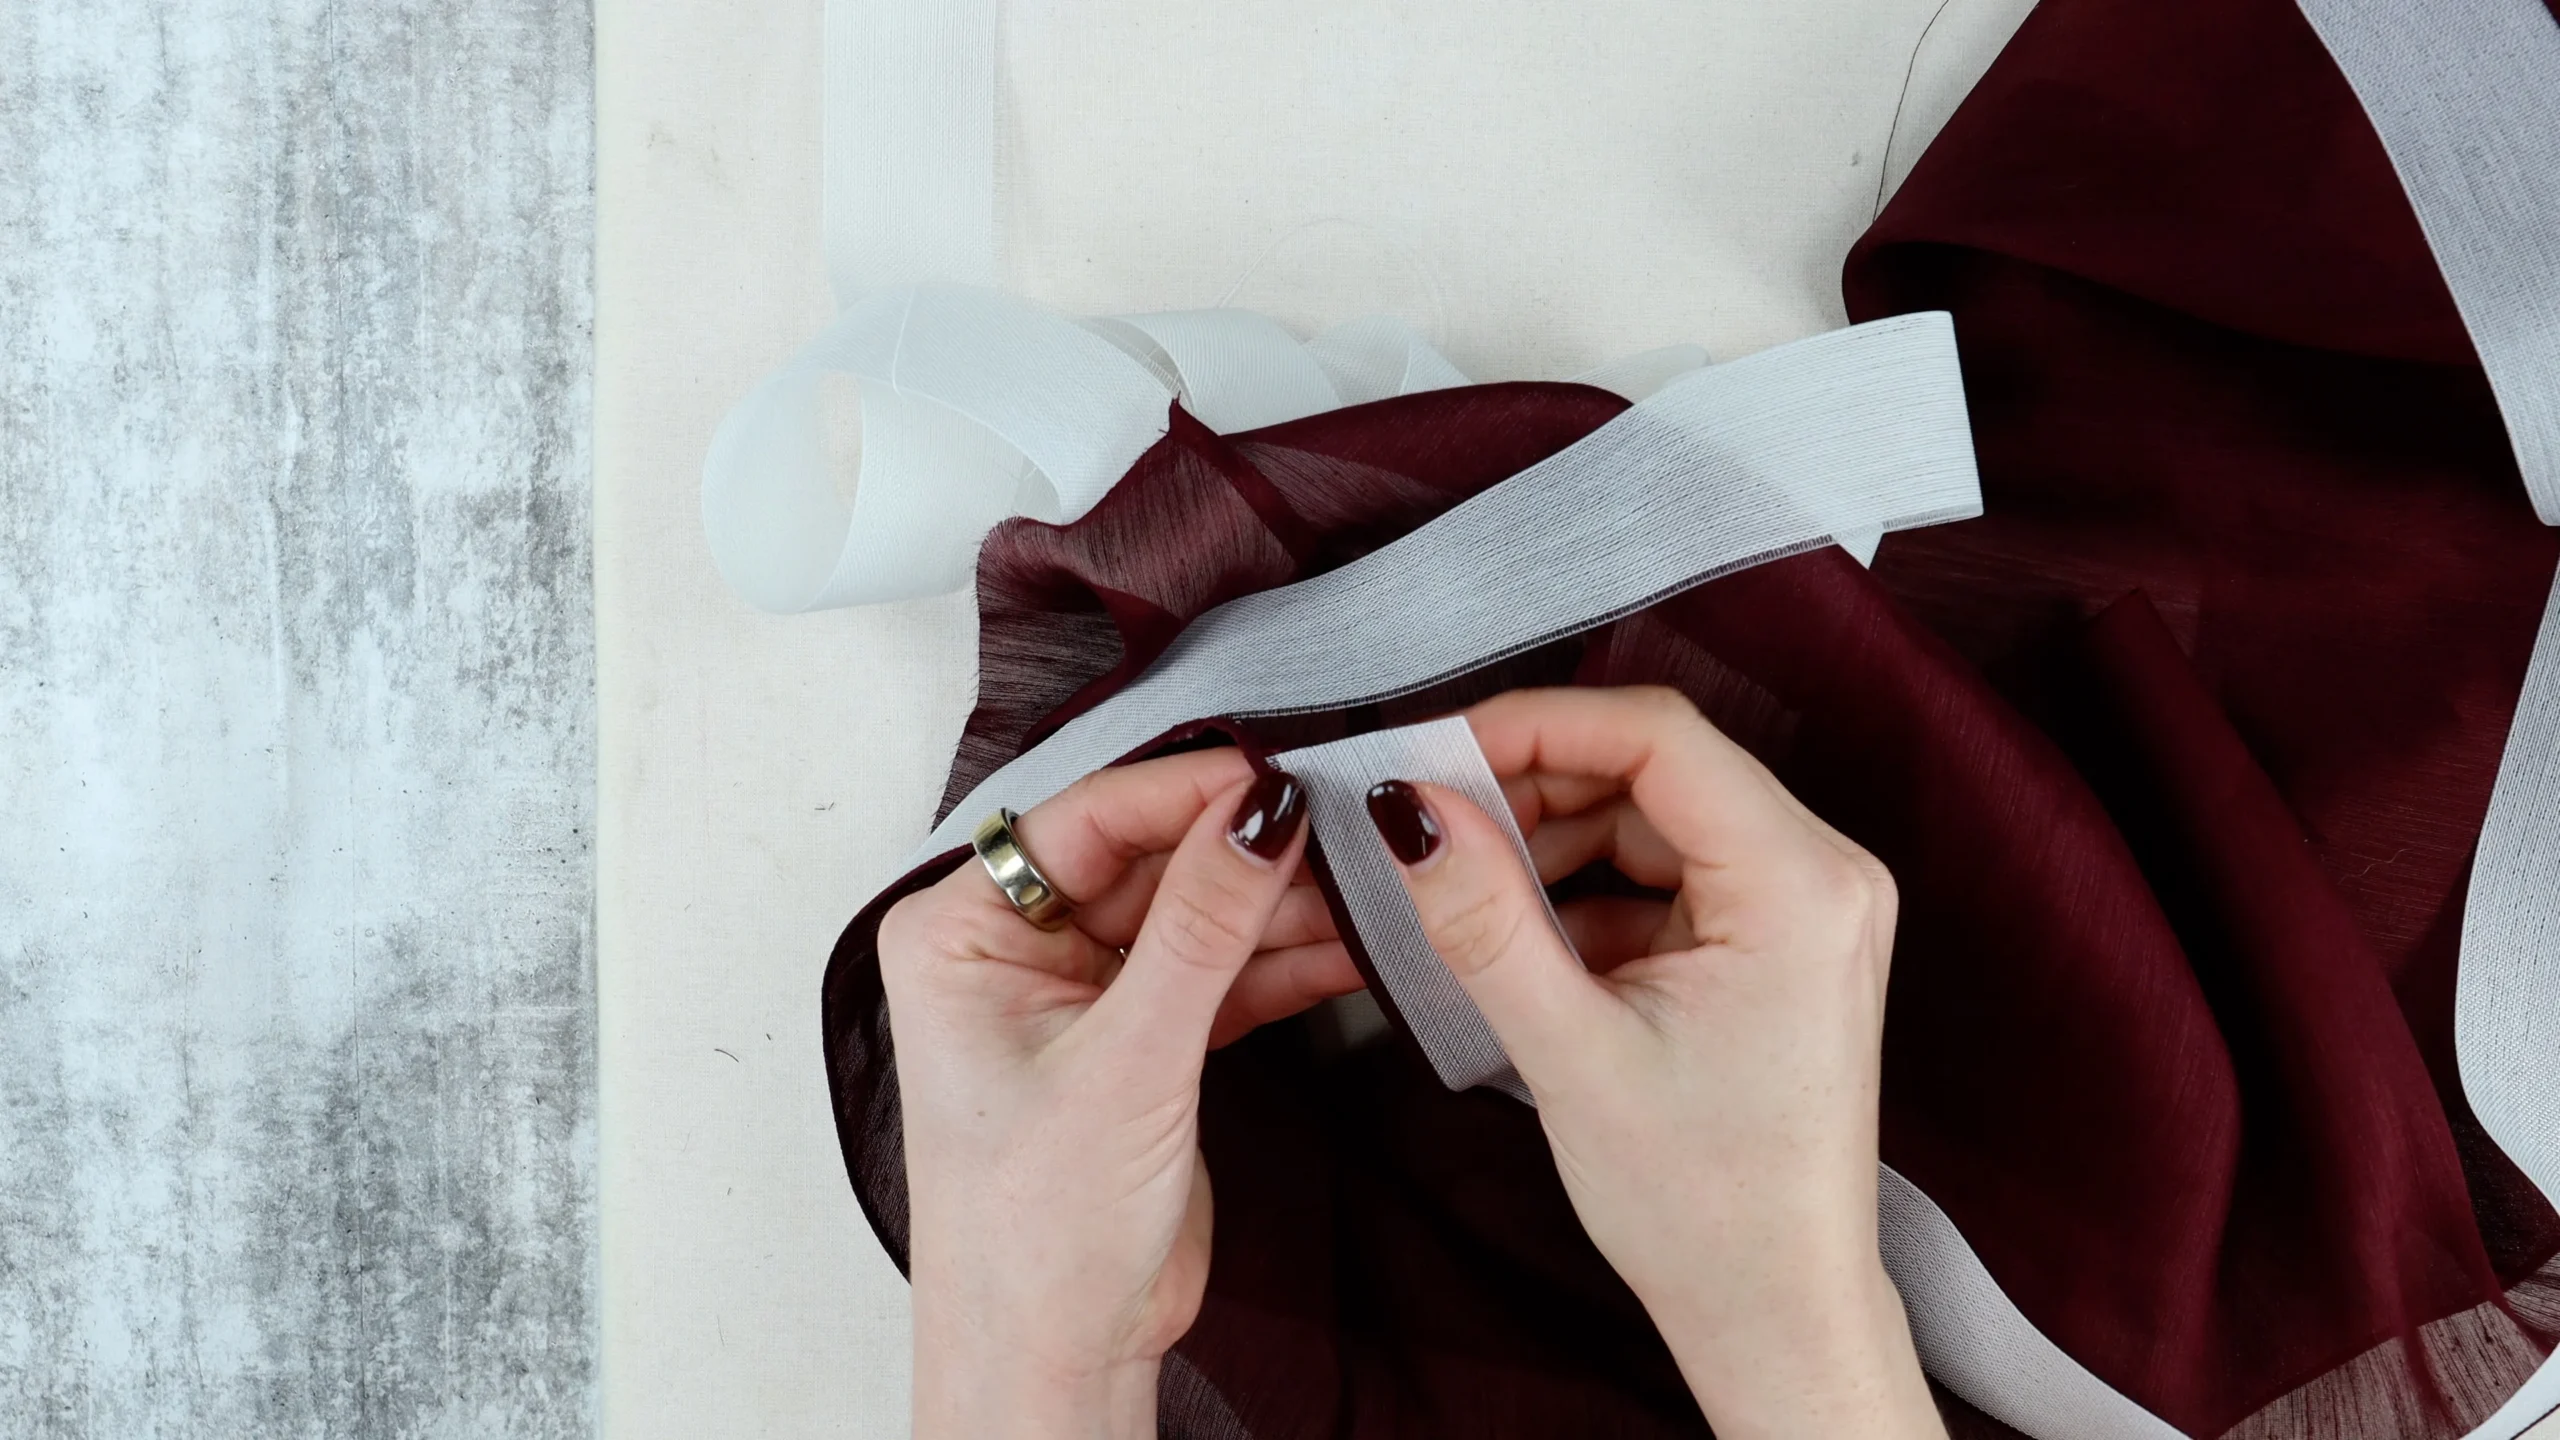
Ban-Rol is a reusable buckram tape that gives you a perfectly even hem on any fabric. Whether you’re sewing a delicate baby hem on chiffon or a crisp shirt hem on cotton shirting, this technique delivers consistent, professional results – and the same piece of Ban-Rol can be used again and again.
In this tutorial I’m showing you exactly how to use Ban-Rol for hemming, including how to prepare it, how to attach and remove it, and how to adapt it for different hem widths and fabric types.
*affiliate links below
Ban-Rol is a firm, synthetic stabiliser that most sewers know as a waistband interfacing – it’s commonly used to stabilise waistbands and prevent them from rolling. But used in a completely different way, it’s one of the most useful tools you can have for hemming. Ban-Rol is a brand name; you can purchase un-branded buckram tape too.
It comes on a continuous roll, so you can purchase exactly the length you need. Its firm, structured hand is what makes it work so well as a hemming guide – it holds the fabric in place as you stitch, giving you a clean, even hem width every time.
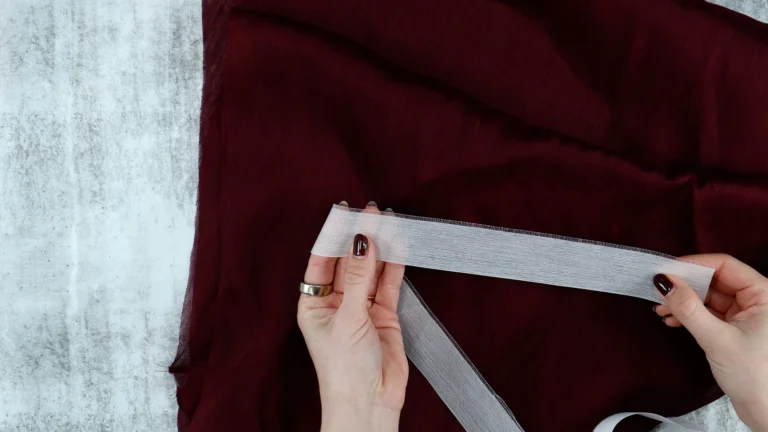
Before you can use Ban-Rol for hemming, you need to prepare it. This is the most important step – the preparation determines your finished hem width.
Step 1 – Remove the Warp Threads
Using a seam ripper or awl, push under and release the warp threads – these are the threads running lengthwise along the Ban-Rol, aligned with the long edges. Once you’ve loosened one or two, grab them and pull to remove them cleanly from the strip.
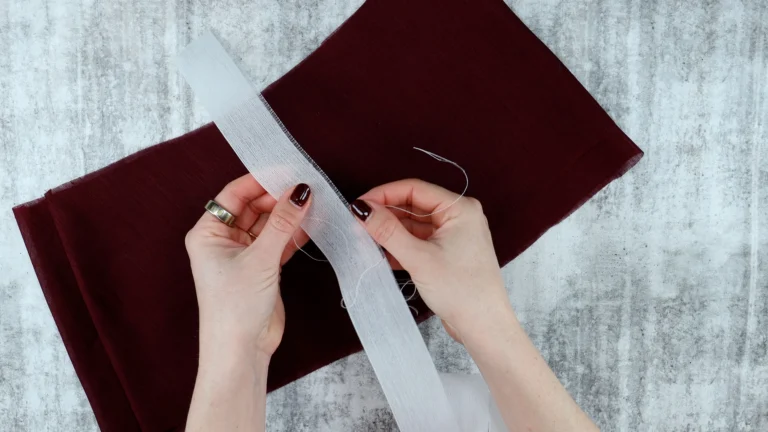
Step 2 – Trim the Edge
Once you’ve removed one or two warp threads, trim along the Ban-Rol close to the remaining warp threads. Straight out of the roll there can be some inconsistency along the edge, and this trim gives you a clean, accurate line to work from.
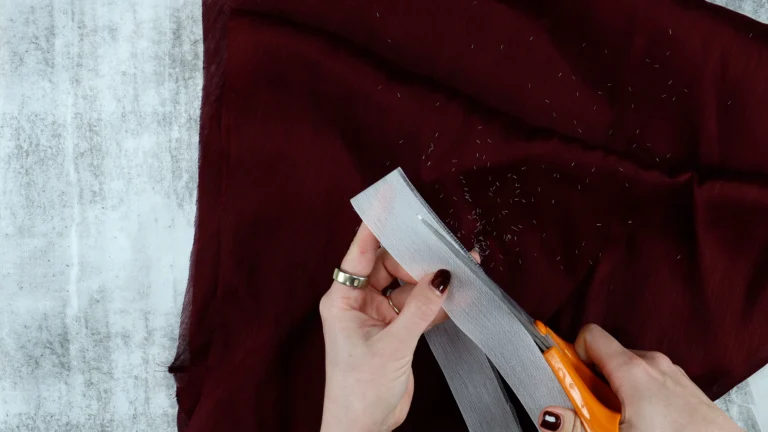
Step 3 – Set Your Hem Width
Continue removing warp threads until the section without them equals the finished hem width you want to sew:
You can prepare different pieces of Ban-Rol for different hem widths, or prepare both sides of a single piece with two different widths.
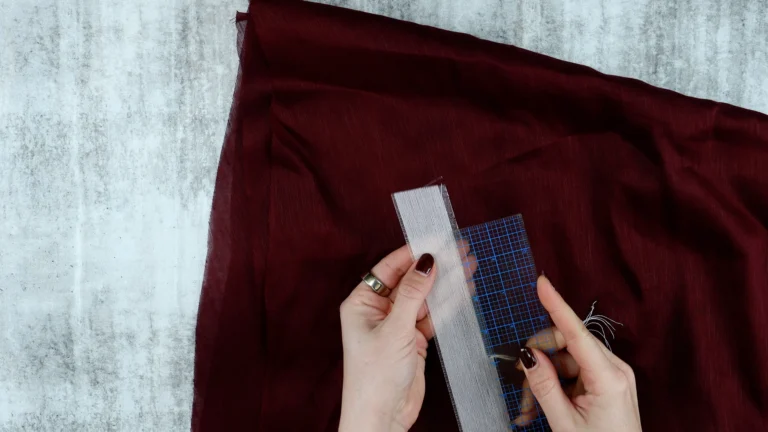
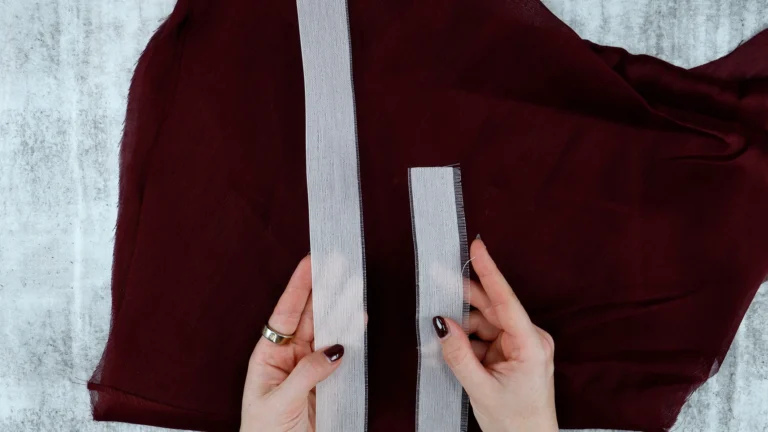
Ban-Rol is reusable – the same piece can be used across multiple garments and multiple hems. Store your prepared pieces loosely folded with a paperclip rather than tightly rolled, as rolling can make the technique slightly trickier to work with.
Step 1 – Attach the Ban-Rol
Take your prepared Ban-Rol and place it on the right side of your fabric, aligning the comb edge (where you removed the warp threads) with the raw hem edge of your garment.
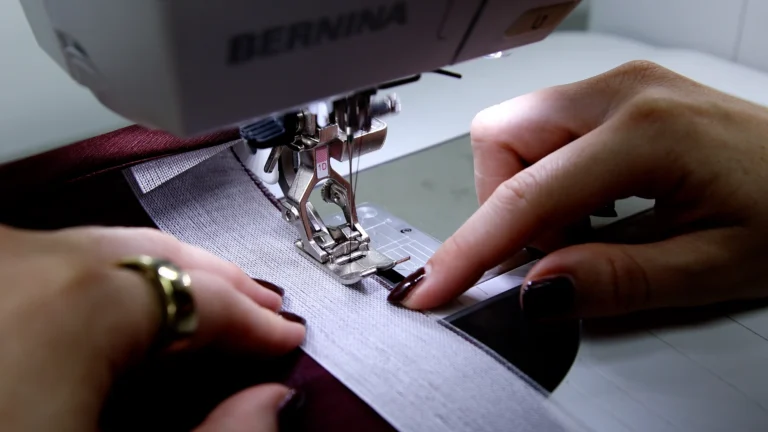
At the sewing machine, position the needle so it sits just next to the remaining lengthwise warp threads of the Ban-Rol. Sew all the way around the hem, attaching the Ban-Rol to the fabric.
A couple of things to note:
Step 2 – Press the Hem
Once stitched, trim any discrepancy from the hem edge so it aligns neatly with the weft threads on your Ban-Rol.
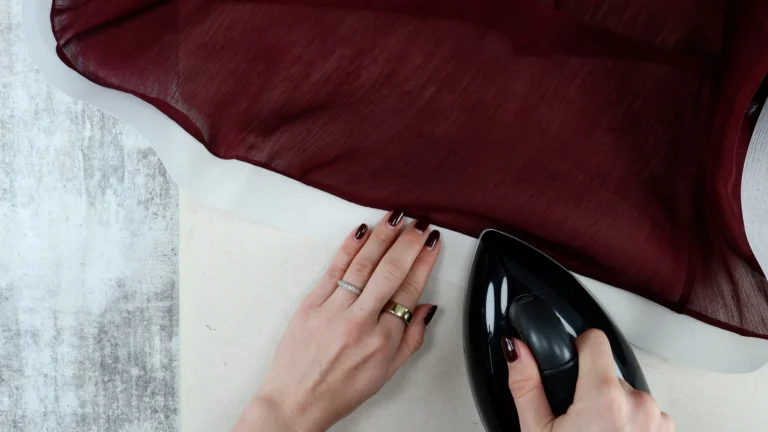
Turn your garment to the right side facing up. Fold the Ban-Rol away from the hem and press the join between the garment and the Ban-Rol. This creates a clean, pressed fold at the exact hem edge.
Step 3 – Fold and Stitch
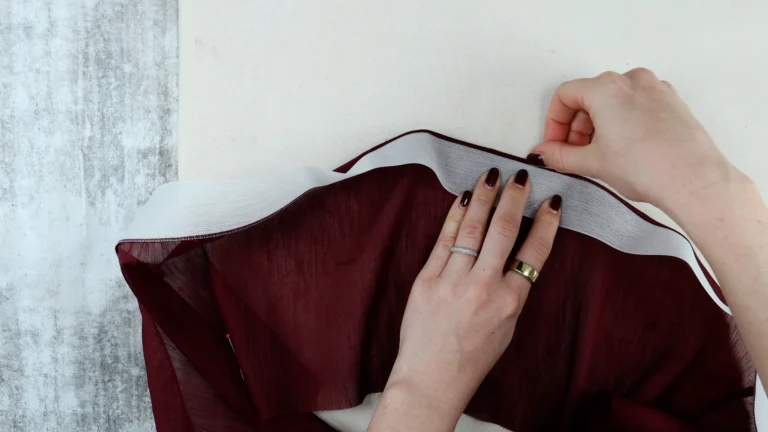
Turn your work to the wrong side facing up. Fold the Ban-Rol over the raw edge to create the hem. The hem width will be exactly the size of the section you prepared – the area without warp threads.
Press this fold in position, then take your work back to the sewing machine.
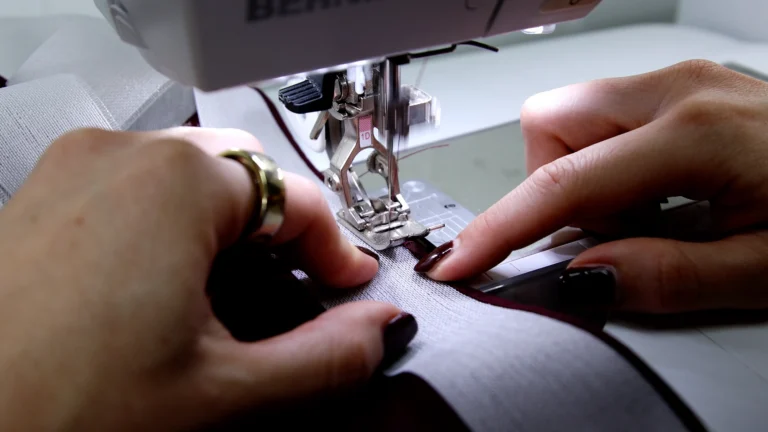
Stitch close to the top folded edge of the hem – approximately 2mm (⅟₁₆ inch) away. An edge-stitching foot is helpful here for accuracy. Start and stop at the join of your Ban-Rol, securing that section first.
You are sewing only through the garment fabric and the weft comb threads of the Ban-Rol – not through the warp threads. This is what allows you to remove the Ban-Rol afterwards.
Once you’ve stitched all the way around, it’s time to remove the Ban-Rol. Hold your hem firmly and pull the Ban-Rol close to the hem to avoid stretching or distorting the fabric. It should come out cleanly and easily.
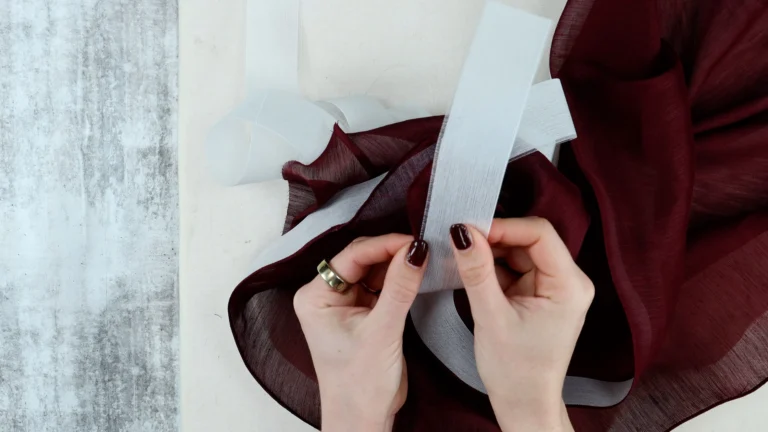
If you’ve accidentally caught a warp thread in your stitching, trim it to release the Ban-Rol. Note that this will increase the comb size slightly, so that piece of Ban-Rol will be better suited to a slightly larger hem width going forward.
This technique works beautifully on more stable fabrics too. Here’s the same method applied to cotton shirting – perfect for the curved hem of a shirt.
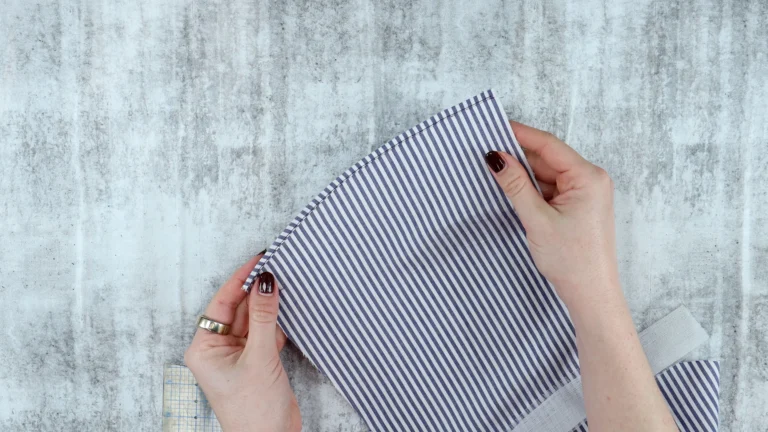
The curved hem of a shirt is one of the trickiest things to press evenly – Ban-Rol handles it really well because it conforms to the curve while still giving you a consistent hem width all the way around.
Ban-Rol is one of several techniques for sewing a neat, narrow hem. Here’s a quick guide to help you choose:
Rolled hem (standard method) – the fastest approach for most fabrics. No special tools required. Read my tutorial here. Watch the tutorial on YouTube – LINK.
Baby hem on lightweight silk fabrics – my method using tissue paper as a stabiliser, ideal for very fine, slippery fabrics like silk charmeuse and georgette. Read my tutorial here. Watch the tutorial on YouTube – LINK.
Baby hem with Ban-Rol (this tutorial) – the most precise and reusable method. Ideal for any fabric where you want a perfectly consistent hem width, including curved hems on shirting. Watch the tutorial on YouTube – LINK.