
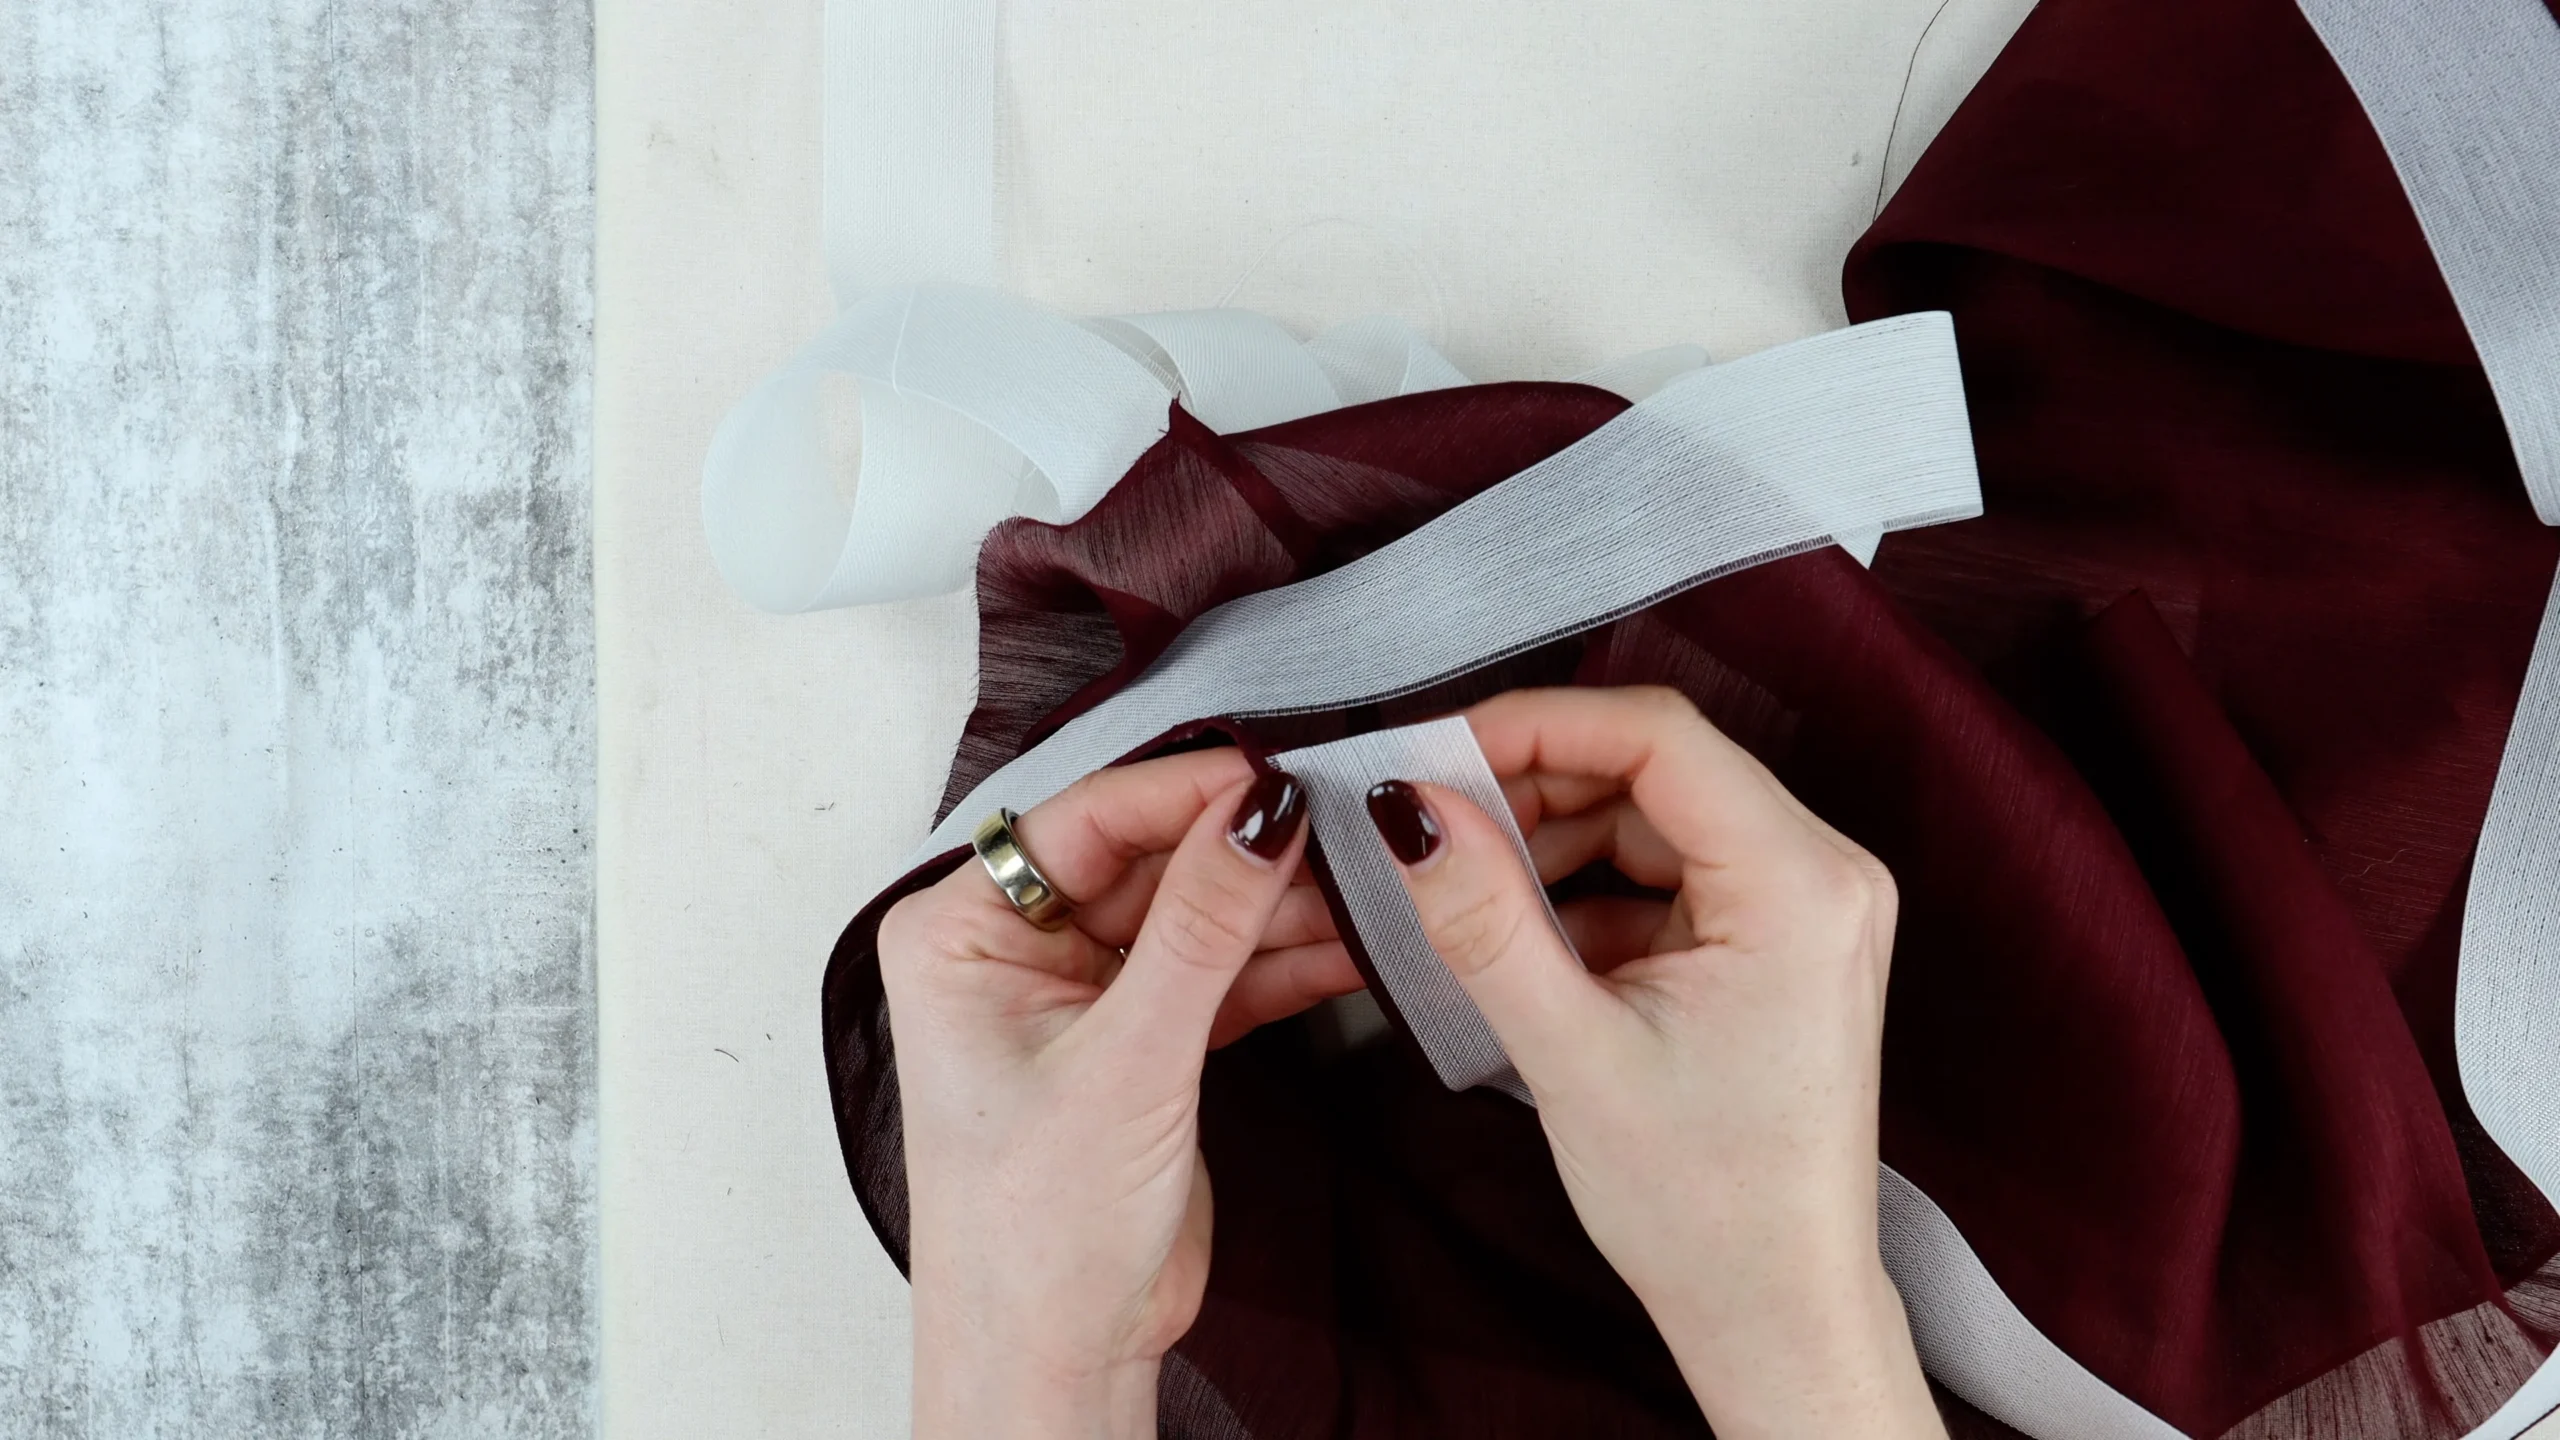
A baby hem is the professional’s secret for finishing lightweight and delicate fabrics with a beautiful, fine edge. If you have ever struggled to hem silk, chiffon, or georgette neatly, this is the technique you need.
In this tutorial, I cover two methods for sewing a baby hem on tricky fabrics, including silk charmeuse, silk georgette, and silk cotton blends – fabrics that can be cut on the bias and require a little extra care to handle beautifully.
*affiliate links below
A baby hem is a tiny narrow rolled hem that measures approximately 2-3 millimetres (⅛ inch) in width.
The fabric is double-turned to enclose the raw edge completely within a small fold, creating a fine, delicate finish that is almost invisible from the right side of the garment.
The baby hem is done on a sewing machine without a rolled hem foot, making it accessible to any sewist. It is ideal for lightweight, slippery, and sheer fabrics where a bulkier hem would distort the drape of the garment.
If you are new to sewing narrow hems and would like to start with an easier fabric, I recommend watching my How to Sew a Rolled Hem tutorial first, which uses a simple cotton fabric and works through the process at a slower pace.
A baby hem is the best choice when you are working with:
It is particularly useful for finishing narrow pieces such as neck ties, ruffles, scarves, and the hems of floaty skirts and dresses.
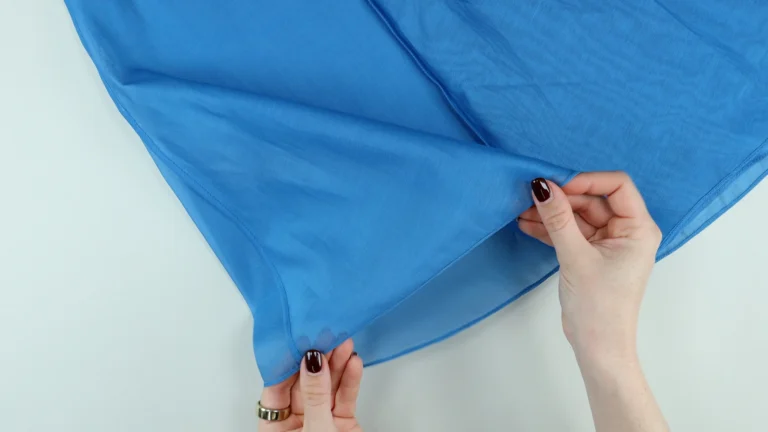
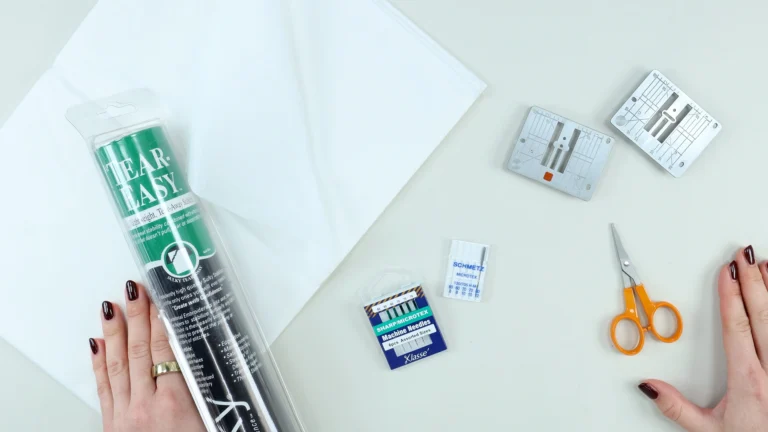
Before starting, set your sewing machine up for the fabric you are working with. A little preparation makes a significant difference.
Needle: Use a fresh, sharp microtex or sharp needle in size 60/8 or 65/9. This will give you a cleaner stitch than a universal needle on fine fabrics.
Stitch length: Reduce your stitch length to 1.5-2 millimetres. This is shorter than your standard stitch length and will give you better finish on lightweight fabrics.
Tension and foot pressure: You may need to adjust both for your specific fabric. Test on a scrap before sewing your garment.
Dual feed or walking foot: If your sewing machine has a dual feed function, I recommend using it. It helps feed fine fabrics more evenly through the machine.
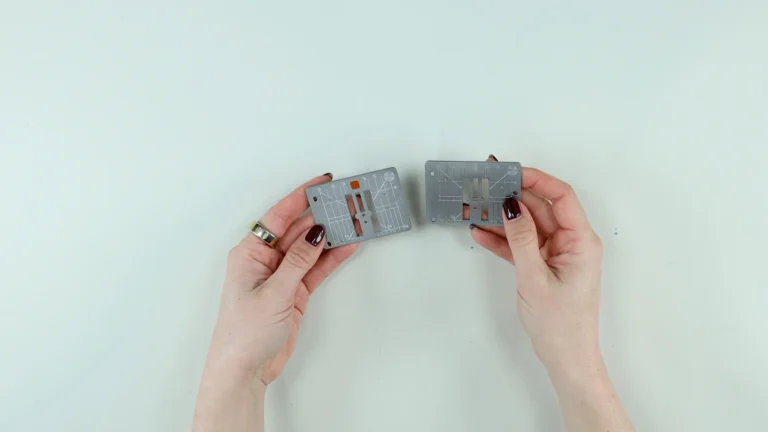
Straight stitch needle plate: If you have one for your machine, this is worth using. The single small hole provides better support for fine fabrics and helps prevent them being pulled down into the opening.
Tissue paper: Placing a small strip of tissue paper underneath your work as you sew is one of the most effective ways to stabilise tricky fabrics. It gives the feed dogs something to grip and prevents the fabric from being dragged down into the needle plate.
Simply tear it away carefully once you have finished sewing. I generally prefer tissue paper over tear-away stabiliser for this technique.
Sometimes it is required for the whole seam.
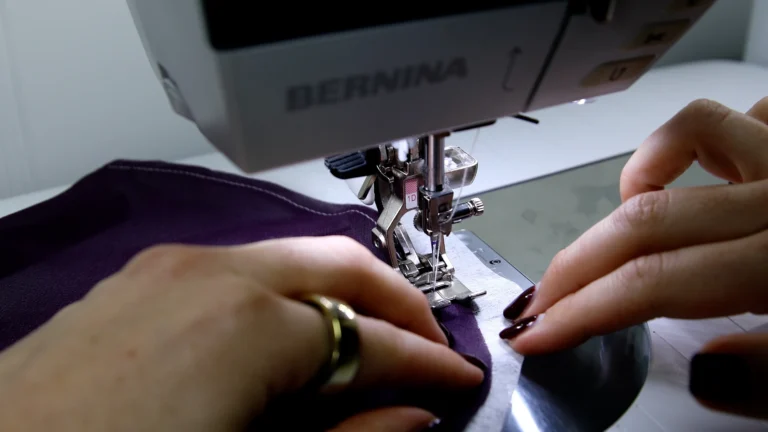
On other occasions you may only need to it when you start sewing. This is more common if you are starting on the edge of a piece of fabric, rather than sewing in a circle / skirt hem.
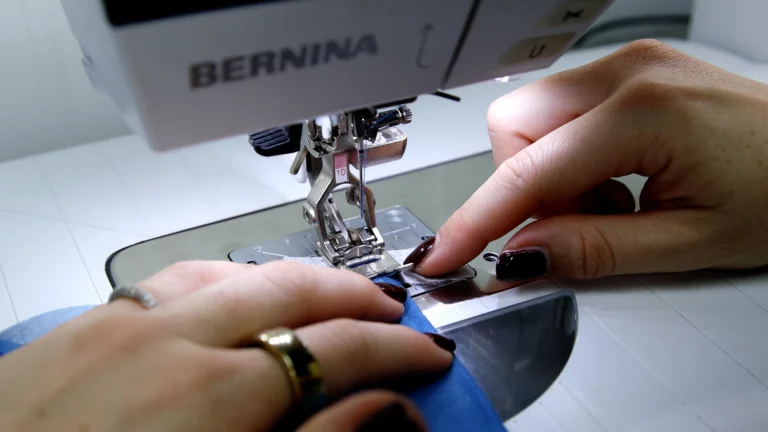
This method uses three rows of stitching and is the easier option, particularly if you are new to sewing fine fabrics.
Step 1 – Sew your guide stitch
With the wrong side of your fabric facing up, sew a straight stitch 3-4 millimetres (⅛ inch) less than your hem allowance.
With a 1 centimetre (⅜ inch) hem allowance, sew at 6 millimetres (¼ inch) from the raw edge. There is no need to backstitch as this seam will be sewn on top of.
On very fine silks, tie off your thread ends rather than backstitching.
If you are having difficulty feeding the fabric, place a strip of tissue paper underneath. However this will need to be removed, before the second seam is sewn.
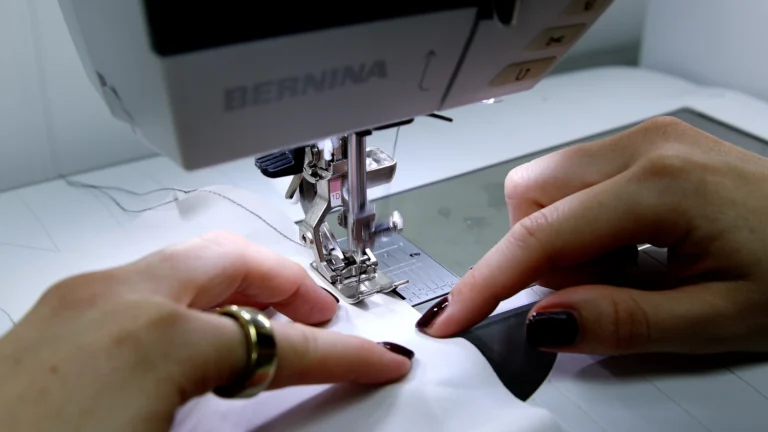
Step 2 – Press
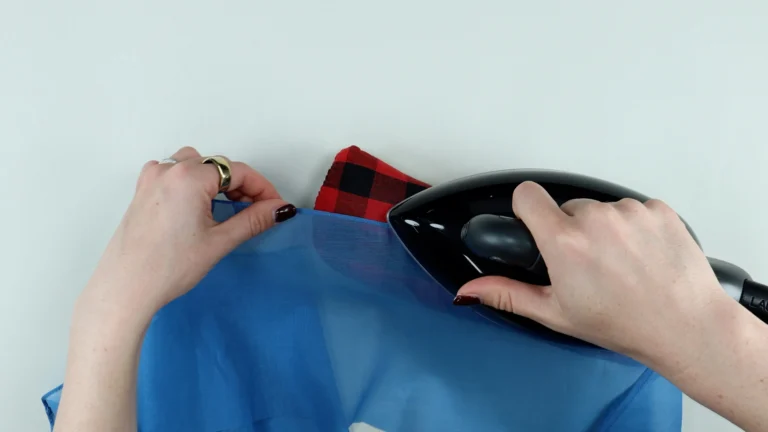
Press the hem allowance towards the wrong side of the fabric, using the first stitching line as the fold guide.
The stitching should roll just to the wrong side, sitting approximately 1-2 millimetres from the folded edge. If you are working on a curve, ease the fabric gently as you press rather than stretching it.
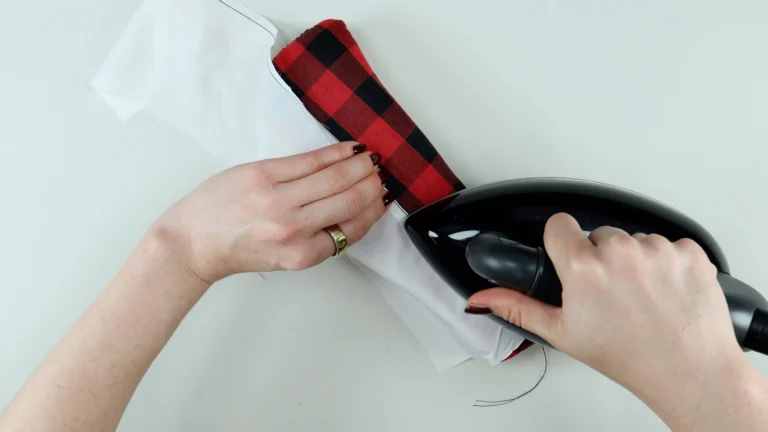
Step 3 – Sew close to the fold
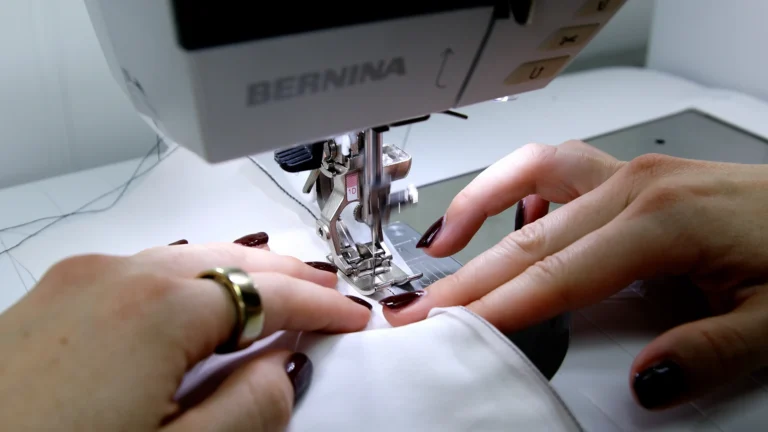
Return to the sewing machine and sew a second row of stitching as close to the folded edge as possible – approximately 1-1.5 millimetres away.
You can sew directly on top of the first row if you prefer. Take your time as this stitch position determines the finished size of your baby hem.
Step 4 – Trim
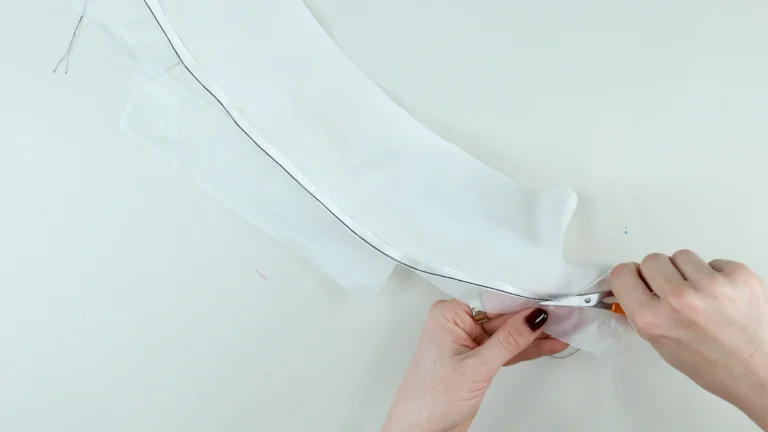
Using small sharp scissors, carefully trim the excess fabric as close to the second row of stitching as possible without cutting through the stitching.
Hold the trimmed fabric taut in your non-cutting hand as you work. Duck-billed scissors are useful here if you have them.
Step 5 – Fold and sew the final hem
Fold the trimmed edge towards the wrong side a second time, enclosing all raw edges inside the fold.
Press in place if you wish.
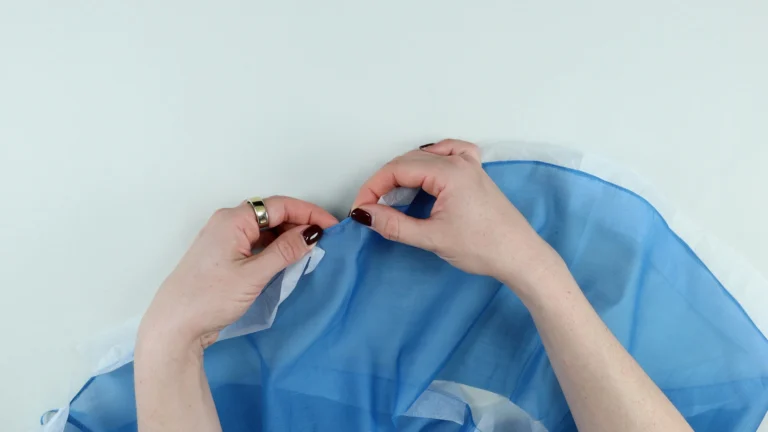
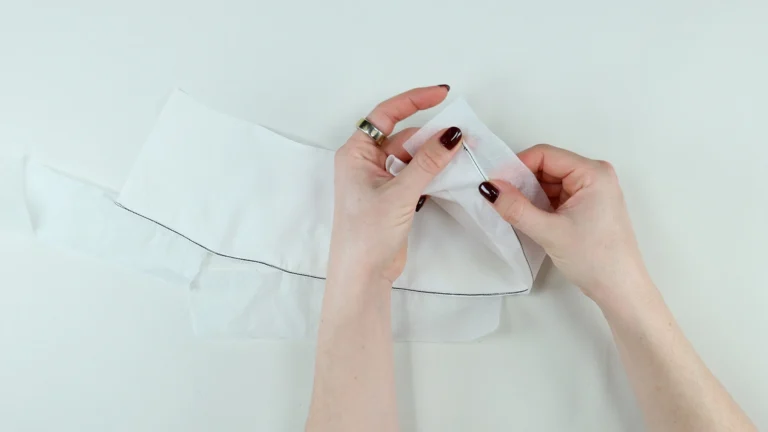
At the sewing machine, sew the final row of stitching either directly on top of the previous stitching, or slightly to the left to ensure the hem cannot fray in the future.
This is the only row of stitching that will be visible on the right side of the garment.
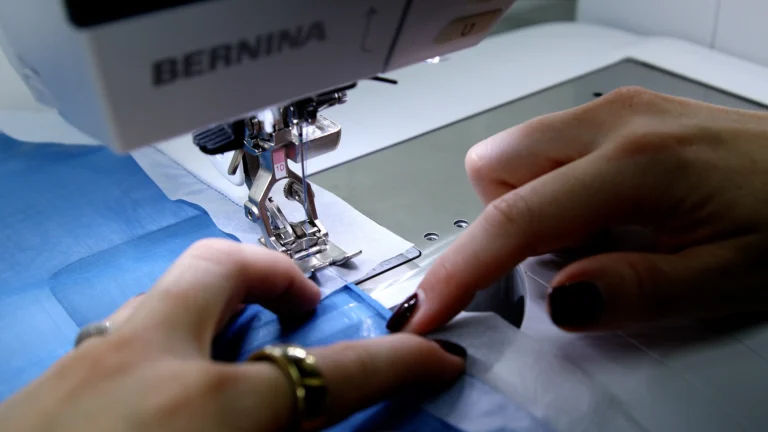
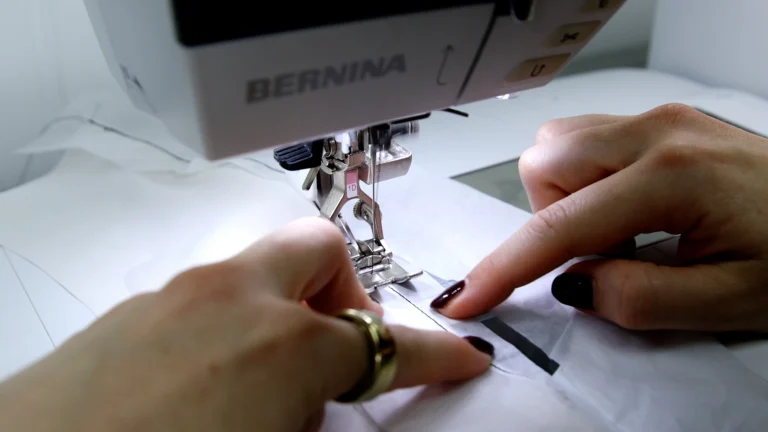
Remove any tissue paper, use tweezers to grab any small bits and give the finished hem a final press.
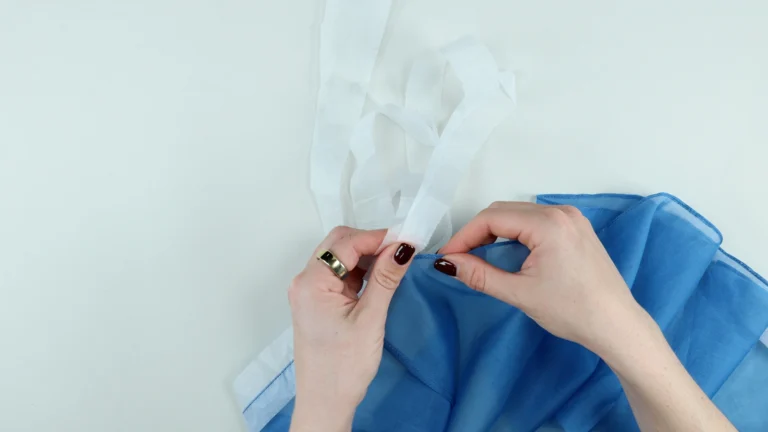
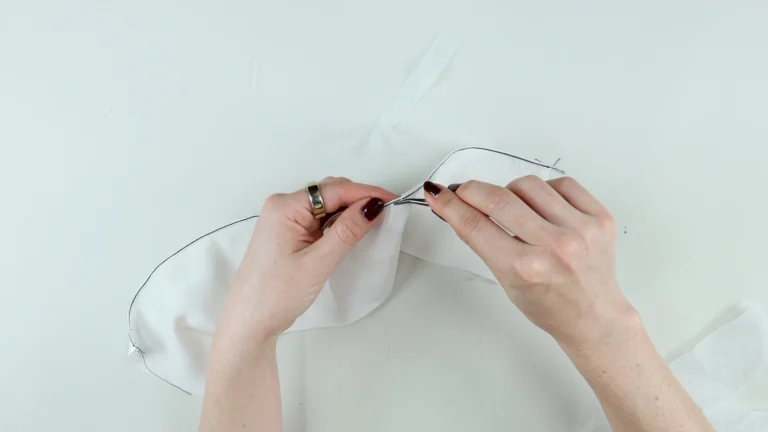
This method skips the guide stitch entirely and is quicker once you are confident with the technique.
Step 1 – Fold and sew
Fold the hem allowance towards the wrong side by your hem allowance minus 3 millimetres (⅛ inch).
With a 1 centimetre hem allowance, fold over 7 millimetres (a generous ¼ inch).
Press in position if you wish.
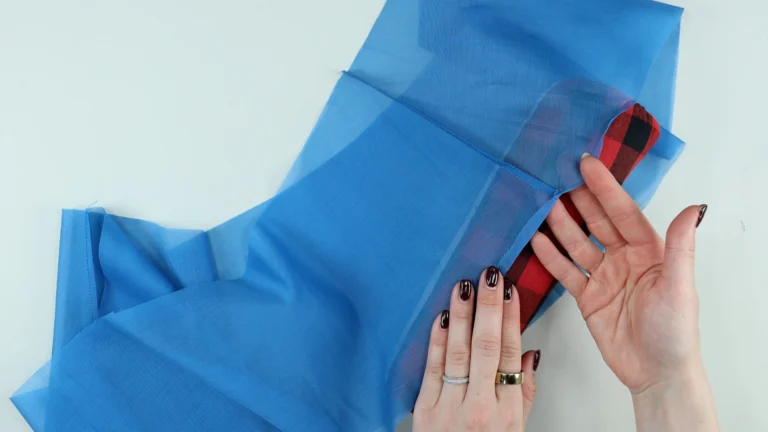
At the sewing machine, sew close to the folded edge – approximately 1-1.5 millimetres away. Use tissue paper underneath if needed.
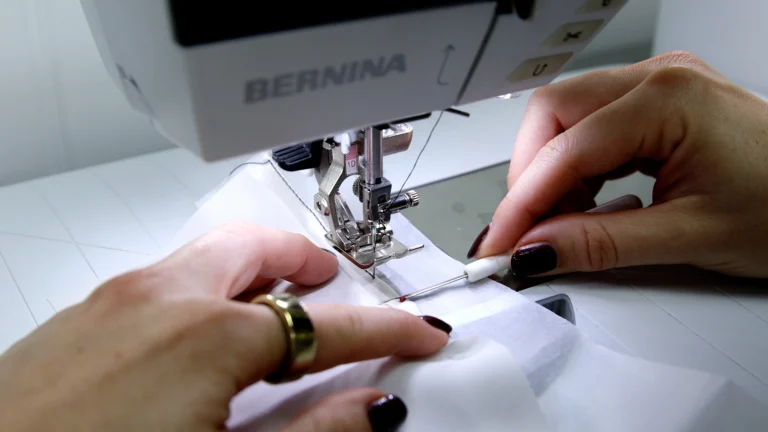
When working around a curve, raise your presser foot from time to time to reposition the fabric and ensure you are folding up a consistent width.
Using the needle-down function on your machine is helpful here. An awl or seam ripper can also be used to flatten the fabric in front of the presser foot as you sew.
Step 2 – Trim
Trim the excess fabric in the same way as Method 1, cutting as close to the stitching as possible.
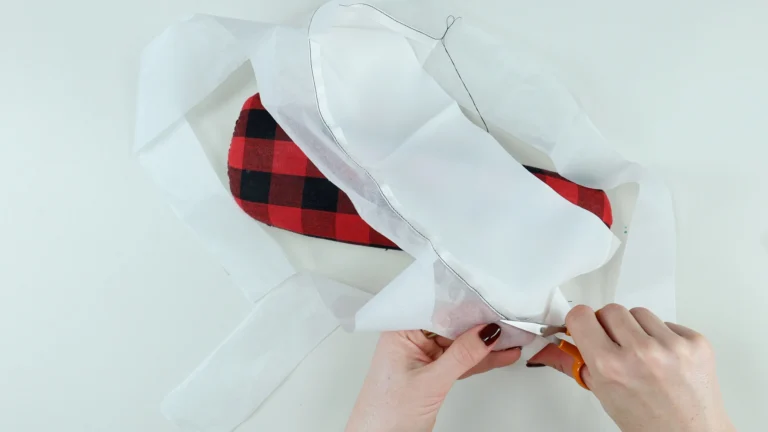
Step 3 – Fold and sew the final hem
Fold the tiny baby hem towards the wrong side, enclosing the raw edge. Press if you wish.
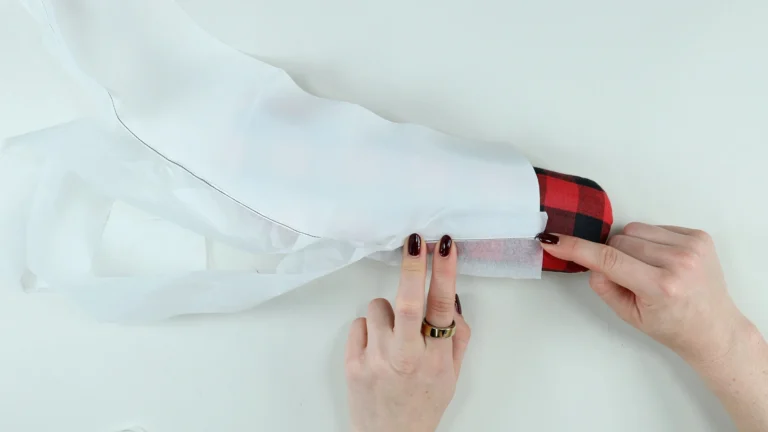
Sew the final row of stitching either on top of the previous stitching or slightly to the left. Remove tissue paper and press.
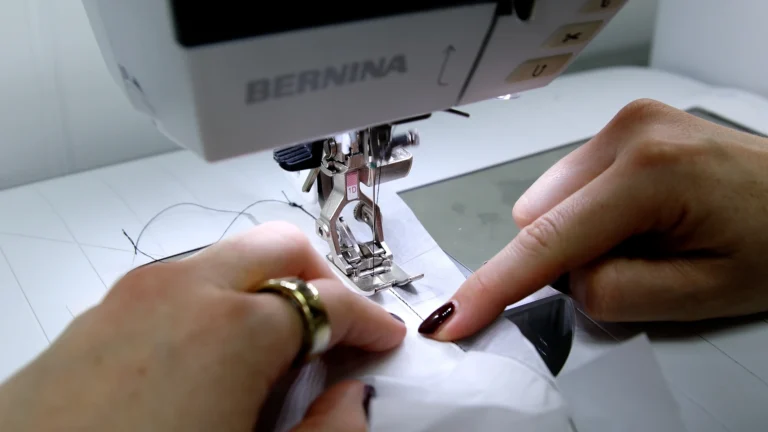
The three-pass method is easier for beginners as the guide stitch gives you a clear folding line to work with. However in lightweight, tricky fabrics tissue paper should be used when sewing this guide stitch, and removed before the second row of stitching is completed. Tissue paper can be used again for the second row.
The two-pass method is faster once you are comfortable with the technique.
The best approach is to create a sample with your actual fabric and try both methods to see which gives you the better result. If your fabric is particularly lightweight or slippery, using tissue paper is essential for a clean, consistent finish.
Can I sew a baby hem without a special foot? Yes. A baby hem is designed to be sewn with your standard presser foot – no rolled hem foot is required.
What is the difference between a baby hem and a rolled hem? A baby hem and a rolled hem are pretty much the same techniques. Both create a narrow double-folded hem that encloses the raw edge, the ‘baby hem’ is a version of a rolled hem. The term ‘baby hem’ is often used specifically for the machine-sewn version done without a rolled hem foot, and is particularly associated with very fine and slippery fabrics.
Why is my baby hem puckering? Puckering is usually caused by incorrect tension, the wrong needle size, or stretching the fabric while sewing. Try reducing your stitch length, using a finer needle, and placing tissue paper underneath your work.
Can I sew a baby hem on a curve? Yes – the baby hem works well on curved edges. Work slowly, ease the fabric as you press, and use multiple strips of tissue paper if needed.

