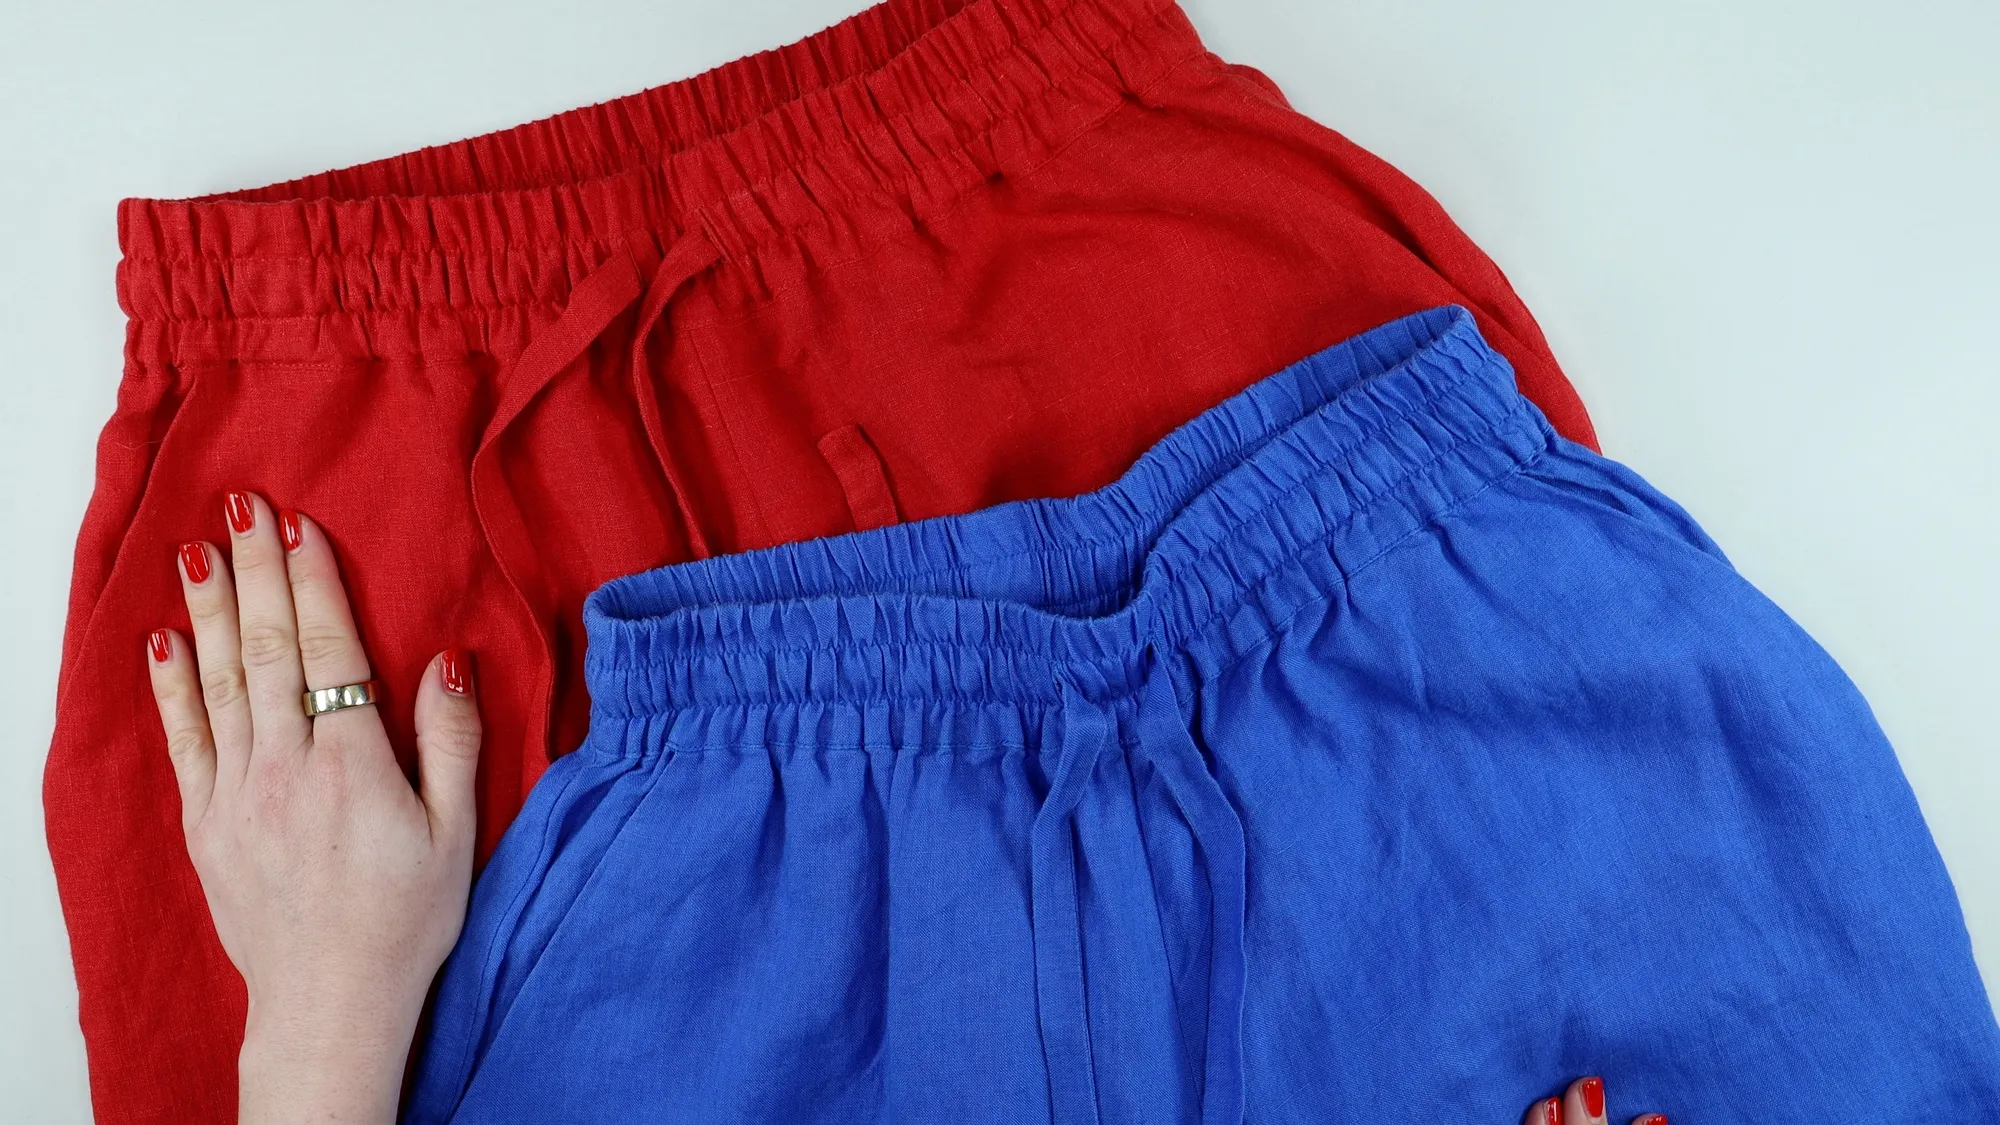
Learn how to sew in-seam pockets with French seams for a neat finish inside and out.
In this tutorial I’ll show you how to attach the pocket lining, enclose the pocket bag seams and finish the garment side seam with a French seam. This method keeps the pocket sitting towards the front of the garment and is a useful option for unlined dresses, skirts and trousers.
If you have watched my Perfect Pockets tutorial, this is an adaptation of the second method, using French seams throughout. If French seams are new to you, I recommend practising the basic technique on a scrap of fabric first.
Watch the Full Tutorial – How to Sew In-Seam Pockets with French Seams
EMBED YOUTUBE VIDEO HERE
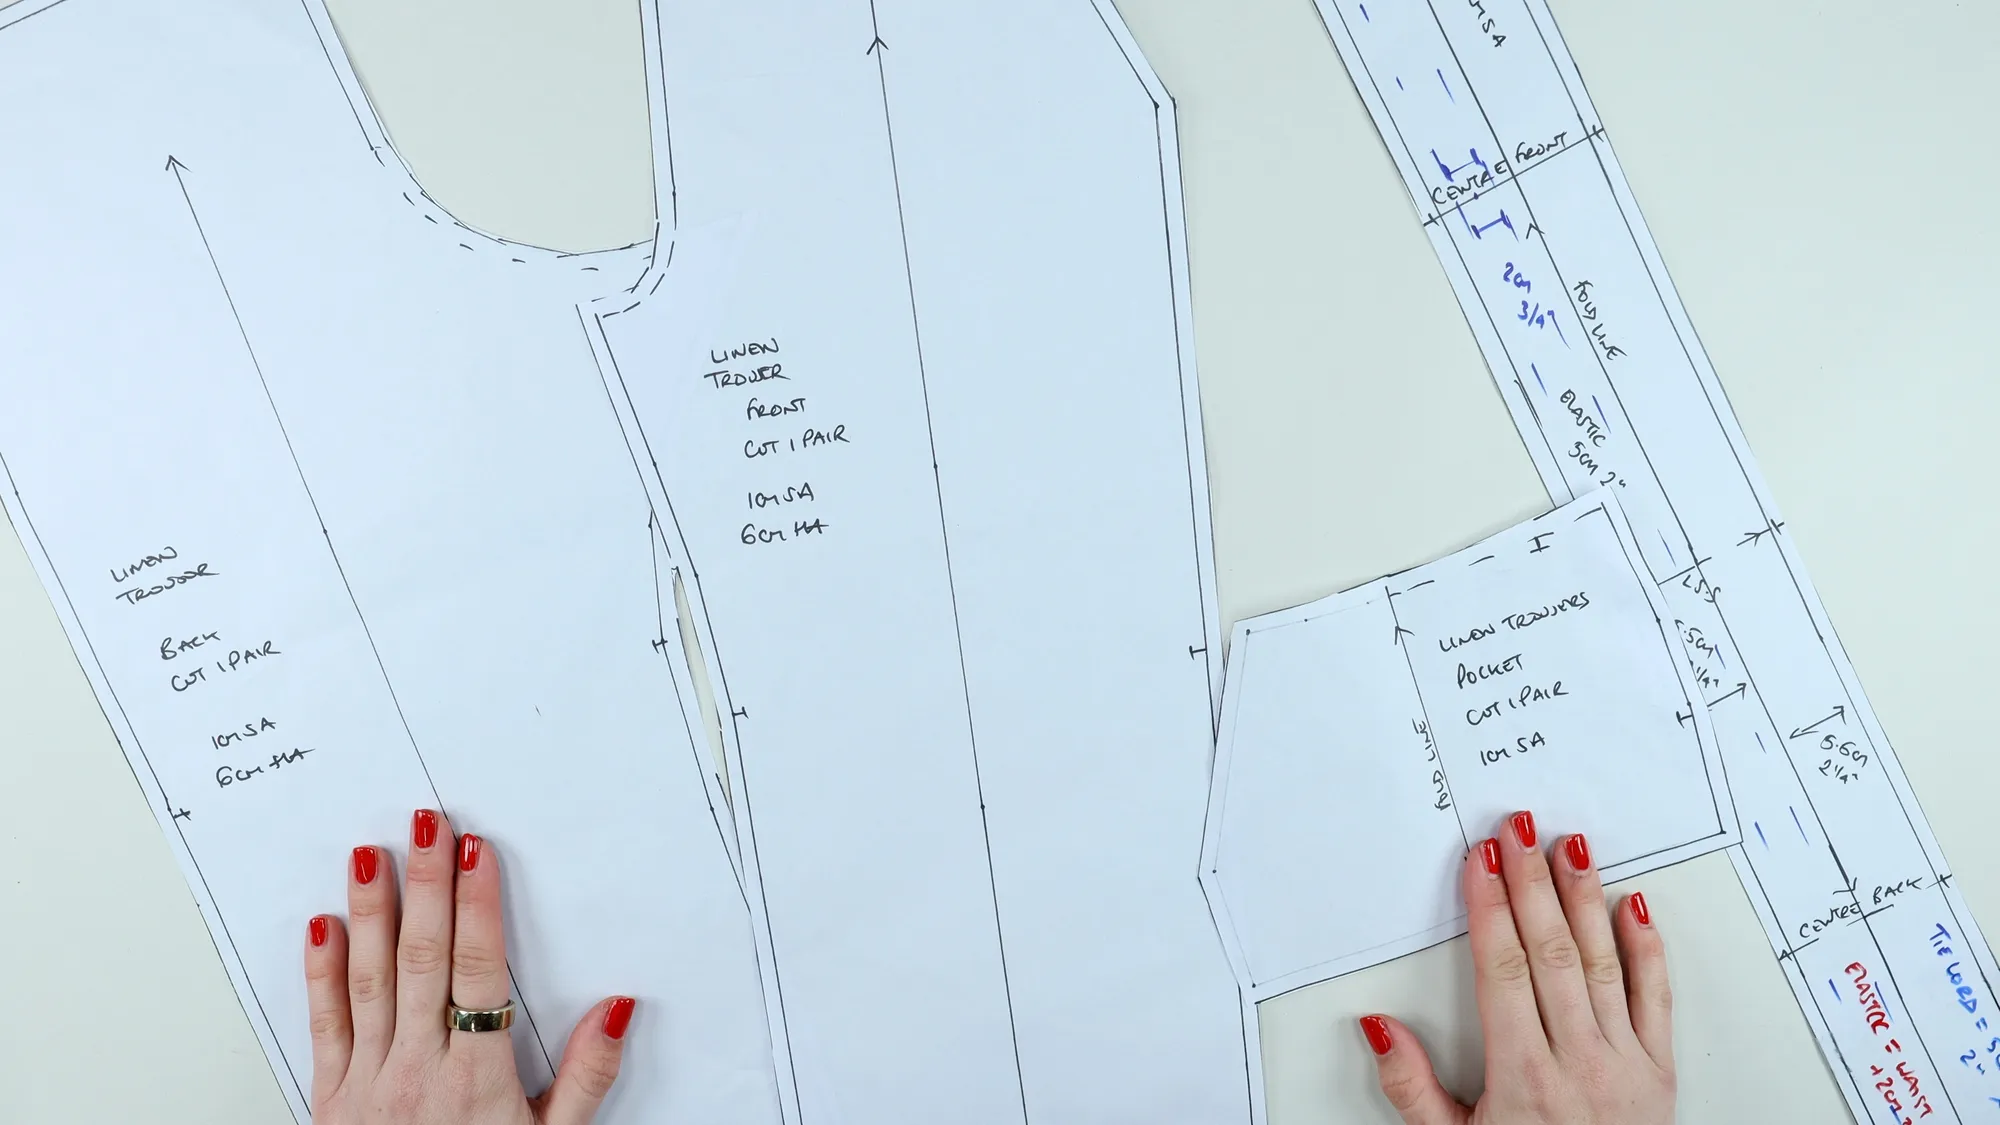
Free Pocket Pattern
Use my free pocket pattern to practise this technique or add pockets to a suitable garment pattern.
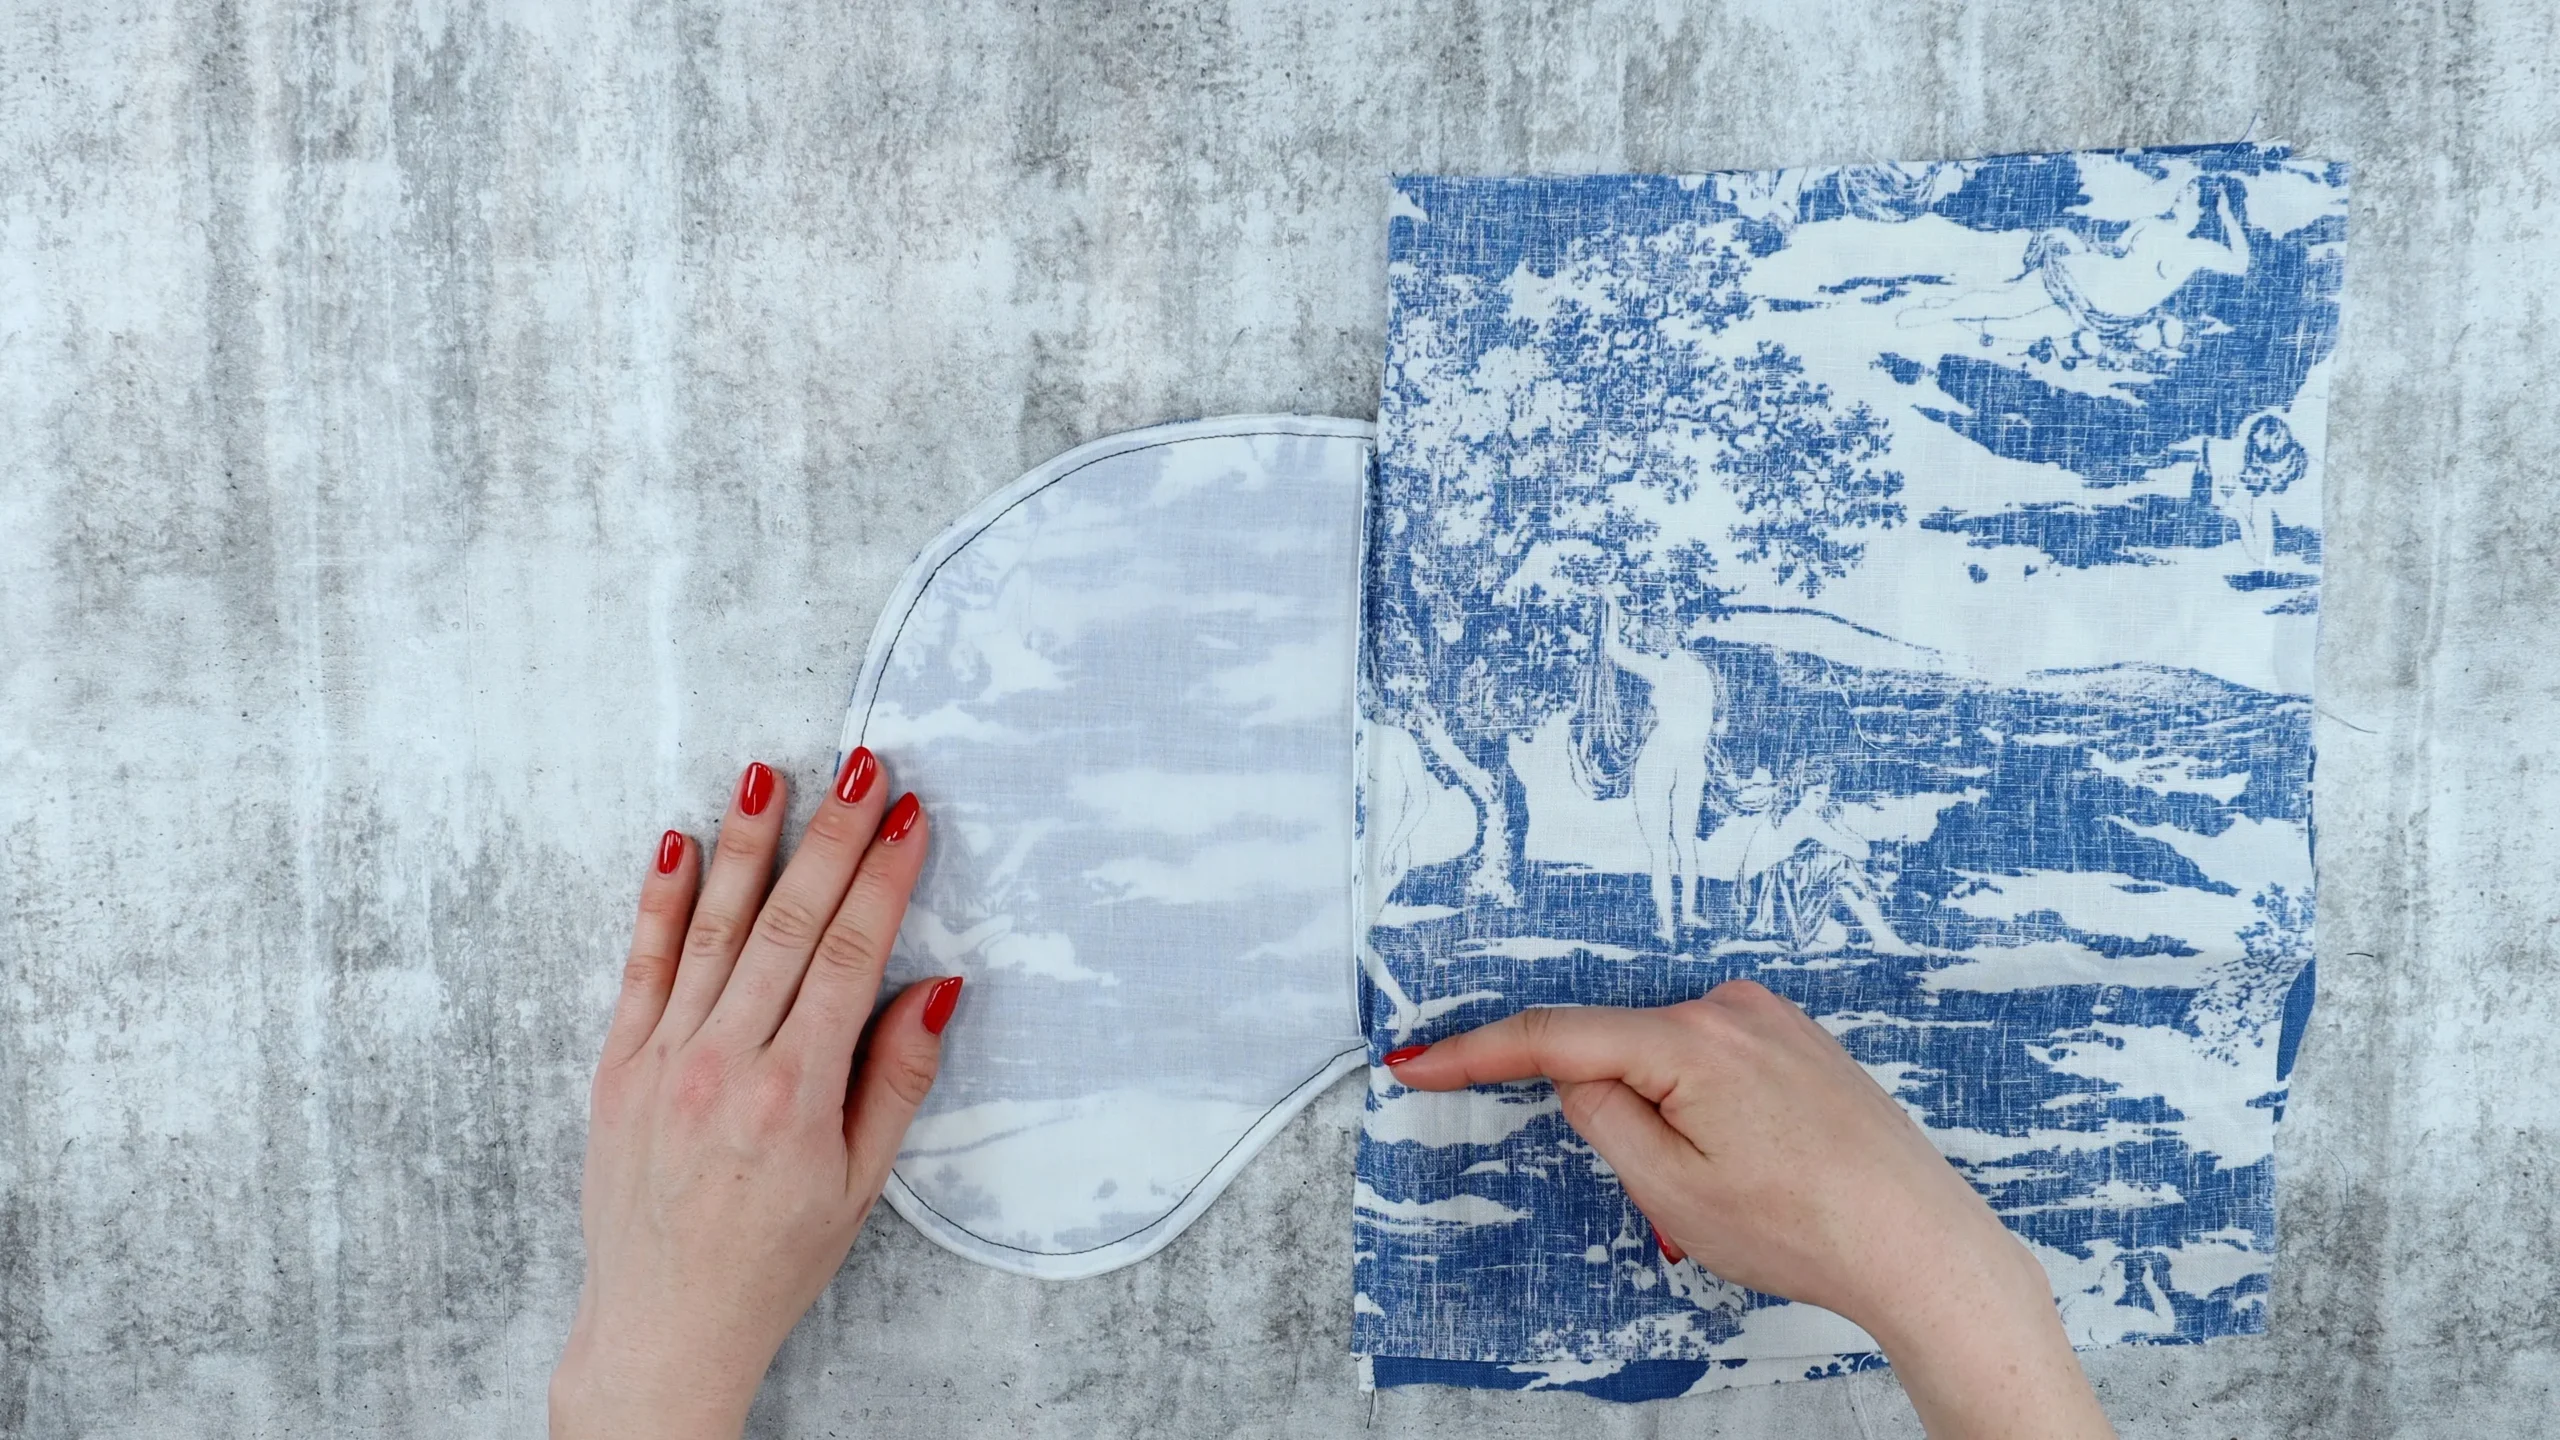
For each pocket, I use one pocket bag piece in the garment fabric and one in lining. You can use lining for both pieces, or garment fabric for both, if you prefer.
In this tutorial I’ll show you how to:
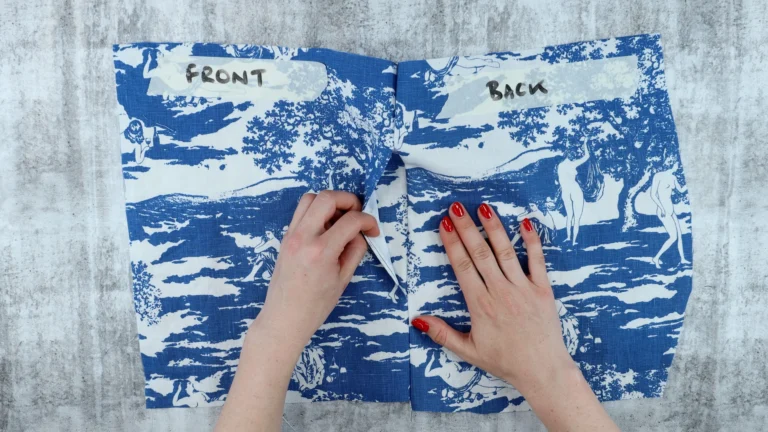
Identify the front and back of your garment and transfer the pocket opening marks accurately onto the fabric.
For this method, mark your notches with chalk, a removable pen or tailor’s tacks rather than snipping into the seam allowance. We will clip into specific areas later in the construction.
The lining pocket piece attaches to the garment front. The pocket piece cut from garment fabric forms the back of the pocket bag and will be caught into the garment side seam.
Stabilise the Pocket Opening
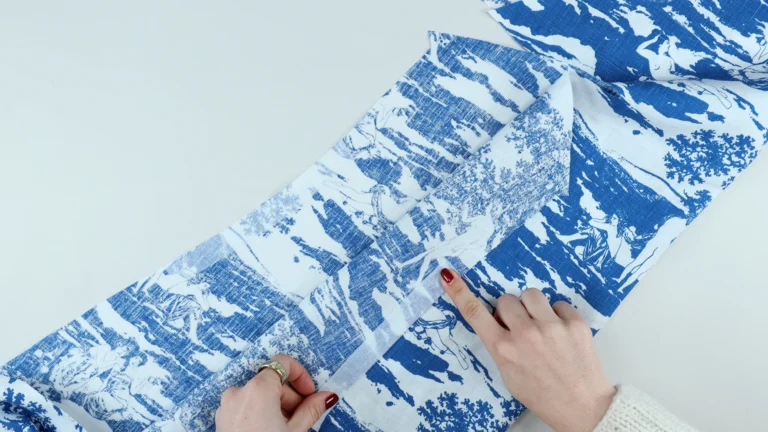
I usually apply straight-grain fusible interfacing along the pocket opening to help prevent stretching.
In the video, my tape measures 2cm (¾″) wide and extends approximately 1cm (⅜″) beyond each end of the opening. Position it on the wrong side of the garment front, with one long edge aligned with the raw side edge.
You can also cut your own strip of suitable interfacing along the straight grain. I leave the interfacing off my demonstration sample, but recommend stabilising the opening when making a garment.
Seam Allowances
My total seam allowance is 1cm (⅜″).
For the metric version, I sew the first seam at 5mm, trim the seam allowances, then sew the second seam at 5mm.
If working in imperial measurements, I sew the first seam at ⅛″ and the second at ¼″. These are alternative working measurements rather than exact metric conversions.
Always trim the first seam allowances sufficiently for the second seam to enclose the raw edges.
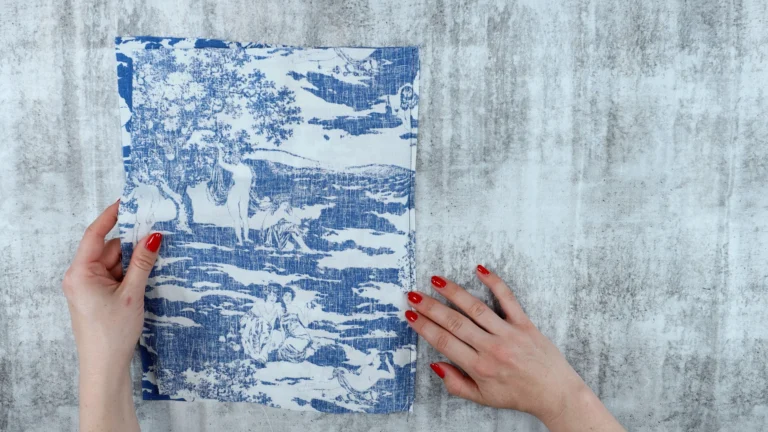
Position the lining pocket piece against the garment front with wrong sides together. Align the raw edges and pocket opening marks.
Sew between the opening marks using your first French seam allowance: 5mm for my metric version, or ⅛″ if following the imperial version.
Start and stop precisely at the marks, backstitching at each end. Do not sew into the seam allowance beyond the opening.
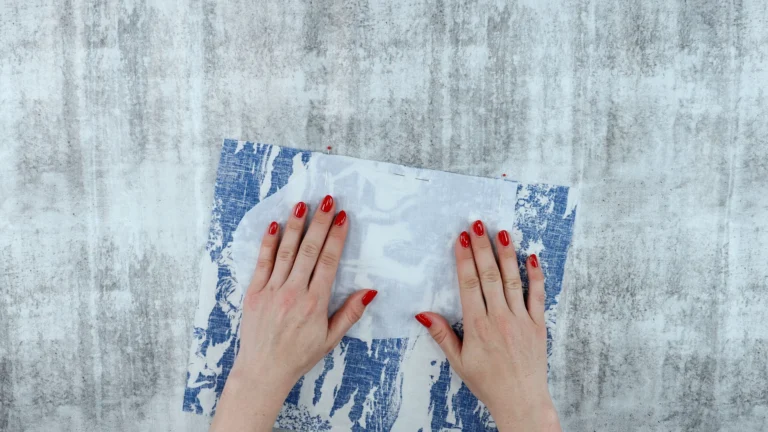
At each end of the stitching, clip into both the garment fabric and the pocket lining. Cut close to the stitching without cutting through it.
Press the seam allowances open and trim them as needed. If your first and second seams are both 5mm, the first seam allowances must be trimmed narrower so the raw edges will be enclosed.
Fold the fabrics with right sides together, positioning the join exactly along the folded edge. Press or finger press.
Pull the clipped garment sections away at each end so they will not be caught in the next seam.
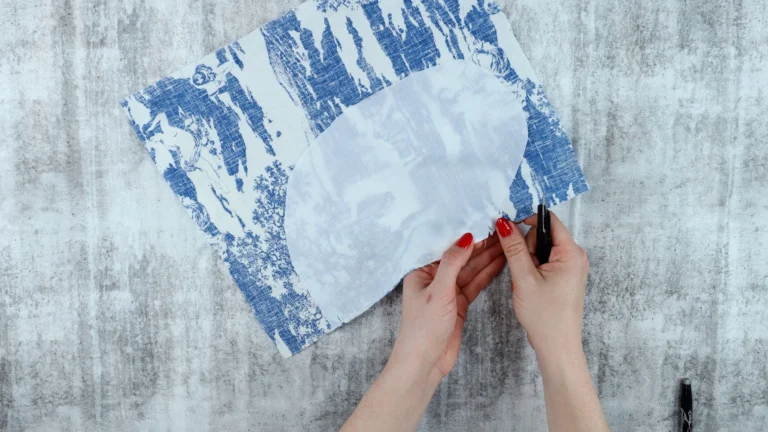
Sew between the opening marks again using your second seam allowance: 5mm for the metric version, or ¼″ for the imperial version. Backstitch at each end.
This second line of stitching encloses the trimmed raw edges.
Extend the clips at the ends of the opening carefully towards this second stitching line. I angle my cuts slightly, as shown in the video. Cut close enough to release the fabric without cutting through the stitching.
Press the pocket lining over the enclosed seam allowances, then free the clipped sections above and below the opening.
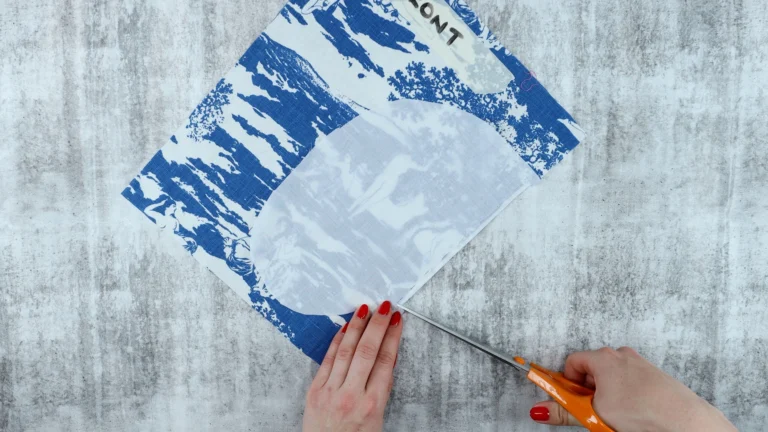
You can now understitch the pocket lining to the enclosed seam allowances.
Sew approximately 2-3mm (¹⁄₁₆-⅛″) from the seam joining the pocket lining to the garment. Start and stop at the opening marks; do not sew beyond them.
Understitching helps the lining stay inside the pocket rather than rolling towards the outside.
Press the pocket lining towards the front of the garment.
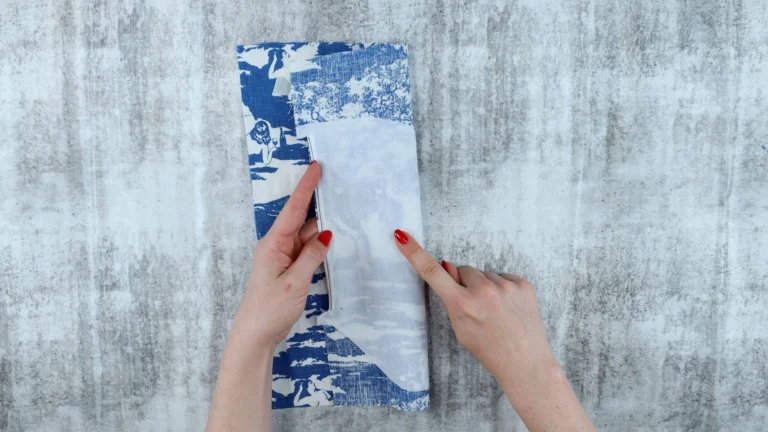
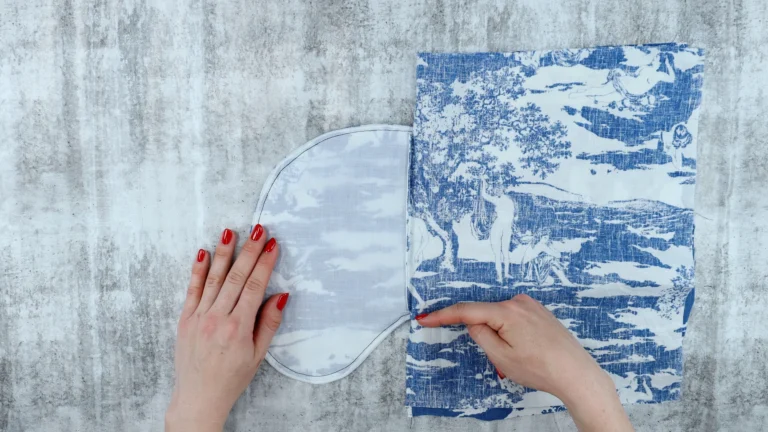
Position the remaining pocket piece against the lining with wrong sides together.
Align the edges around the pocket bag. Keep the clipped garment seam allowances above and below the opening free of the pocket lining, ready to join the back pocket piece when sewing the garment side seam.
Sew around the pocket bag using your first French seam allowance. At the start and end, check that you are sewing only the two pocket pieces together and are not catching the garment.
Trim the seam allowances, then turn the pocket bag so the right sides are together. Press the curved edge, keeping the join exactly on the fold.
Sew around the bag again using your second seam allowance to enclose the raw edges. Continue keeping the garment fabric clear.
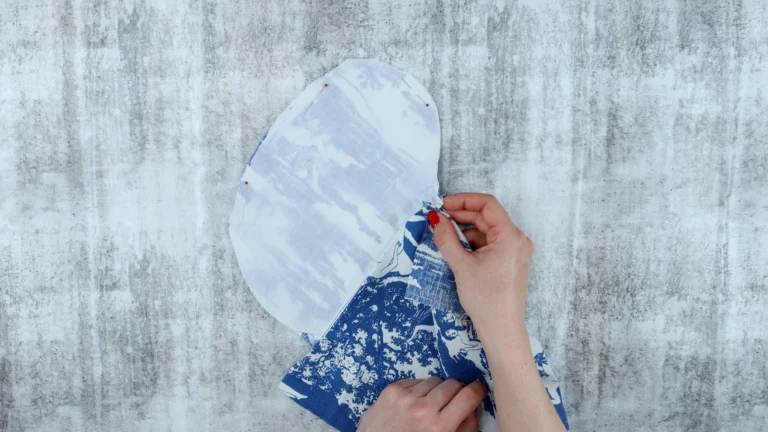
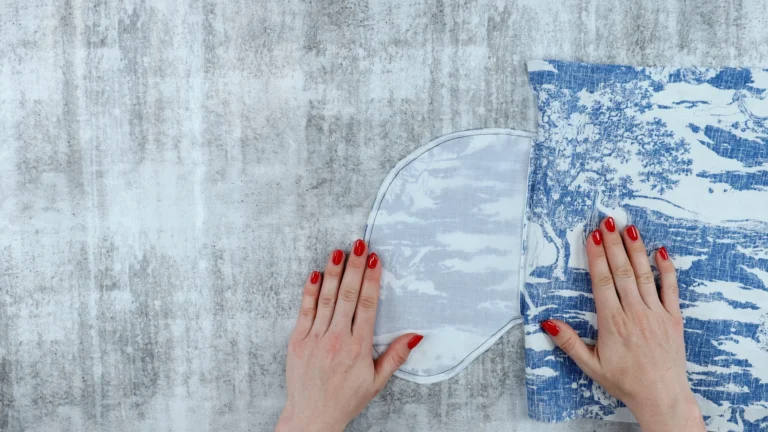
Place the garment front and back with wrong sides together, aligning the side seam edges and pocket opening marks.
Sew the first line of the side seam using your first French seam allowance. Keep the front edge of the pocket opening clear so that you do not sew the pocket closed.
Backstitch at the beginning and end of the side seam. Press the seam allowances open, then trim them ready for the second seam.
Fold the garment with right sides together and press the side seam with the join positioned along the folded edge.
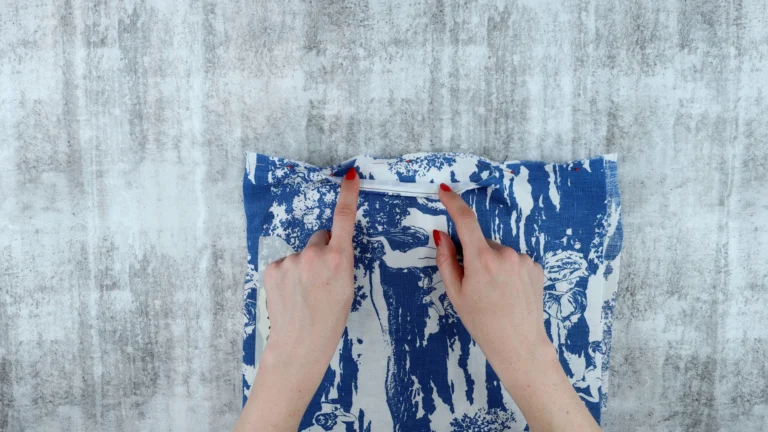
Sew the second line of the side seam, keeping the pocket bag and front pocket opening out of the way.
The most important areas are the clipped corners at the top and bottom of the opening. Stitch close to these corners, catching the layers needed to complete the side seam while leaving the pocket opening free.
This is the trickiest part of the technique. You may like to tack or baste the seam first so you can check the pocket before sewing permanently, particularly with a delicate fabric such as silk.
I also use pin basting to check the layers: I position pins along the stitching line in the direction of sewing, then remove them as I stitch.
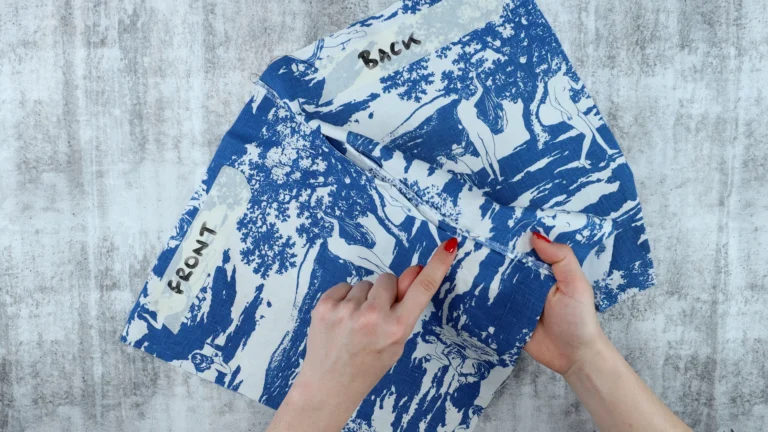
Press the finished side seam towards the back of the garment. Check that the pocket opens freely and sits towards the front.
The pocket bag and side seam raw edges are now enclosed. However, the small edges created by clipping at the opening remain exposed.
If your fabric frays heavily, you can apply a suitable fray-prevention product to these small edges, testing it on a scrap first. Alternatively, consider the bound finish mentioned at the end of the video, folding in the binding ends to cover the short edges.
Give the pocket a final press.
No. The pocket bag and side seam edges are enclosed with French seams. The small clipped edges at the ends of the opening may need extra attention if your fabric frays heavily.
Yes. You can cut both pieces from garment fabric, both from lining, or use one of each as I do in the tutorial. Choose a fabric that gives the pocket enough strength without adding unwanted bulk.
Yes, provided you adapt the pattern and both lines of stitching accordingly. The combined allowances must match the total seam allowance, and the first seam must be trimmed sufficiently for the second seam to enclose it.
You may have caught the front pocket edge when sewing the garment side seam. Carefully unpick the affected stitches, free the opening and resew. Check the clipped corners closely before stitching again.
I recommend practising a basic French seam first, then making a pocket sample. The curved bag and clipped opening require more care than a straight French seam.
For more step-by-step sewing guidance, explore the Made to Sew Sewing Library.