This sew a tie neck halterneck top tutorial walks you through the complete construction process for a top with a trapeze silhouette, a lined bodice, a baby hem, and a bias binding neckline finish.
This is Class Two in the Tie Neck Halterneck Top series. In Class One, the pattern was drafted from a bodice block – watch the drafting tutorial here | read the blog post here. Here we focus entirely on the construction, step by step.
You can make this top:
*affiliate links below
To follow along with this tutorial you will need:
All measurements are given in both centimetres and inches. My seam allowance throughout is 1cm (⅜”).
I use an overlocker / serger to finish the centre back seam allowances. If you don’t have one, you can bind these seam allowances instead.
For the hem, I used a baby hem (also known as a rolled hem or pin hem). If you prefer, a standard double-folded hem of 5mm (⅛”) works well too – particularly on less slippery fabrics.
Cut the following from your fabric:
Exterior fabric:
Lining fabric:
You will also need a strip of bias binding fabric measuring 2.5cm (1″) in width.
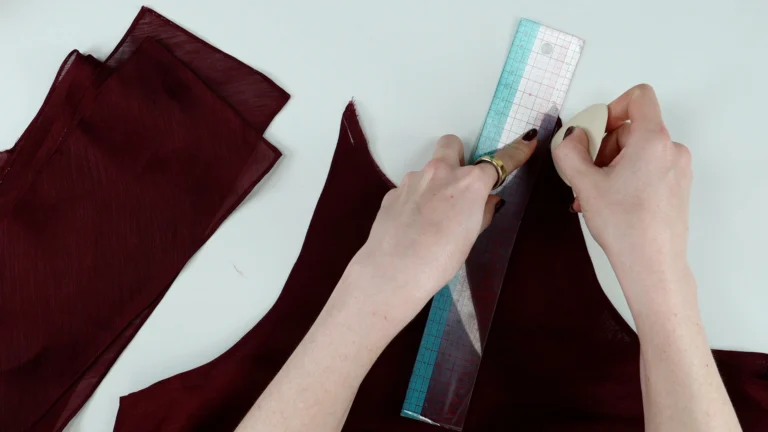
Mark the centre back notch on the back lining and back fabric. Mark the centre back of each hem band with a pin or chalk so you know which is the front and which is the back.
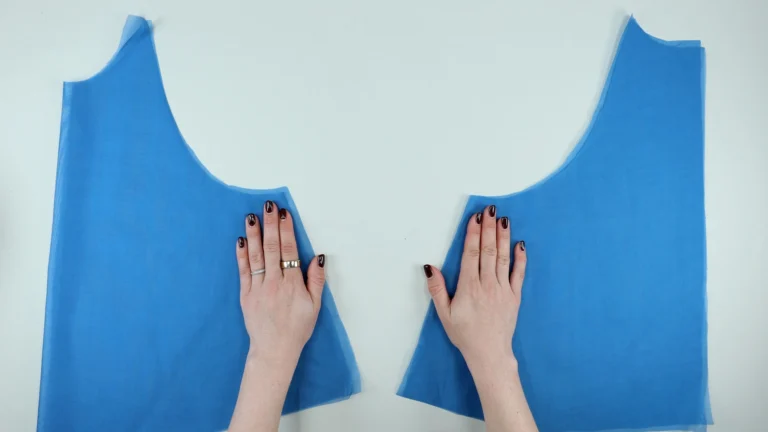
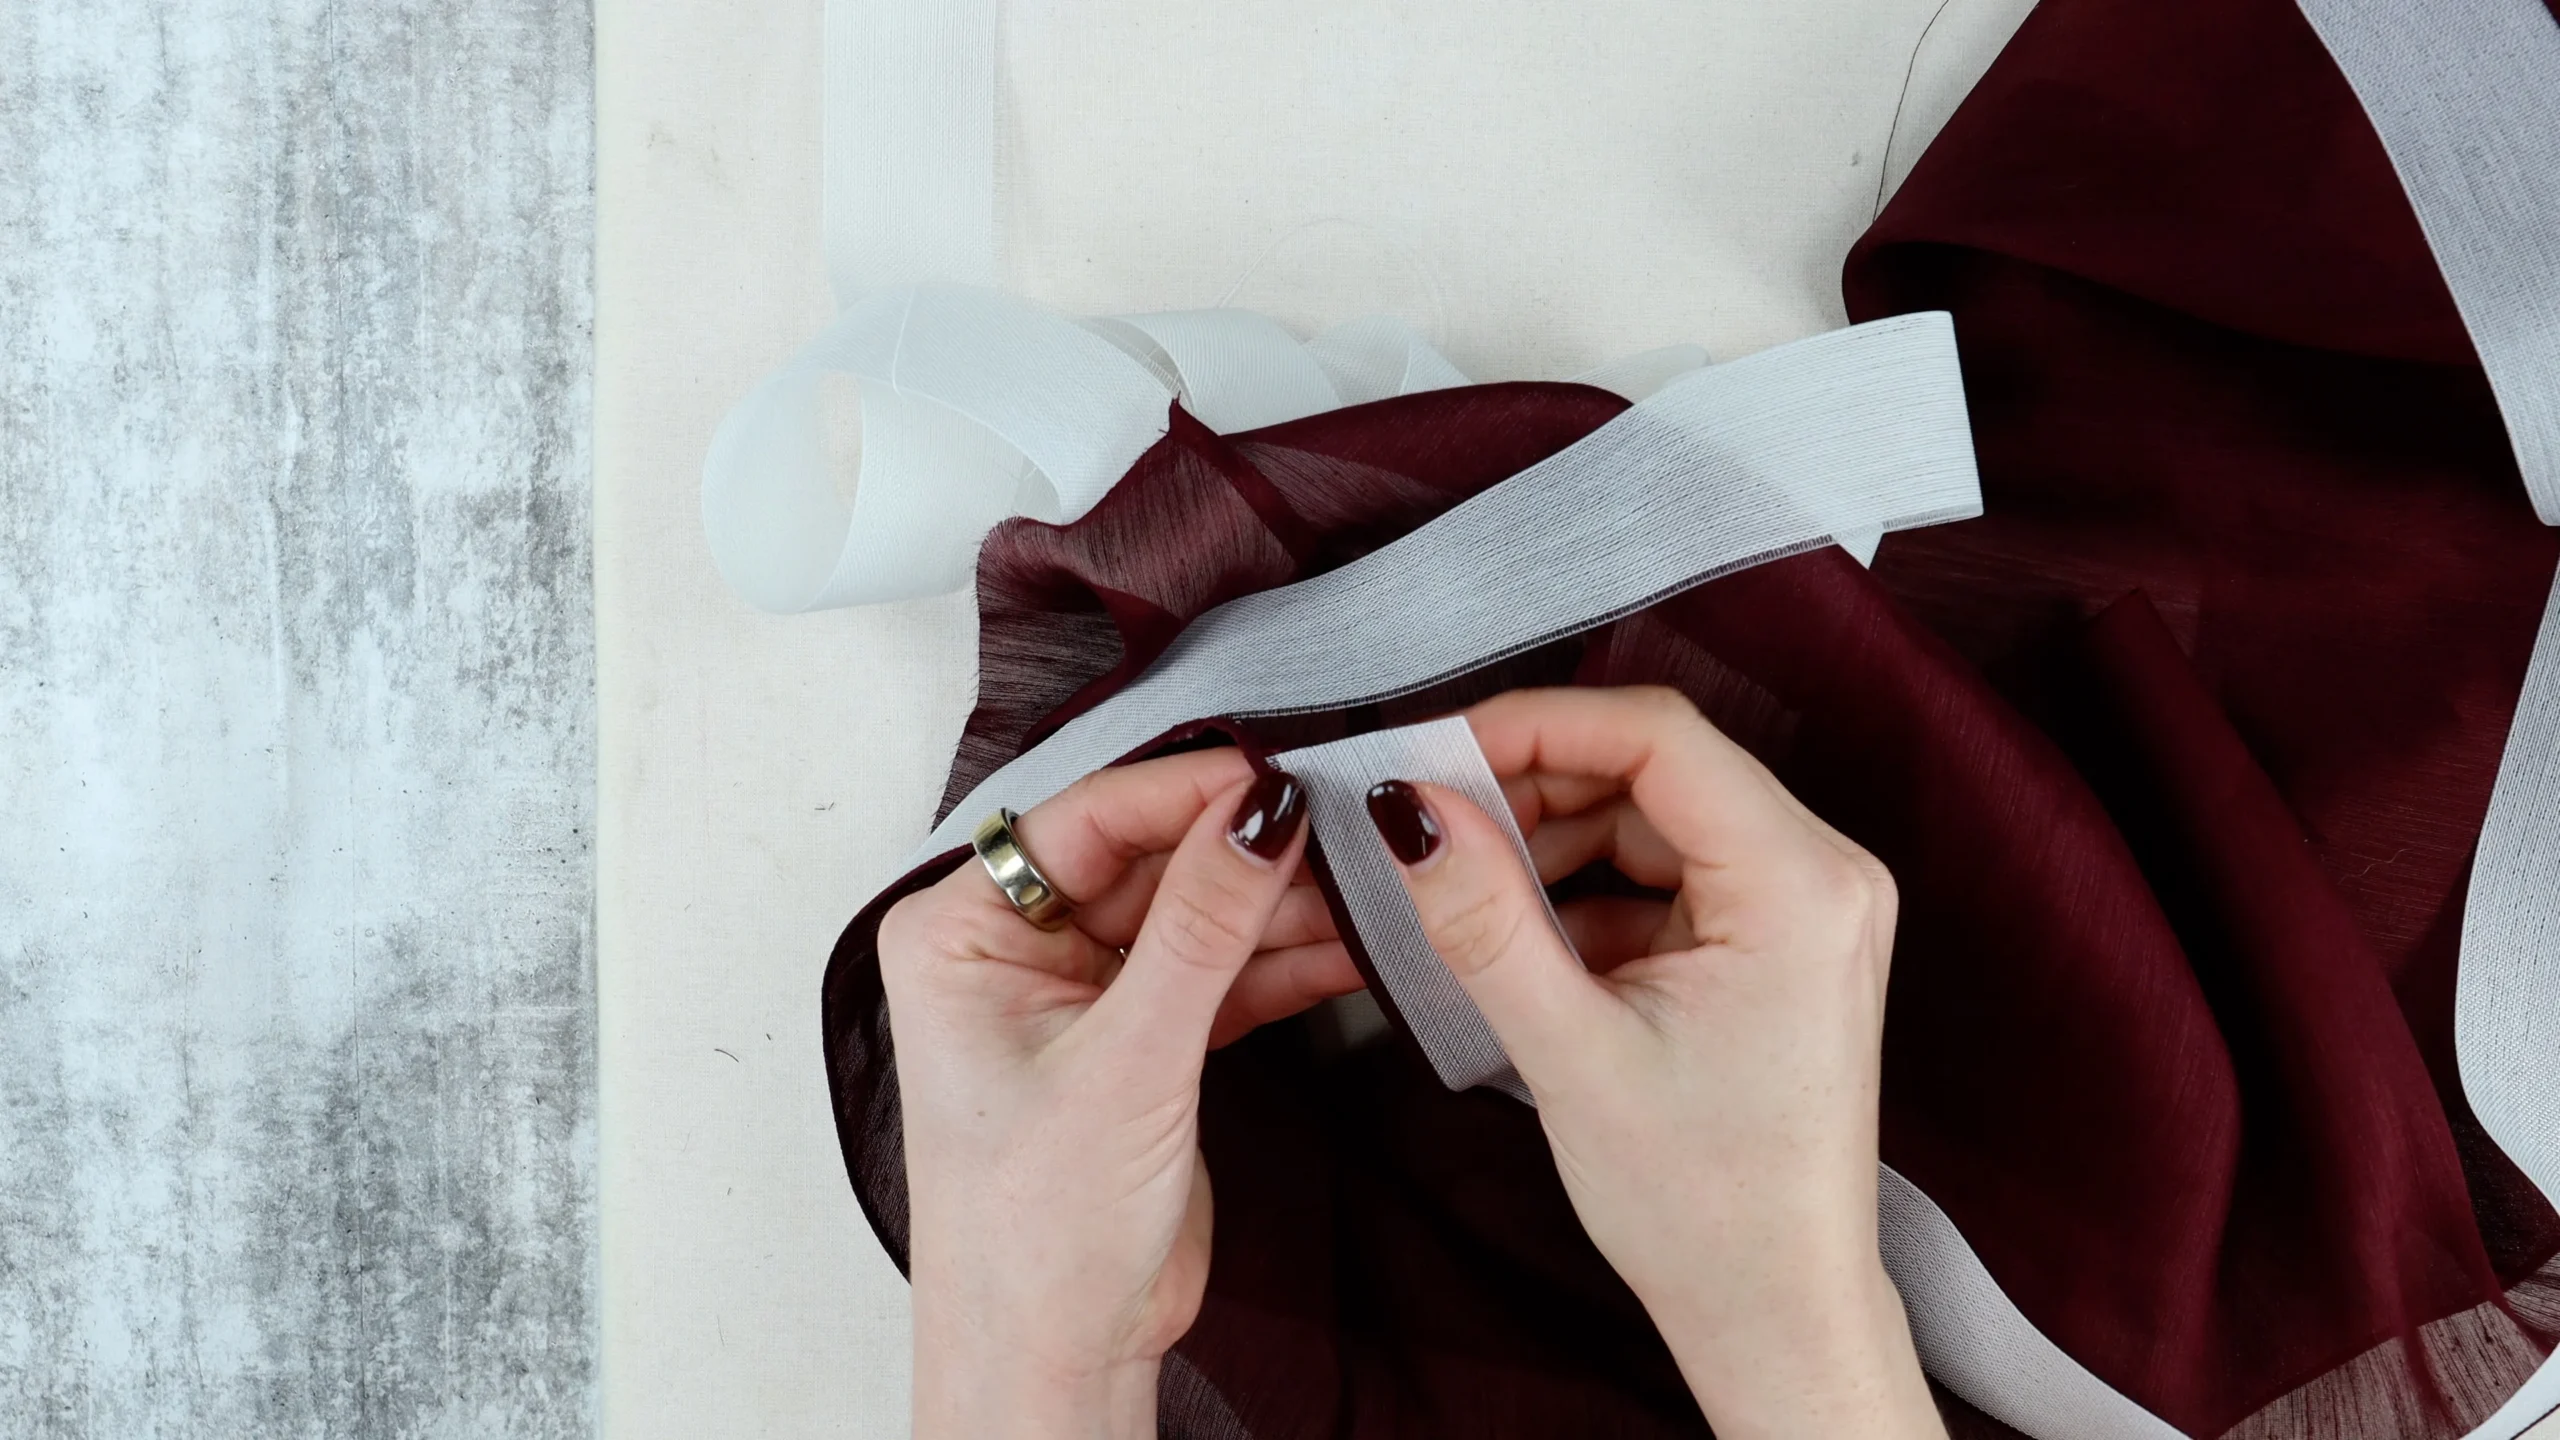
Depending on the fabric you are working with, you may wish to stabilise the armholes and neckline using stay tape or stay stitching.
Because my fabric is sheer, stay tape would be visible from the right side – I chose to handle the fabric carefully instead and omit this step.
Sew French seams at the following six side seams:
French Seam:
For a 1cm (⅜”) seam allowance, sew the first pass at 5mm (generous ⅛”). Trim seam allowances to approximately 3mm (⅛”) – press open first as trimming narrow allowances can be tricky. Sew the second pass at 5mm (scant ¼” for imperial). Press seam allowances towards the back of the garment.
Key notes:
If you are new to French seams, watch my step-by-step French seam tutorial on YouTube – LINK. Alternatively try a Mock French Seam – LINK.
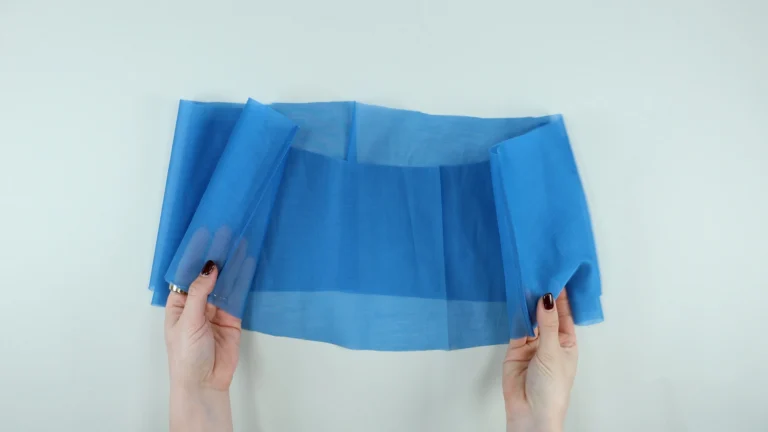
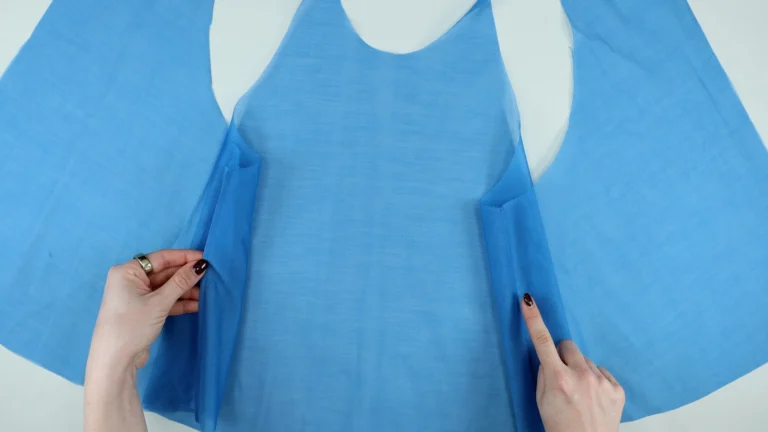
Finish the centre back seam allowances on both the exterior and lining using an overlocker or serger – do not trim any fabric. If you don’t have an overlocker, bind these edges instead.
Sew the centre back seam from the hem up to the notch on both the exterior and lining. Back stitch securely at the notch – this is the top of the centre back opening and must be reinforced. Press seam allowances open on both.
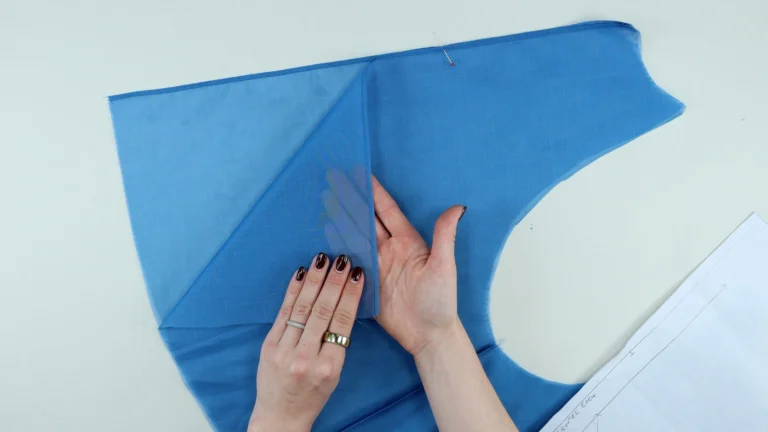
Before joining the lining to the exterior, complete the hems on the lining, the hem bands, and the long edges of the necktie.
I used a baby hem (rolled hem) throughout – a finished width of 2-3mm (⅛”). This is the same technique covered in detail in my baby hem tutorials:
How to Sew a Baby Hem 0n Lightweight Tricky Fabrics – LINK
How to Sew a Rolled Hem (Pin Hem) – Best for Beginners – LINK
Baby Hem with Ban Rol Tape – Alternative Method for Tricky Fabrics – LINK
Baby hem – step by step:
Press the hem allowance towards the wrong side. If your hem allowance is 1cm (⅜”), press up 7mm (¼”) – this gives you a finished hem of 2-3mm (⅛”). At the sewing machine, sew a needle’s width from the folded edge. Use tissue paper or tearaway stabiliser underneath if your fabric is slippery or sheer – I used it throughout for this fabric.
Trim the seam allowance as close to the stitching as possible, all the way around. Keep the tissue paper on for the next step. Turn the hem over towards the wrong side – hem width approximately 3mm (⅛”) – and sew directly on or just to the left of the previous stitching. Remove the tissue paper and press.
If you prefer a standard hem: press up the full 1cm (⅜”) allowance and create a double fold as you sew – edge stitching close to the top folded edge.
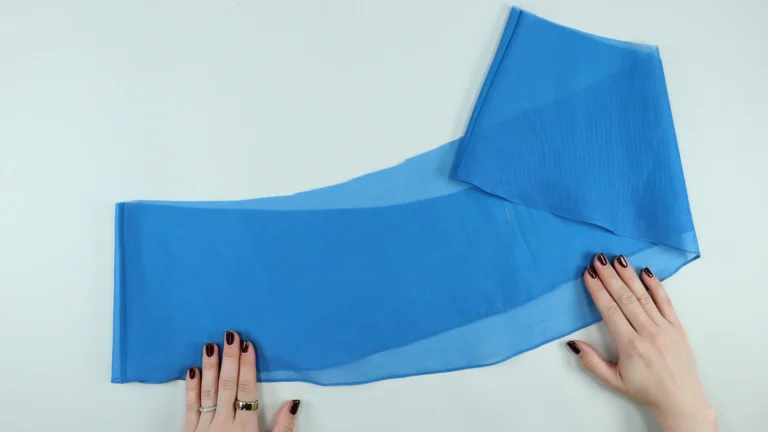
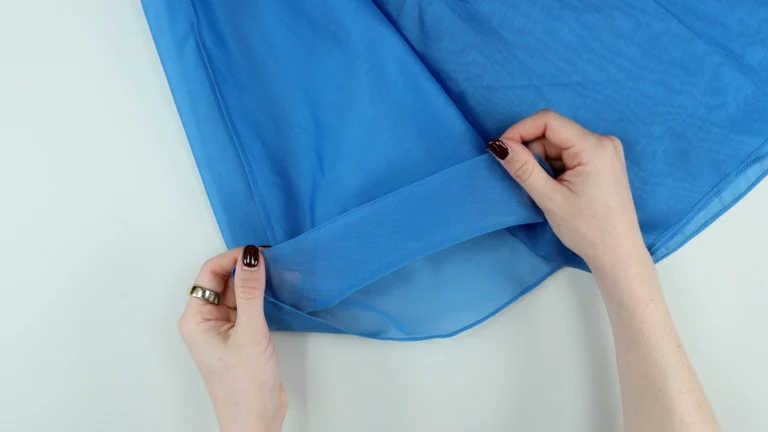
Finishing the necktie
Complete the baby hem on both long edges and on the short ends of the tie.
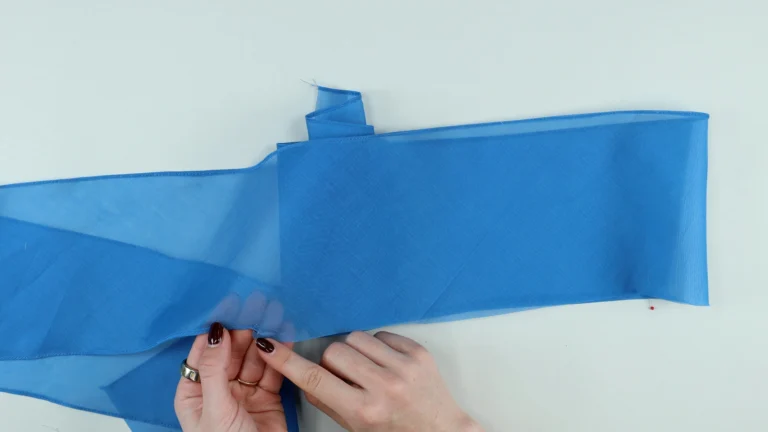
On the long edge that will attach to the neckline, sew the rolled hem from the end of the tie up to the centre back notch only – stop at the notch. Cut at a 45-degree angle from the outer edge of the tie in towards the centre back notch, clipping approximately 7mm (generous ¼”). This releases the fabric that will sew onto the neckline.
If your necktie is cut on the bias, use tissue paper or tearaway stabiliser throughout to prevent stretching.
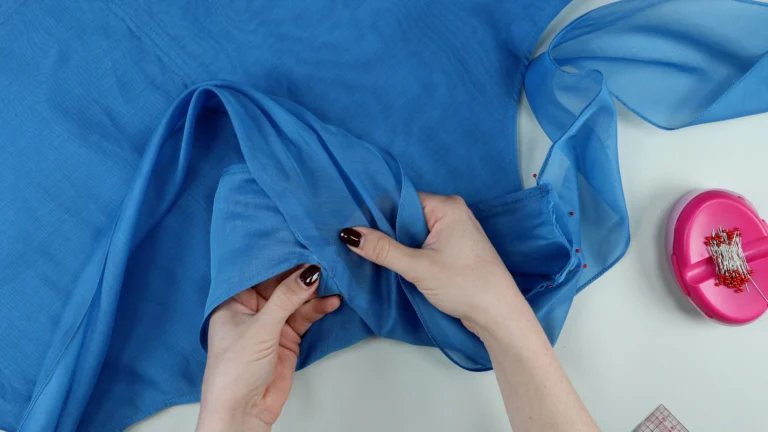
Place the exterior garment wrong side out. Position the lining right side out inside the exterior so that the right sides of both layers are facing one another. Match the side seams and push seam allowances towards the back. Pin the armholes together from the underarm up to the neck on both front and back. Use a Clover fork pin to match the underarm seam precisely if needed.
Sew each armhole from underarm all the way around to the neck, using a 1cm (⅜”) seam allowance. Complete for both sides.
For sheer fabrics, trim seam allowances to a generous 5mm (¼”) and clip into the curves to release the armhole.
Understitch – push seam allowances towards the lining and sew 2-3mm (⅛”) from the seam, stitching on the lining only. Press so the lining rolls just inside the armhole and a sliver of exterior fabric is visible from the lining side.
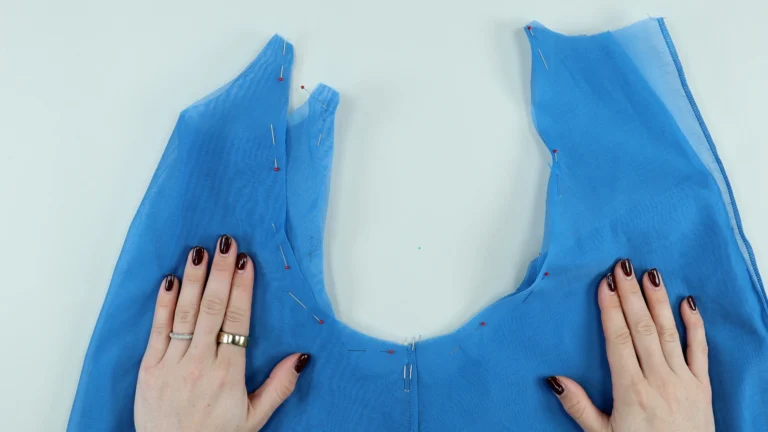
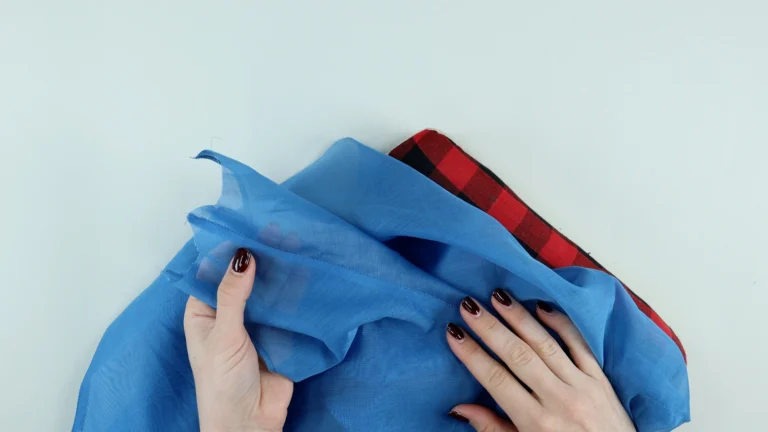
Turn the garment at the neckline so the right sides of exterior and lining are together. Align the centre back edges from the neckline down to the previously sewn centre back seam. Match the stitching at the notch exactly on both layers – use a pin to align.
Sew from the neck edge down to the notch on one side, using a 1cm (⅜”) seam allowance. Stop a stitch length before the previous stitching and back stitch – do not sew past the notch.
Check the stitching before completing the second side. Press the seam allowances open, then reach through the neck to turn each side right side out. Press the back opening from the lining side so the seam sits right at the edge or ever so slightly towards the lining.
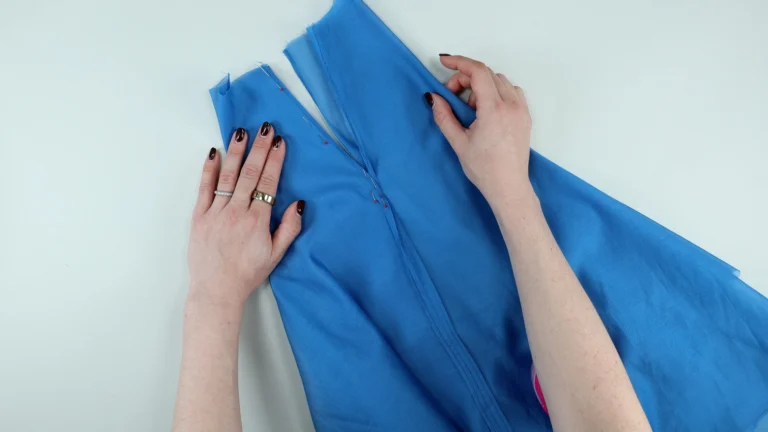
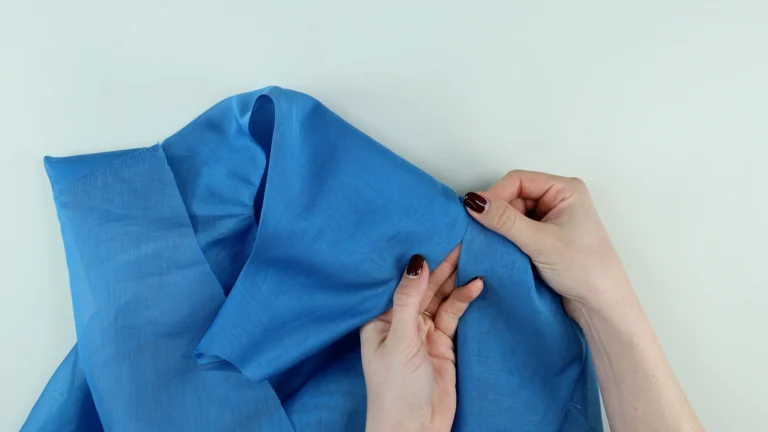
Topstitch at 5mm (scant ¼”) with a stitch length of 3mm throughout.
Complete topstitching at the armholes first, sewing through both exterior and lining.
Then topstitch the centre back exterior from hem to opening on each side – sewing on the exterior only, not catching the lining. At the opening, stop precisely at the notch on both sides. Pull thread tails through to the wrong side and knot securely.
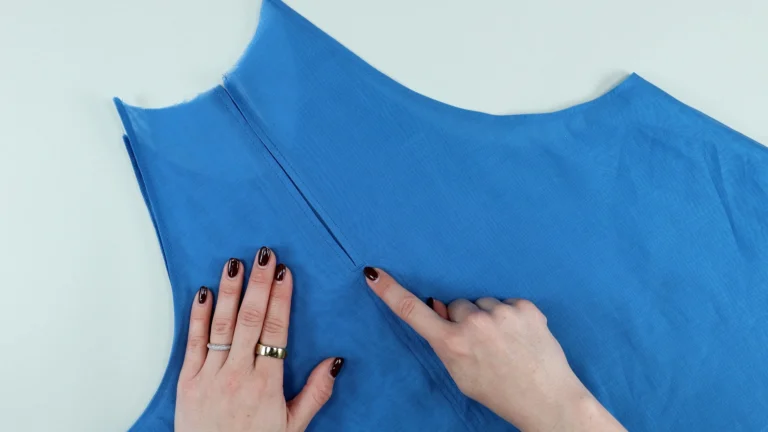
Topstitch the centre back opening on both sides, sewing through exterior and lining from the neckline down to the notch. Align your stitching with the centre back topstitching at the join. To finish the back opening securely, sew a small bar tack across the bottom of the opening – I used a narrow zigzag of 2mm width and 0.4mm stitch length. Pull threads through and knot on the inside.
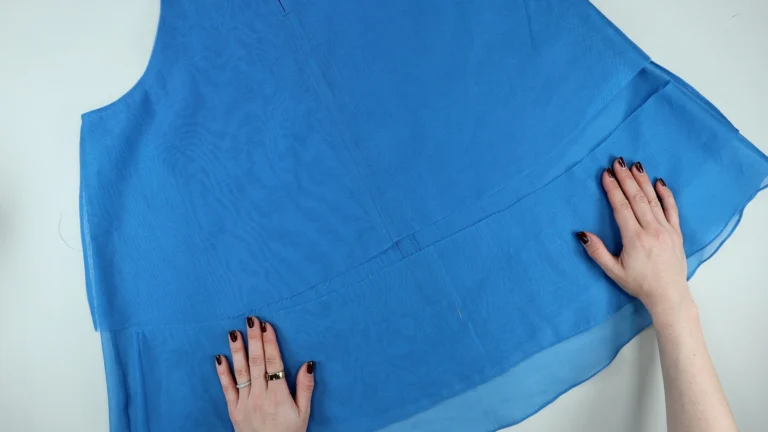
Match the right sides together – front hem band to garment front, back hem band to garment back. Align centre back, side seams, and centre front. Push side seam allowances towards the back. Use a Clover fork pin to match side seams precisely.
Sew all the way around using a 1cm (⅜”) seam allowance, starting at one of the side seams. Press seam allowances open, then overlock or serge them together – align your previous stitching with the left needle marker and use the right needle only to create a small, neat seam allowance. Press seam allowances away from the hem band towards the exterior.
Topstitch at 5mm (scant ¼”) with a 3mm stitch length, sewing on the exterior of the garment all the way around.
Alternative: the hem band can be attached using a French seam.
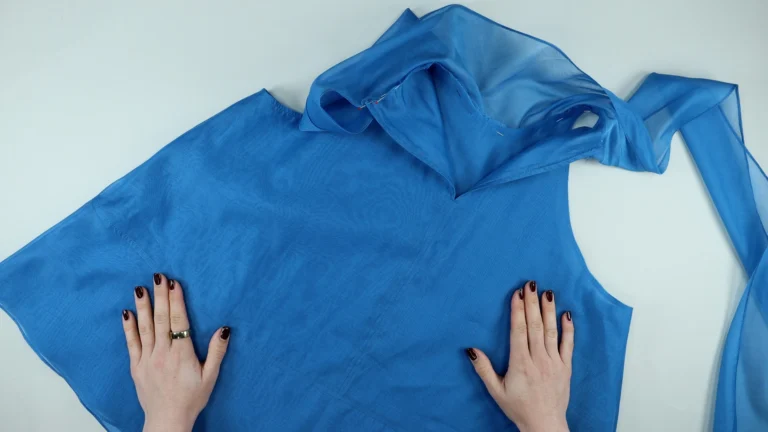
Mark the neckline stitching line on both the front and back pieces at the point where they meet the armhole – measure in 1cm (⅜”) from the raw edge and mark with chalk. Find the centre front of the necktie (marked with a notch or fold in half) and match it to the centre front of the garment, right sides together.
Pin from the centre front out towards the armhole on both sides. Then attach the back – match the centre back of the garment to the centre back notch on the necktie. The edge of the rolled hem at the centre back should sit ever so slightly over the centre back edge so it will be caught in the stitching and binding.
Work from the centre back towards the armhole on each side. The seam allowances of the front and back will overlap slightly at the armhole – position the front first, then the back on top.
Baste or tack the necktie in place before sewing. Sew from centre back to centre back using a 1cm (⅜”) seam allowance. Back stitch at each end. Check that the join at the armhole is symmetrical on both sides before proceeding.
As you sew a tie neck halterneck top, the neckline binding is one of the trickiest steps.
Trim the neckline seam allowances down to a scant 5mm (¼”).
Prepare the binding
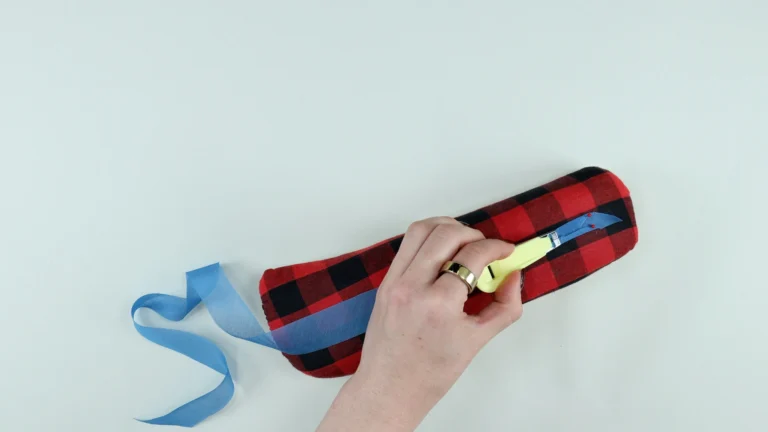
Using a bias binding maker, press your bias strip into a single-fold binding of approximately 1.2cm (½”). If you don’t have a bias binding maker, press in half and then fold each side into the centre. Once the single fold is ready, press the binding in half again to create a double fold – allow one side to be approximately 2mm (⅛”) wider than the other.
This wider side will be on the outside when you fold the binding over the seam allowances, ensuring it catches on the second pass.
Apply the binding
Open the binding and position the narrower side against the inside of the neckline seam, right sides together, with the fold of the binding sitting on top of the previous stitching line. Pin in position from centre back to centre back. Baste if needed.
Sew from centre back to centre back on the fold line of the binding. Fold the binding over the neckline seam to sandwich the seam allowances inside. Pin and baste the second side of the binding in position. Sew from centre back to centre back – stitching in the ditch or edge stitching 1-2mm (⅛”) from the edge. Use tissue paper underneath if your machine struggles to feed.
Finish the binding at each centre back by trimming to 5mm (¼”) past the centre back, folding the centre back edge first, then refolding to enclose the raw edge. Secure with a pin and sew across the short ends if needed. Press the binding flat, then press the binding and neckline seam allowances towards the necktie.
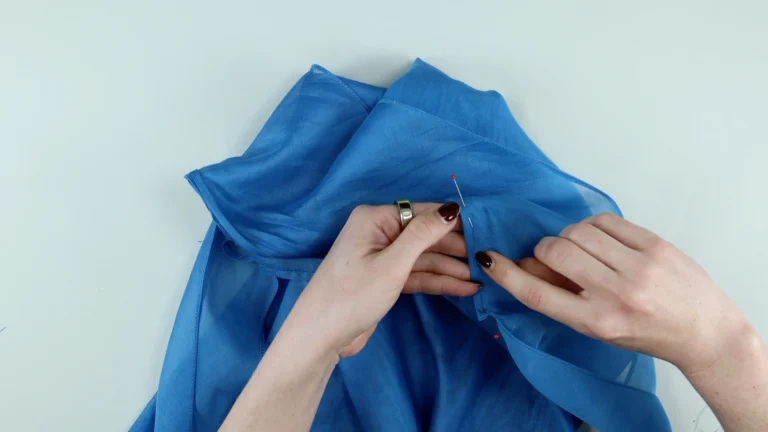
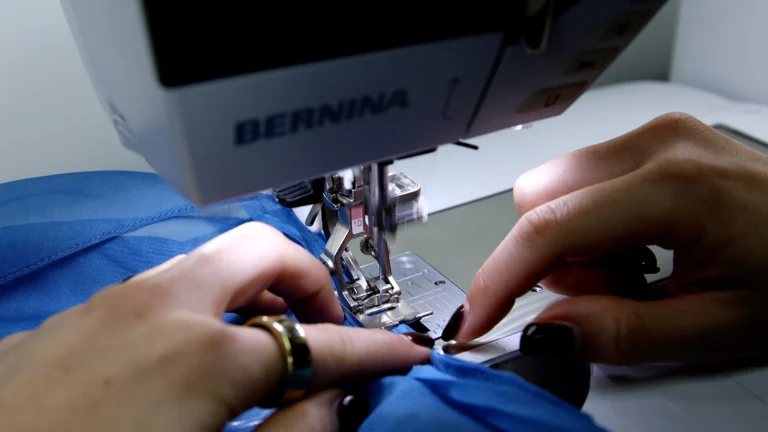
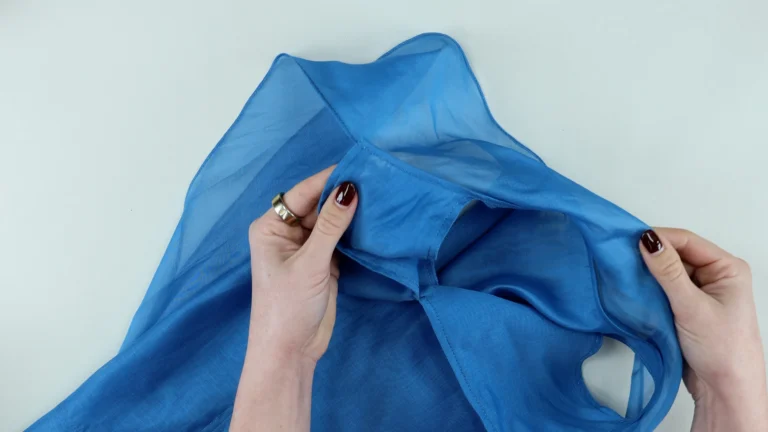
Reach between the two layers and grab both side seams approximately 5cm (2″) down from the underarm. Position the exterior and lining seam allowances directly on top of each other, pin, and check from the right side that nothing is pulled or distorted. Sew a bar tack through the seam allowances at the sewing machine to anchor them together. Complete for both sides.
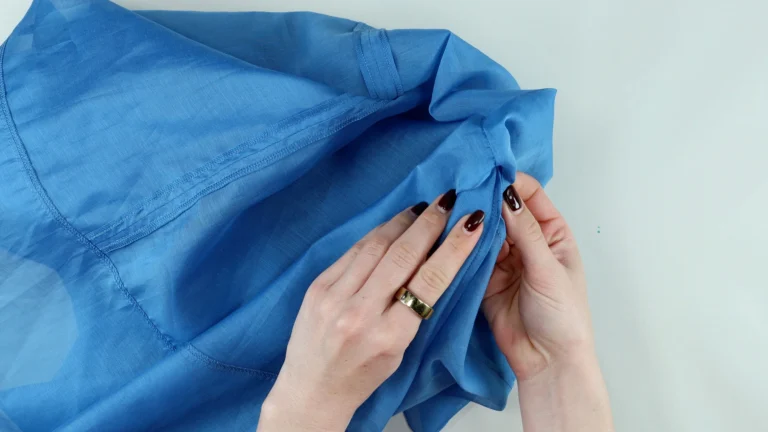
Finally, sew a thread chain at each side seam to connect the lining to the exterior. Position the chain approximately 2cm (¾”) up from the lining hem on the side seam, and make it approximately 2.5cm (1″) long. Hang the garment before anchoring to ensure the two layers sit in the correct position. A step-by-step thread chain tutorial is available on YouTube – Watch Here.
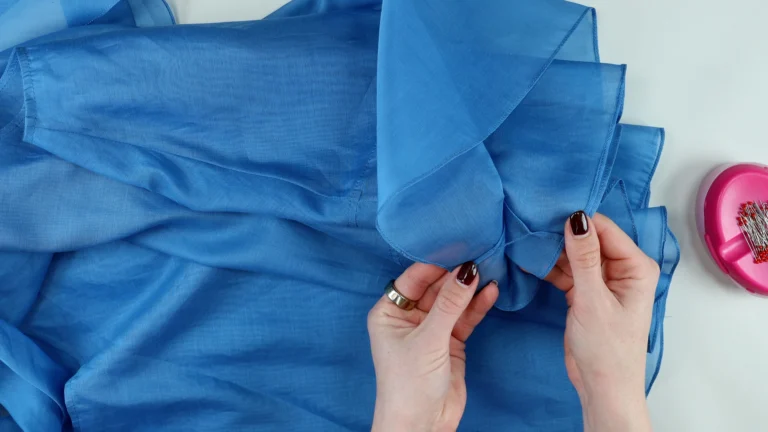
You now have a professionally constructed tie neck halterneck top with a clean baby hem, a neat centre back opening, and a beautifully finished neckline binding.
The pattern drafting tutorial is here: How to Draft a Tie Neck Halterneck Top
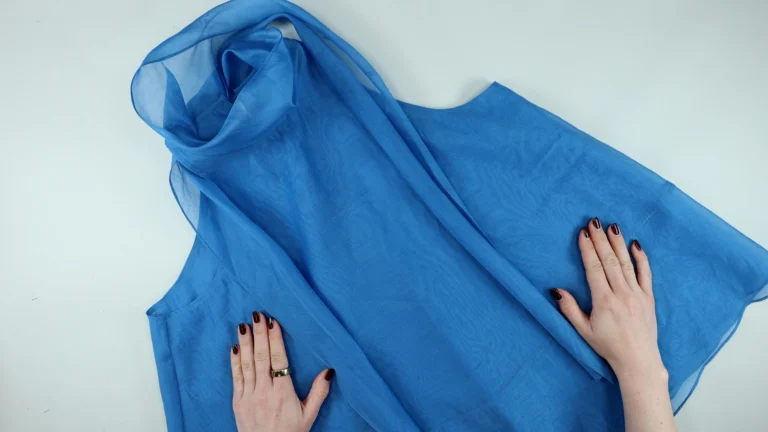
What fabric works best for this top?
Woven fabrics work beautifully. I used a silk cotton organdy which gives a slightly crisp, structured result. For more drape, try silk chiffon, silk georgette, or crepe de Chine. The top can also be cut on the bias for a softer, more fluid look.
Do I need an overlocker to sew a tie neck halterneck top?
No – the overlocker is used to finish the centre back seam allowances. If you don’t have one, you can bind these edges instead using a bias strip or seam binding. The hem band is also finished on the garment using the overlocker – this can be a French seam if preferred.
What is a baby hem?
A baby hem (also called a rolled hem or pin hem) is a very narrow finished hem of 2-3mm (⅛”). It’s ideal for lightweight and sheer fabrics where a standard hem would appear bulky. See my full baby hem tutorial for step-by-step instructions – Read More.
Do I need to baste before sewing the necktie?
I strongly recommend it. The necktie involves aligning multiple curved pieces at once, and basting ensures everything stays in position while you sew. It only takes a few minutes and saves unpicking.
Can I use a different neckline finish instead of binding?
Binding is the neatest finish for this neckline because it encloses all the raw edges from the necktie attachment in one step.